


Introduction
Data is an essential key to success in this technologically enhancing world, and if you want to be an active part of it, you should be good at dealing with data. Dealing with data involves monitoring, analyzing, gathering, consolidating, and connecting the data.
Excel is one of the best tools to work with data. If you want to increase efficiency in excel, like managing data, increasing or decreasing data, adding a drop-down list, adding some command buttons, checkboxes, and list boxes. So how do you achieve all these functions in excel?
The answer to the above question is using the ActiveX Control feature in excel. We will learn about all the features while moving further with the blog, So let's get on with our topic without wasting anytime further.
Different ActiveX Controls
There are various ActiveX controls available in excel, like command buttons, list boxes, and text boxes. We will learn all of them with proper code in VBA.
Command Buttons
To create a command button in Activex Control, follow the steps given below:
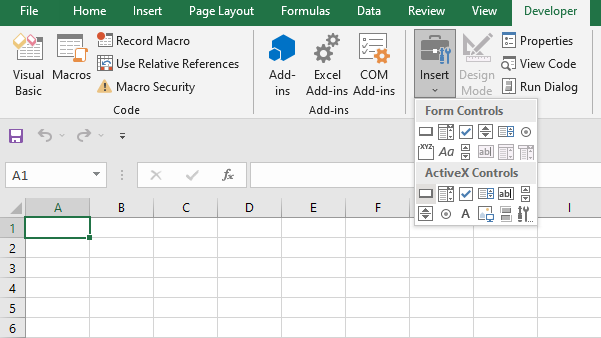
- Open the Developer tab from the home page and click on insert and then click on the command button like this:
- Drag the command button to your worksheet.
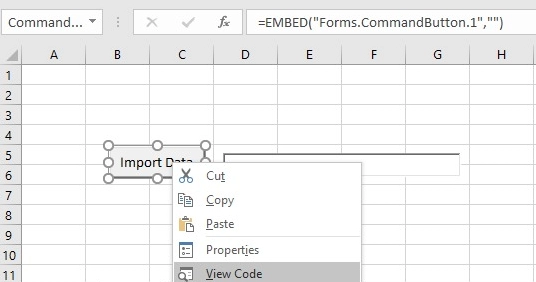
- Select the design mode, right-click on it, and select the option view code.
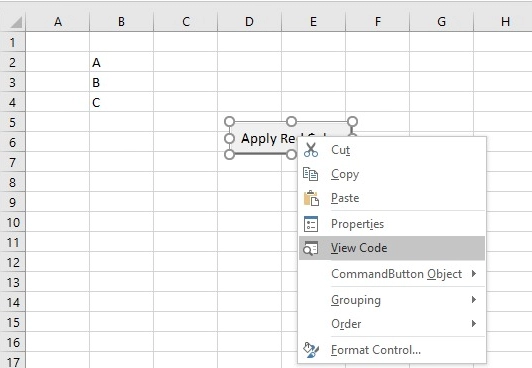
- Change the command button name to Apply Red Color by right-clicking on properties and making sure the design mode is on.
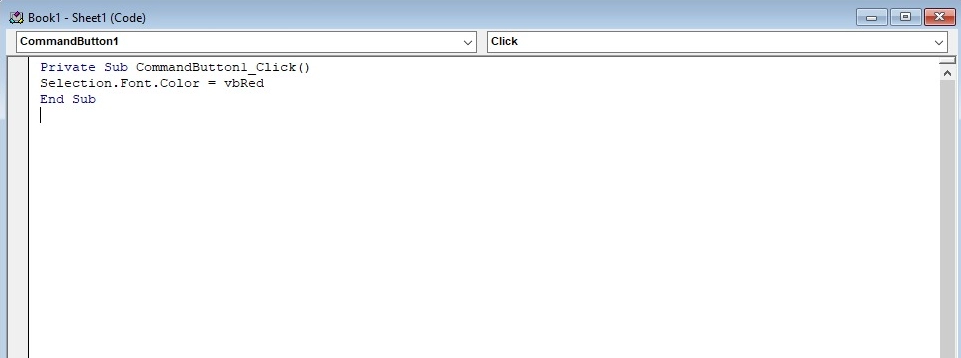
- Now Visual Basic Editor appears to write the following line in it.
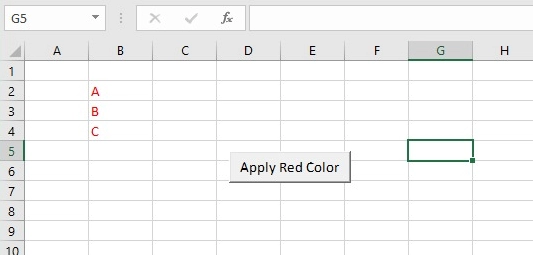
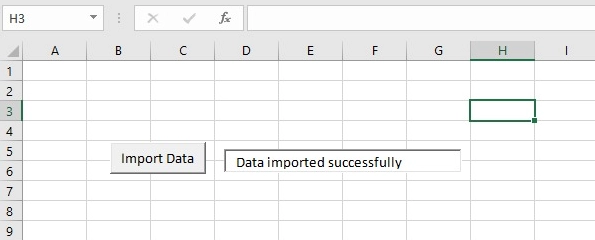
- Select the range of your text and then see the output:
Text Box
As the name suggests text box is used to fill text, it is empty. To create a text box, follow the given steps:
- Open the Developer tab from the home page, click on insert, and click on the text box like this:
- Drag a command button and a text box on your worksheet. Select a text box, right-click on the command button, and click on view code.
- Enter the following code in the Visual Basic Editor.
TextBox1.Text = "Data imported successfully."- Now click the command button on the sheet.
- Use the following line to clear the text box.
TextBox1.Value = " "List Box
It is a list or drop-down list from which the user can select the option of his choice. To create a List box, follow the steps given below.
- Open the Developer tab and click on the List box option.
- Now drag the list box to the adequate position on the worksheet.
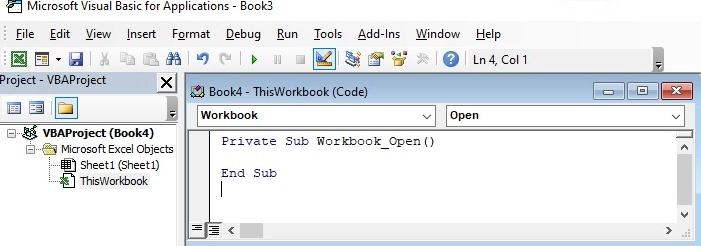
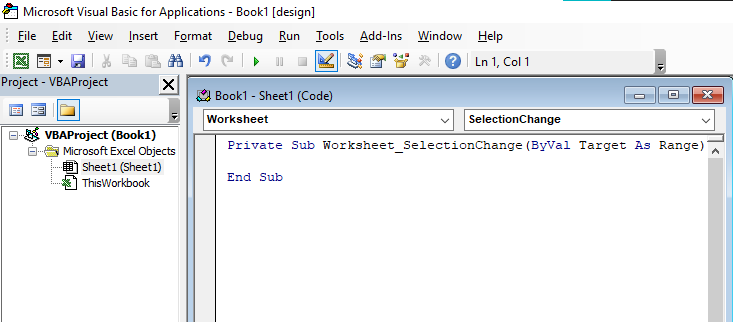
- Now open the Visual Basic Editor and double click on this worksheet in the project explorer.
- On the coding tab part, from the left drop-down menu, select workbook, and in the right drop-down menu, select open like shown in the image below:
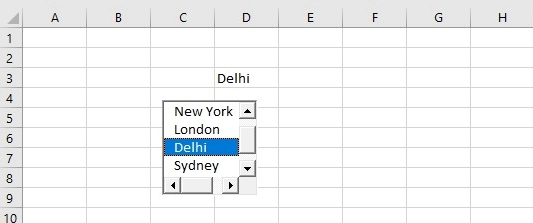
- Add the following item to the list box.
With Sheet1.ListBox1
    .AddItem "Paris."AddItem "New York."AddItem "London"
    .AddItem "Delhi"
    .AddItem "Sydney"

End With- You can use the sheet number accordingly, and to make sure it is not repeated again and again, write this line.
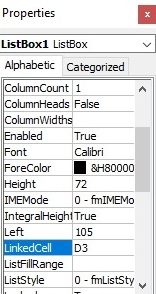
ListBox1.Clear- We need to link the list box with the sheet, so right-click on the list box and open properties like shown below and write D3 in the linked cell:
- Now save all the changes and open the excel file again.
Combo Box
It is pretty similar to a list box but has a significant difference. It is a drop-down list-like list box, but we can either select from the list or type a different choice with our requirement.
To make a combo box in excel, follow the steps given below:
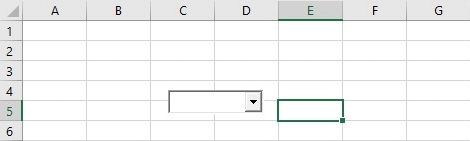
- Open the Developer tab from the home page, click on insert, and click on the combo box like this:
- Drag the combo box to the required position on your worksheet.
- Now open the Visual Basic Editor and double click on this worksheet in the project explorer.
- On the coding tab part, from the left drop-down menu, select workbook, and in the right drop-down menu, select open like shown in the image below:
- Now add the following items in the code:
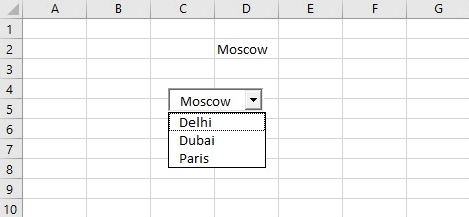
With Sheet1.ComboBox1
    .AddItem "Delhi"
    .AddItem "Dubai"
    .AddItem "Paris"
End With- You can use the sheet number accordingly, and to make sure it is not repeated again and again, write these lines.
ComboBox1.Clear
ComboBox1.Value = ""- We need to link the list box with the sheet, so right-click on the list box and open properties like shown below and write D3 in the linked cell:

- Now save all the changes and open the excel file again.
Check Box
The check box is a field used to store checked information. To create a check box in excel, follow the following steps.
- Open the Developer tab from the home page, click on insert, and click on the check box like this:
- Drag the check box to the required position of your worksheet.

- Right-click on the checkbox and click on view code.
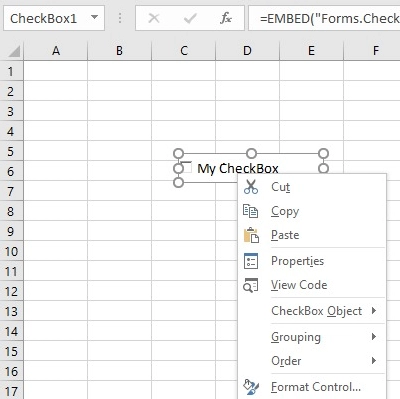
- Add the following lines in the code:
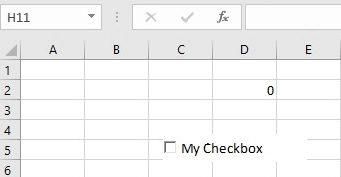
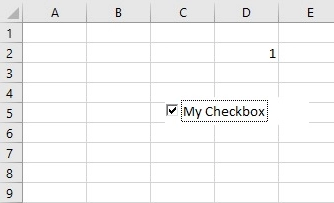
If CheckBox1.Value = True Then Range("D2").Value = 1
If CheckBox1.Value = False Then Range("D2").Value = 0- Check and un-check the checkbox to see if the code is working or not.
Option Buttons
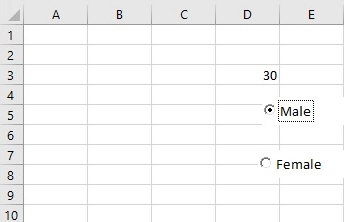
As the name suggests, these buttons come into use when there is more than one option, and you want to select only one and print the result corresponding to that option chosen button itself. To create the options button in excel, follow the steps given below:
- Open the Developer tab from the home page, click on insert, and click on the options button like this:
- Drag the two options button to the required position of your worksheet.
- Right-click on either one of them and click on the view code.
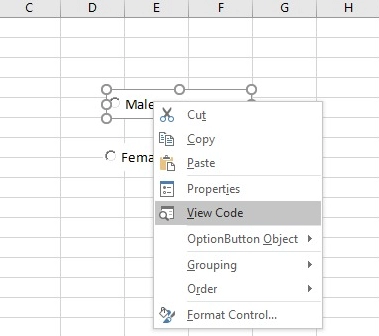
- Add the following line in the code:
If OptionButton1.Value = True Then Range("D3").Value = 30- Now repeat the above steps for the other option button and add the following line in its code in the VBA.
If OptionButton1.Value = True Then Range("D3").Value = 40- The result will be this:

Spin Button
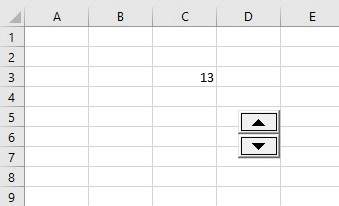
A spin button is used to either increment or decrements a number in excel. To execute the spin button in excel VBA, follow the steps given below.
- Open the Developer tab from the home page, click on insert, and click on the spin button like this:
- Drag the spin button to the required position in the excel worksheet and then right-click on the spin button, and then click on the view code:

- To link the spin button with the worksheet, add the following line:
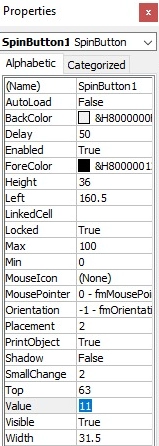
Range("C3").Value = SpinButton1.Value- We can set maximum and minimum on the spin button by adding the following lines:
SpinButton1.Max = 00
SpinButton1.Min = 0- We can set the incremental value in the spin button by the line given below:
SpinButton1.SmallChange = 2- Click the arrows for incrementing and decrementing and observe the change in value.
- You can change the properties at run time by right-clicking on the spin button shown below:

 9+ registered

