Implementation of Alert Dialog Box
In this section, we will create a sample android application that will use the Alert Dialog box to prompt the user when he presses a button. Follow the steps given below to make this sample application.
Creating an Android Studio Project
You need to first create an Android Studio project before actually creating your Android apps. To create a new project, open up Android Studio and press the New Project button, select Empty Activity as the activity type and implementation language as Kotlin. Select a minimum SDK version as per your requirements.
Don't have Android Studio and the environment already set up in your machine? No worries, we got you all covered. Refer to the blog Android Studio and Environment Setup on the Coding Ninjas Website to set up things for a smoother development process.
The Main Activity XML file
The activity_main.xml file is the most important layout of your application which is referenced when we are building the interface of our application. This file contains two major widgets wrapped inside the Constraint Layout. These are namely the TextView widget and the Button widget. Write the following code into this file.
Code:
<?xml version="1.0" encoding="utf-8"?>
<androidx.constraintlayout.widget.ConstraintLayout
    android:layout_width="match_parent"
    xmlns:android="http://schemas.android.com/apk/res/android"
    tools:context=".MainActivity"
    xmlns:app="http://schemas.android.com/apk/res-auto"
    android:layout_height="match_parent"
    xmlns:tools="http://schemas.android.com/tools">

    <TextView
        android:id="@+id/textView"
        android:layout_width="361dp"
        android:textAlignment="center"
        android:textSize="25dp"
        android:textColor="@color/orange"
        android:textStyle="bold"
        android:layout_height="76dp"
        android:text="@string/heading"
        app:layout_constraintBottom_toBottomOf="parent"
        app:layout_constraintEnd_toEndOf="parent"
        app:layout_constraintHorizontal_bias="0.32"
        app:layout_constraintStart_toStartOf="parent"
        app:layout_constraintTop_toTopOf="parent"
        app:layout_constraintVertical_bias="0.12" />

    <Button
        android:id="@+id/button"
        android:layout_width="202dp"
        android:layout_height="95dp"
        android:text="@string/button_text"
        android:onClick="show_alert_box"
        app:layout_constraintBottom_toBottomOf="parent"
        app:layout_constraintEnd_toEndOf="parent"
        app:layout_constraintStart_toStartOf="parent"
        app:layout_constraintTop_toTopOf="parent" />

</androidx.constraintlayout.widget.ConstraintLayout>
Note that we have assigned the ID of the button widget as “button” using the android XML attribute named android:id. We have also connected this button to the show_alert_box function, the implementation for which is defined in the Main Activity Kotlin file.
The Main Activity Kotlin file
This is the main file that gets your application running. This file contains the onCreate method, one of the first methods that get called after running our application. This file contains the implementation of our show_alert_box function, which was linked with the Button widget with ID “button” defined in the Main Activity XML file. The code for MainActivity.kt file is given below.
Code:
package com.example.alertdialogbutton

import android.app.AlertDialog
import androidx.appcompat.app.AppCompatActivity
import android.os.Bundle
import android.view.View
import android.widget.Toast

class MainActivity : AppCompatActivity() {
    override fun onCreate(savedInstanceState: Bundle?) {
        super.onCreate(savedInstanceState)
        setContentView(R.layout.activity_main)
    }

    fun show_alert_box(view: View?) {
        val alert_dialog_builder = AlertDialog.Builder(this)
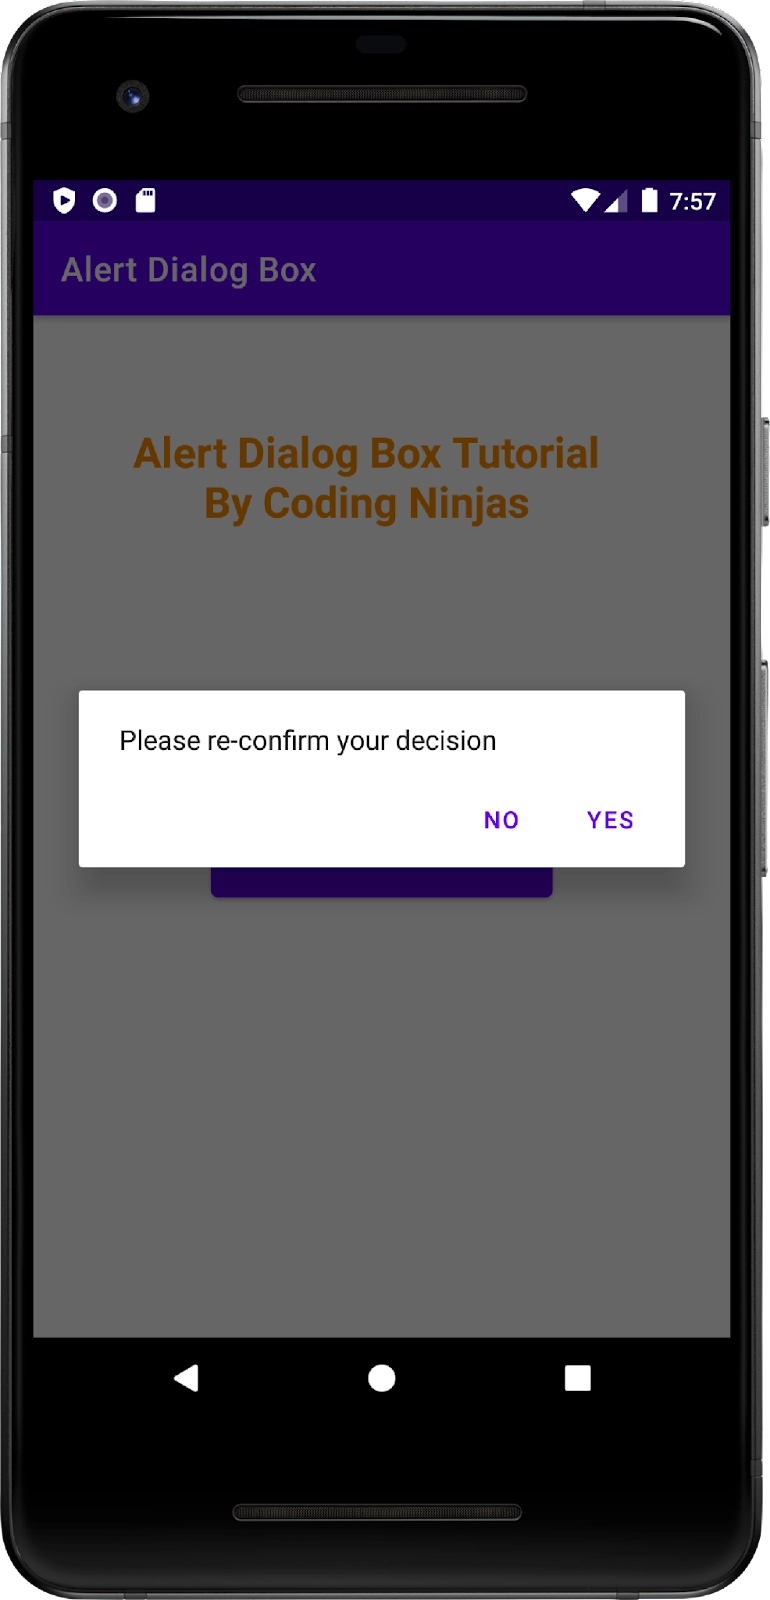
        alert_dialog_builder.setMessage("Please re-confirm your decision")
        alert_dialog_builder.setPositiveButton("Yes") { _, _ ->
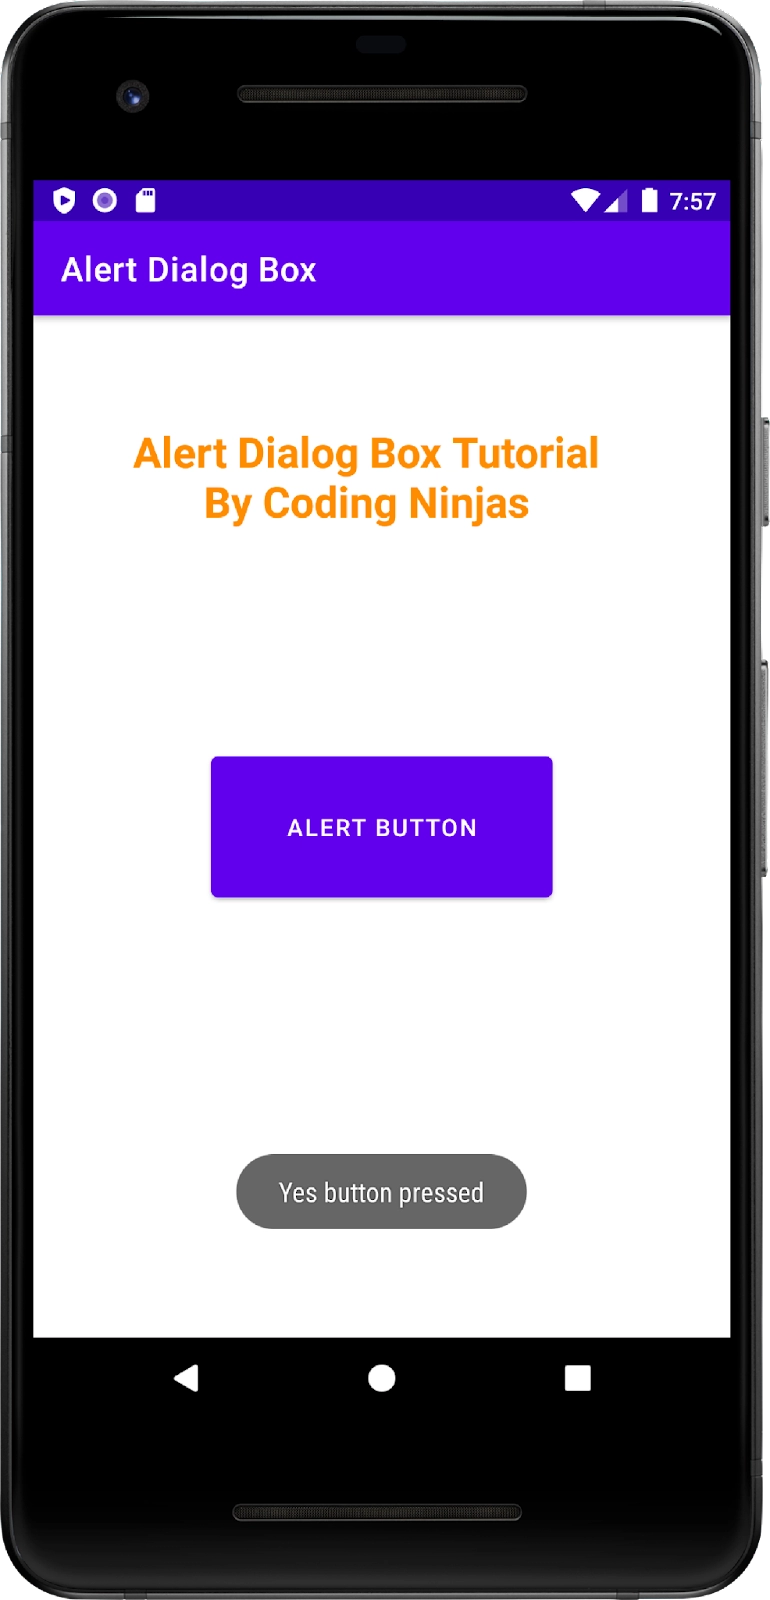
            Toast.makeText(this@MainActivity, "Yes button pressed", Toast.LENGTH_LONG).show()
            // Write all your code when the user presses "Yes" button here
        }
        alert_dialog_builder.setNegativeButton("No") { _, _ ->
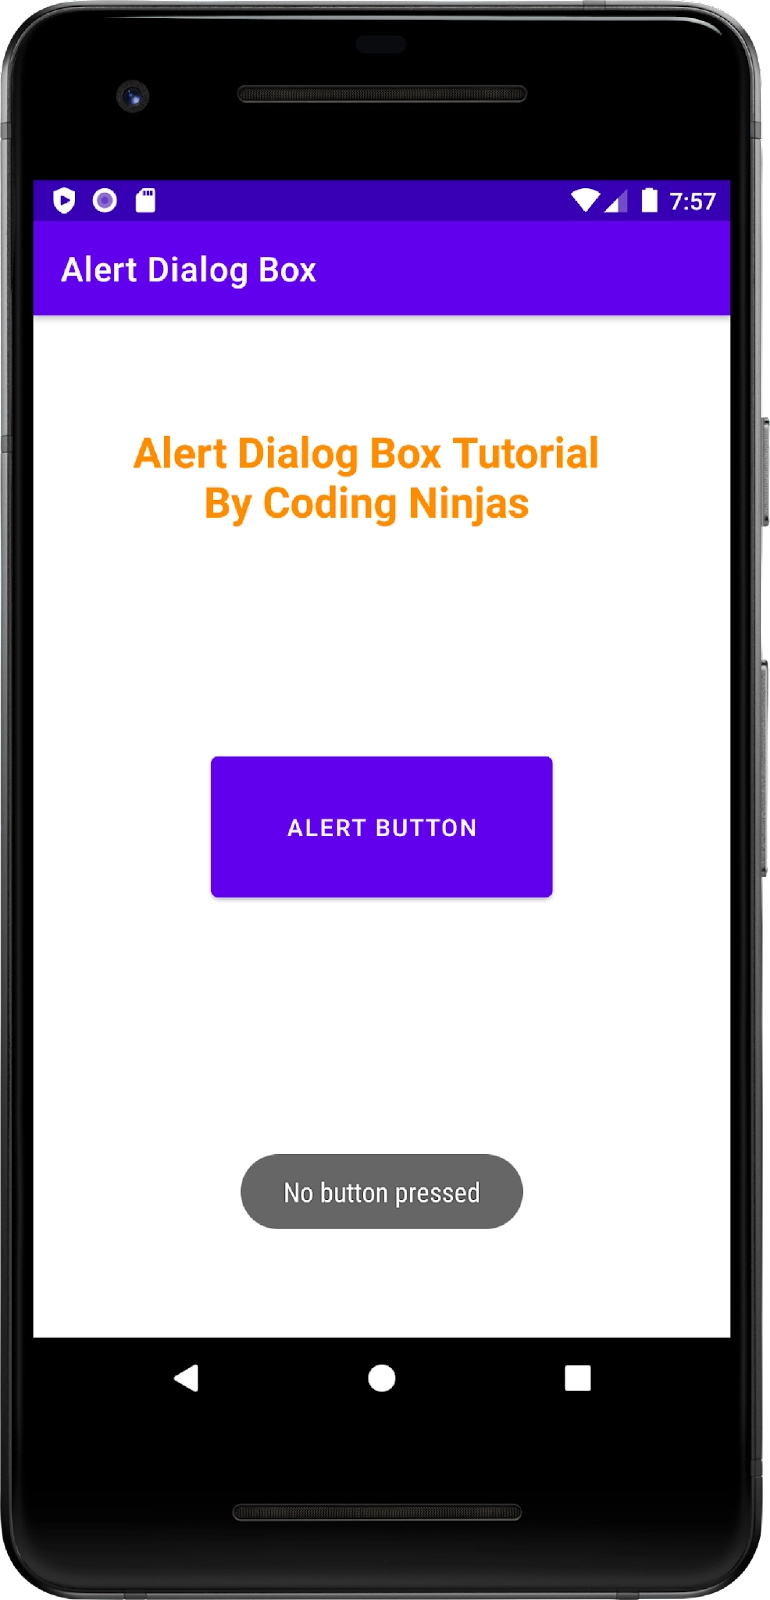
            Toast.makeText(this@MainActivity, "No button pressed", Toast.LENGTH_LONG).show()
            // Write all your code when the user presses "No" button here
        }
        val alert_dialog = alert_dialog_builder.create()
        alert_dialog.show()
    }
}
The Android Manifest file
This file is used for registering our activities. We don’t need to change anything in this file and just use the boilerplate code provided by Android Studio for this. The code for the AndroidManifest.xml file is given below.
Code:
<?xml version="1.0" encoding="utf-8"?>
<manifest xmlns:android="http://schemas.android.com/apk/res/android"
    package="com.example.alertdialogbutton">

    <application
        android:allowBackup="true"
        android:icon="@mipmap/ic_launcher"
        android:label="@string/app_name"
        android:roundIcon="@mipmap/ic_launcher_round"
        android:supportsRtl="true"
        android:theme="@style/Theme.AlertDialogButton">
        <activity
            android:name=".MainActivity"
            android:exported="true">
            <intent-filter>
                <action android:name="android.intent.action.MAIN" />

                <category android:name="android.intent.category.LAUNCHER" />
            </intent-filter>
        </activity>
    </application>

</manifest>
The Resources directory
The resources folder named res in our Android Studio project is an important folder that contains all the resources for our application. It contains all non-coding assets of our application. For example, consider the strings.xml file present under the directory res/values. This file contains the name of the application, which is rendered when we run the application. The code of this file is written below. In this blog, we have named the application as Alert Dialog Box.
Code:
<resources>
    <string name="app_name">Alert Dialog Box</string>
    <string name="heading">Alert Dialog Box Tutorial\nBy Coding Ninjas</string>
    <string name="button_text">Alert Button</string>
</resources>
Another important resource file is the colors.xml file, the code for which is given as follows.
Code:
<?xml version="1.0" encoding="utf-8"?>
<resources>
    <color name="purple_200">#FFBB86FC</color>
    <color name="purple_500">#FF6200EE</color>
    <color name="purple_700">#FF3700B3</color>
    <color name="teal_200">#FF03DAC5</color>
    <color name="teal_700">#FF018786</color>
    <color name="black">#FF000000</color>
    <color name="white">#FFFFFFFF</color>
    <color name="orange">#FF8C00</color>
</resources>
Final Application
The following application will be created after following the steps in the blog.

The following screen appears when the user presses the alert button given on the screen.

The following screens appear when the user presses the Yes or No button.


Frequently Asked Questions
-
Why is the ProgressDialog widget depreciated in Android?
The ProgressDialog widget is depreciated in Android because it prevents users from interacting with the application while the progress bar is displayed.
-
What are the names of the different regions of an Alert Dialog box?
There are three regions defined in an alert dialog box. They are the title region, the content area, and the action buttons.
-
Which methods need to be called to add buttons to the action buttons region of an Alert Dialog box?
To add buttons to the action buttons region of the Alert Dialog box, invoke the setPositiveButton() and setNegativeButton() with the requisite parameters.
Conclusion
In this article, we have extensively discussed Alert Dialog Box in Android and saw an application that implements the same. You can also read the blog Radio Button in Android on the Coding Ninjas Website to create Radio Buttons in your Android application.
We hope that this blog has helped you enhance your knowledge regarding Alert Dialog Boxes. If you want to learn more, check out our Android Development Course on the Coding Ninjas Website to learn everything you need to know about Android development. Do upvote our blog to help other ninjas grow. Happy Coding!


