


Introduction to Amazon Machine Images
Amazon Machine Images contains information that is needed in order to launch any EC2 instances, in fact, all EC2 instances are actually packed by AMIs. in other words, we can also say that AMI act as a supporting pillar of all the EC2 instances.
Whenever any instances are to be launched, the foremost thing done is to determine from which AMI we need to launch it from.
To understand this concept in clearer words, let us explain it with an example.
10 years ago, when we used to go to a shop to buy a laptop, the questions shopkeepers ask were “which operating system would you require”, “the size of RAM”, and “ what type of application would you run on the system” and many more. Today, all these questions are engraved or are composed in Amazon Machine Images. It is basically a softcopy of the operating system.
There are 38 different AMIs provided by AWS itself and we can purchase them from the AWS marketplace.
This is just a kind of feature that provides information which is required to launch an instance, i.e virtual computing environment in the cloud. We can launch as many instances as we need.

Source: aws
Let’s get deeper into the AMIs.
How to create Amazon Machine Images Instance
To create AMIs follow the below-mentioned steps:
Step 1: Create an AWS account for yourself.
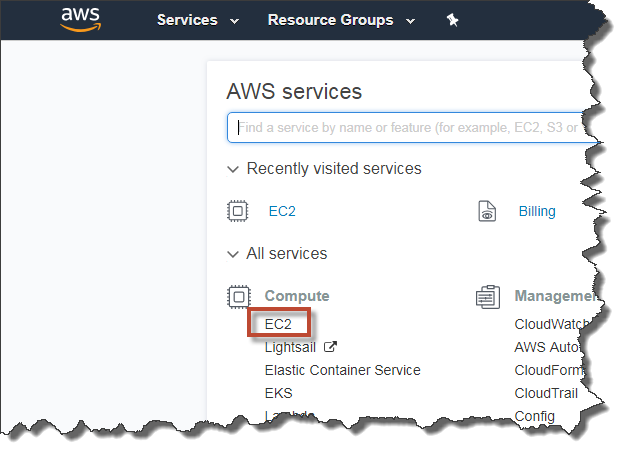
Step 2: Click on Services present at the top. Then search for compute and click on EC2.
Source: cloudaffaire
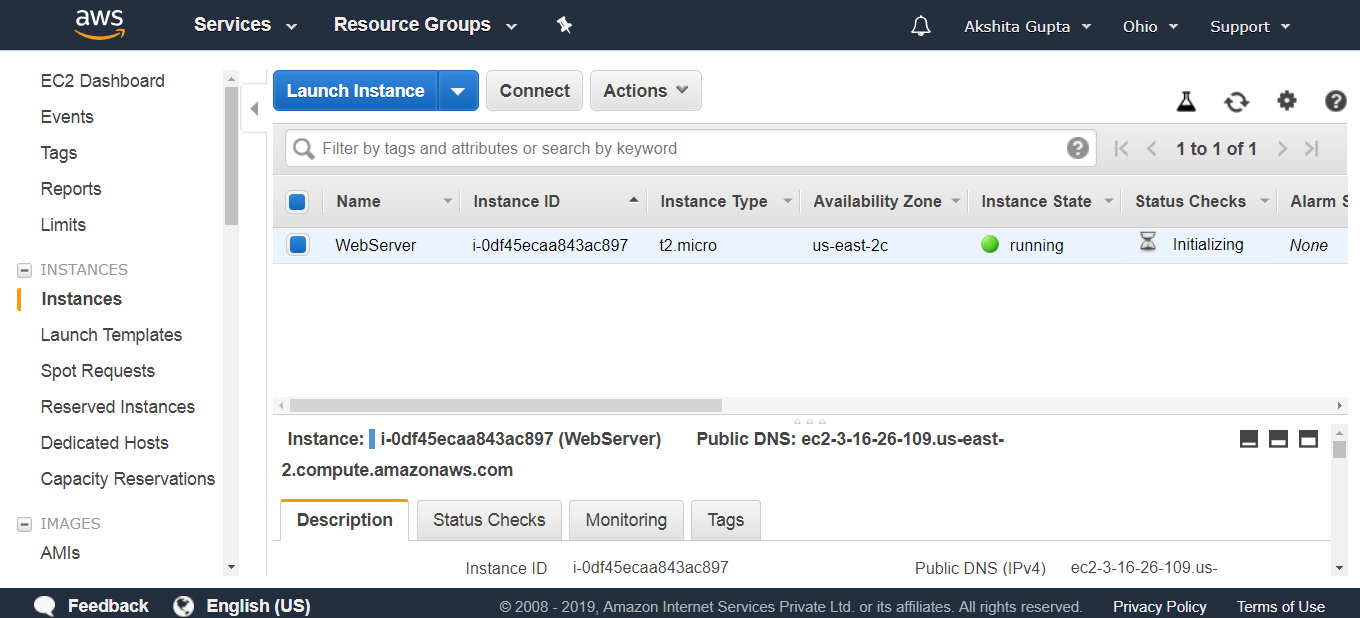
Step 3: After clicking on EC2, click on “launch instance” as shown in the below diagram.
Source: javatpoint
Step 4: Now we need to choose an instance type, here we can filter instances based on general-purpose, computer optimised, GPU instances, memory optimised or storage optimised.
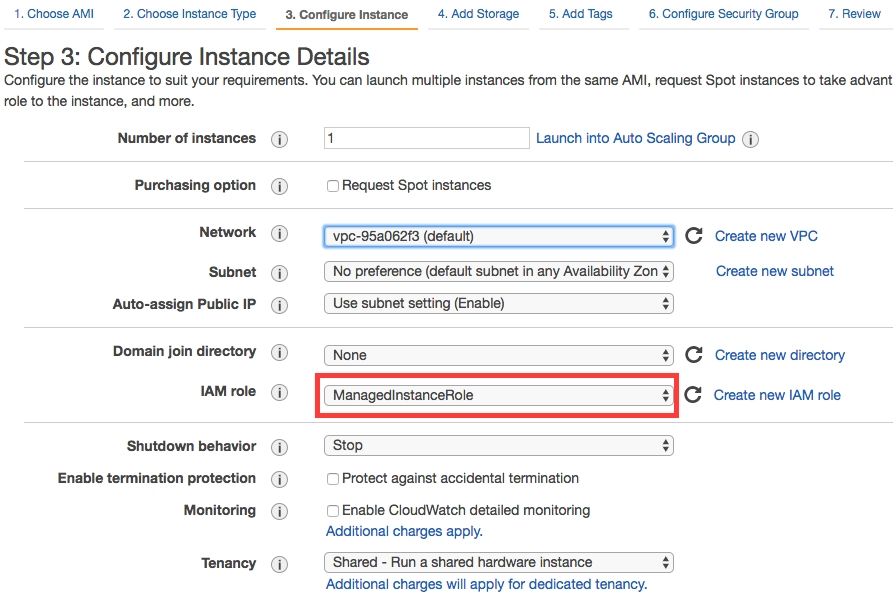
Step 5: Then we need to configure the instance. We can change the network and subnet. We need to enable auto-assign public IP. We can let the remaining options be set to default themselves. Then click on next.
Source: cloudfront
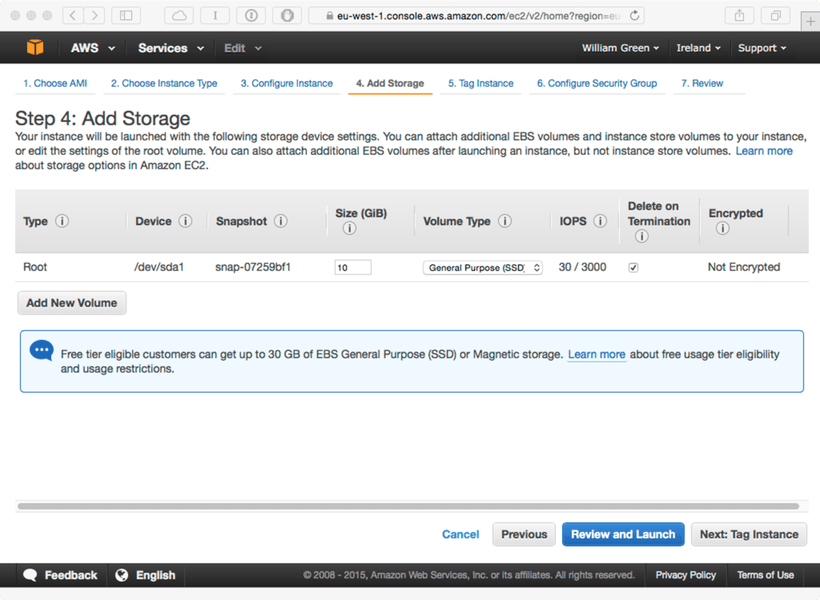
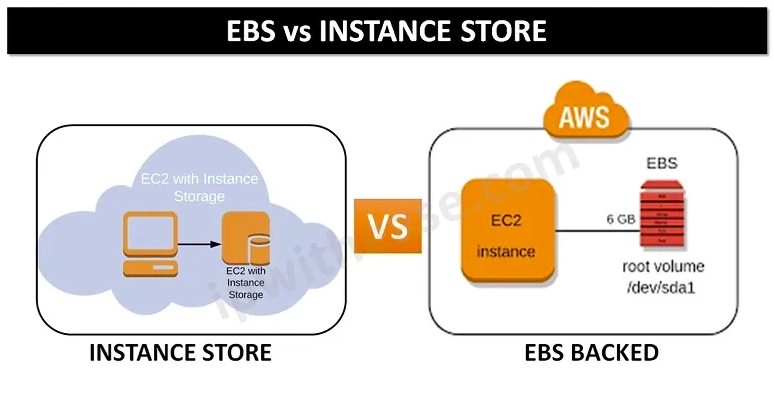
Step 6: Then we need to add storage. We can alter the size( the limit is put to 2048 GB by default), and volume type. The volume type is set to root and the directory path is given as “/dev/sda1” in the case of the window. Root volume by default is not encrypted but we can manually encrypt it.
Source: sundivenetworks
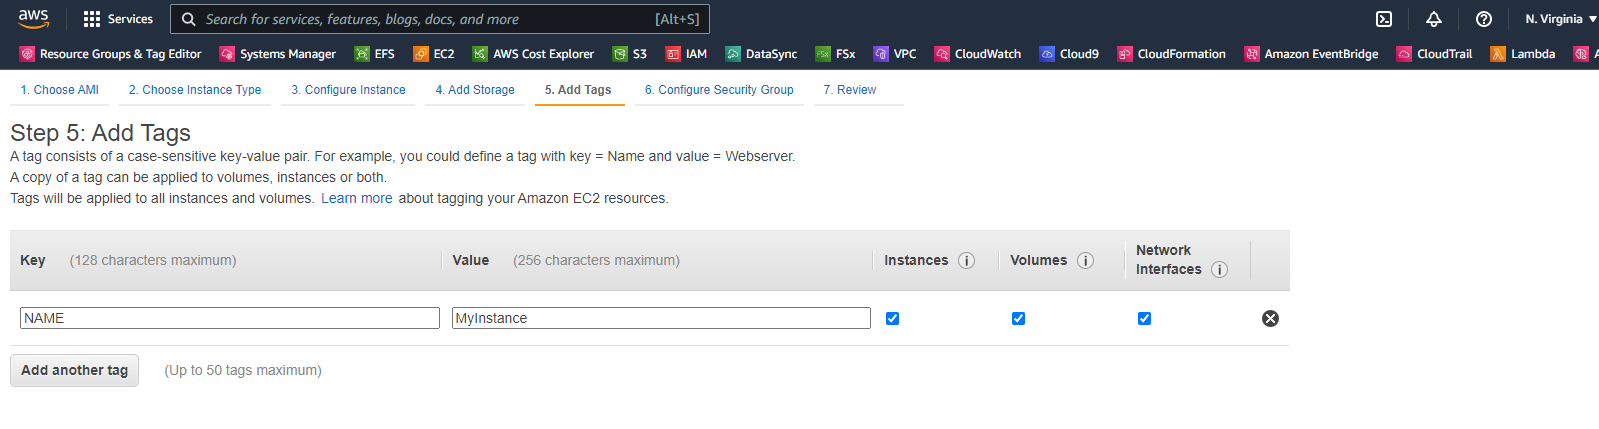
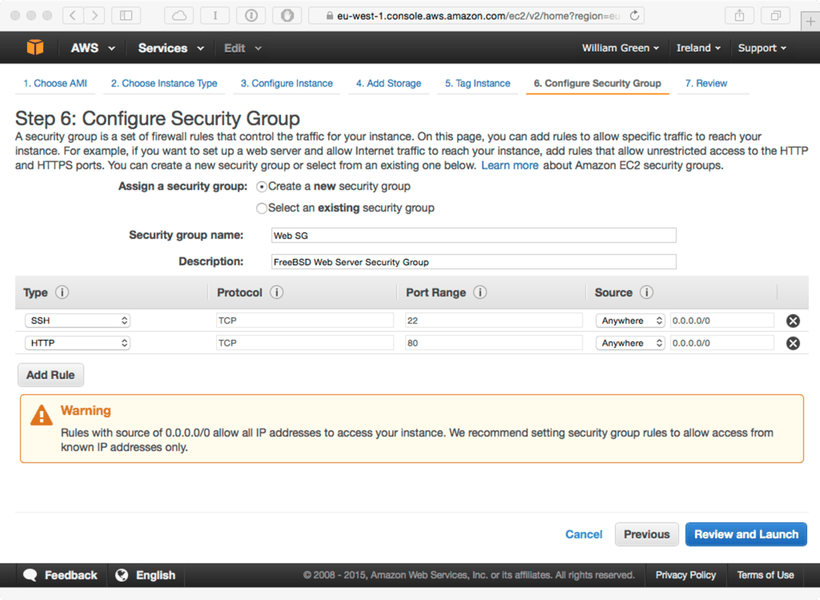
Step 7: Next, we need to add tags. Tags can never be copied. Then click on next and configure the security group.
Source: hpc
Source: sundivenetworks
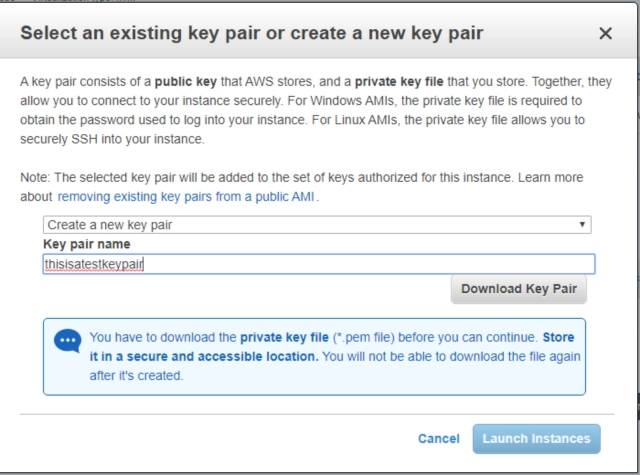
Step 8: Then, click on review and launch. Direct to launch. Create a new key pair and name it suitably. then click on launch instance. Go to view instances.
Source: cdn
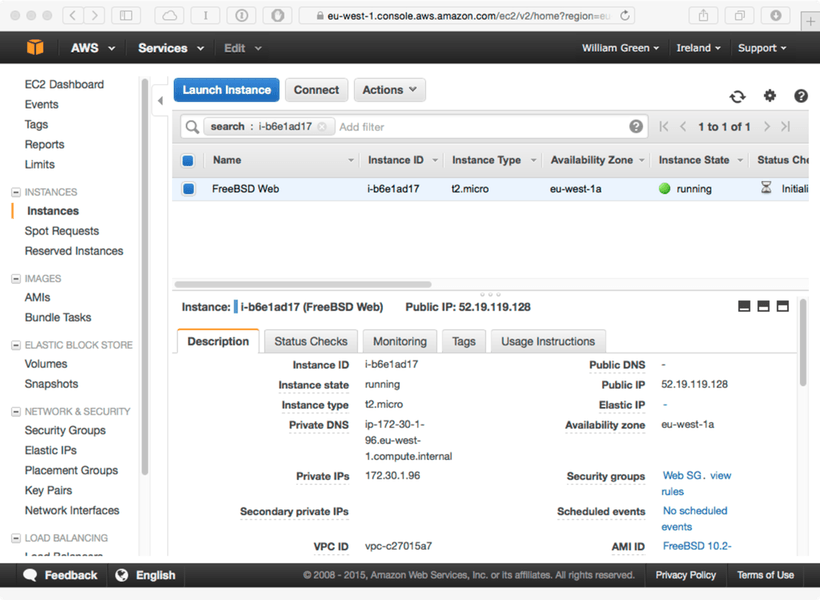
Step 9: Now we need to connect your instance. Once your instance gets loaded, click on connect, download the remote desktop file(RDP) then click on get password. This password will be visible in the download section of your computer and the file name would be the name of the file you gave in step 8. The file should be of extension .pem. Open and decrypt the file to get your password. Write the password on your notepad and save it. This is done because we can’t decrypt our files more than once.
Source: sundive
Step 10: Open the downloaded RDP file. Click on connect. Write a password and our server opens.
Till now, I assume you must have got a basic idea about Amazon Machine Images.


 9+ registered

