Advantages and Disadvantages of MVP
Model View Presenter (MVP) Architecture is one of the most famous architecture patterns due to its high flexibility and usage. It contributes a lot to organizing the structure of your project and thereby increasing the code quality. It helps the developer to follow and practice good coding practices like code modularity, single responsibility principles, etc. The use of the MVP model also increases the feasibility for testing and encourages the reusability of the code.
An undoubtedly benefit while working with the MVP (Model-View-Presenter) paradigm is how it provides excellent concerns separation. While this is definitely true, some developers believe that the MVP paradigm is a burden when designing a small app or a prototype. Some developers eliminate the Contract interface class and the Presenter interface to reduce the number of interfaces utilised. Another drawback associated with the MVP model is that the Presenter class becomes very large in volume, containing many lines of code. This is because all the UI logic has been moved to the Presenter class. Thus, one needs to modularize the code further and divide the code into multiple classes such that good coding practices are uniformly followed in one's project.
Android App Example with MVP Architecture
In this section, we will create a sample android application that will follow the MVP architecture to structure the project. Follow the steps given below to make this sample application.
Creating an Android Studio Project
You need to first create an Android Studio project before actually creating your Android apps. To create a new project, open up Android Studio and press the New Project button, select Empty Activity as the activity type and implementation language as Kotlin. Select a minimum SDK version as per your requirements.
Don't have Android Studio and environment already set up in your machine? No worries, we got you all covered. Refer to the blog Android Studio and Environment Setup on the Coding Ninjas Website to set up things for a smoother development process.
After creating the project, add the following new files under your project package. We will write codes in these files.
The Main Activity XML file
The activity_main.xml file is the most important layout of your application which is referenced when we are building the interface of our application. The code for this file is given as follows. If we see an overview of this file, we will find a ConstraintLayout widget containing three TextViews widgets, one Button widget and a ProgressBar widget.
Code:
<?xml version="1.0" encoding="utf-8"?>
<androidx.constraintlayout.widget.ConstraintLayout
    android:background="@color/white"
    android:layout_width="match_parent"
    android:layout_height="match_parent"
    xmlns:android="http://schemas.android.com/apk/res/android"
    tools:context=".MainActivity"
    xmlns:tools="http://schemas.android.com/tools"
    xmlns:app="http://schemas.android.com/apk/res-auto">

    <!--App heading-->
    <TextView
        android:id="@+id/textView3"
        android:layout_width="wrap_content"
        android:layout_height="wrap_content"
        android:text="@string/app_heading"
        android:textAlignment="center"
        android:textColor="@color/dark_orange"
        android:textSize="35sp"
        android:textStyle="bold"
        app:layout_constraintBottom_toBottomOf="parent"
        app:layout_constraintEnd_toEndOf="parent"
        app:layout_constraintStart_toStartOf="parent"
        app:layout_constraintTop_toTopOf="parent"
        app:layout_constraintVertical_bias="0.201" />

    <!--By Line-->
    <TextView
        android:id="@+id/textView2"
        android:layout_width="wrap_content"
        android:layout_height="wrap_content"
        android:text="@string/by_line"
        android:textAlignment="center"
        android:textColor="@color/dark_orange"
        android:textSize="20sp"
        android:textStyle="italic|bold"
        app:layout_constraintBottom_toTopOf="@+id/button"
        app:layout_constraintEnd_toEndOf="parent"
        app:layout_constraintStart_toStartOf="parent"
        app:layout_constraintTop_toTopOf="parent"
        app:layout_constraintVertical_bias="0.45" />

    <!--Space to display blogs-->
    <TextView
        android:id="@+id/textView"
        android:layout_width="279dp"
        android:layout_height="75dp"
        android:gravity="center"
        android:padding="4dp"
        android:text="@string/description"
        android:textAlignment="center"
        android:textAppearance="?android:attr/textAppearanceSearchResultTitle"
        android:textSize="30sp"
        android:textStyle="italic"
        app:layout_constraintBottom_toTopOf="@+id/button"
        app:layout_constraintEnd_toEndOf="parent"
        app:layout_constraintHorizontal_bias="0.515"
        app:layout_constraintStart_toStartOf="parent"
        app:layout_constraintTop_toBottomOf="@+id/textView2"
        app:layout_constraintVertical_bias="0.42" />

    <!--Next Button-->
    <Button
        android:id="@+id/button"
        android:layout_width="0dp"
        android:layout_height="wrap_content"
        android:layout_margin="@android:dimen/notification_large_icon_height"
        android:background="#4CAF50"
        android:text="@string/button_text"
        android:textAllCaps="true"
        android:textColor="@android:color/background_light"
        android:textSize="20sp"
        android:textStyle="bold"
        app:layout_constraintBottom_toBottomOf="parent"
        app:layout_constraintLeft_toLeftOf="parent"
        app:layout_constraintRight_toRightOf="parent"
        app:layout_constraintTop_toTopOf="parent"
        app:layout_constraintVertical_bias="0.693" />

    <ProgressBar
        android:id="@+id/progressBar"
        style="?android:attr/progressBarStyleLarge"
        android:layout_width="wrap_content"
        android:layout_height="wrap_content"
        android:visibility="gone"
        app:layout_constraintBottom_toBottomOf="parent"
        app:layout_constraintLeft_toLeftOf="parent"
        app:layout_constraintRight_toRightOf="parent"
        app:layout_constraintTop_toTopOf="parent" />


</androidx.constraintlayout.widget.ConstraintLayout>
The Model Kotlin file
This file contains the list of blogs that our application uses. This file contains the implementation of our Model class. The most important function of this class is the getNextBlog function which fetches the next blog in the list circularly when the Next button is pressed.
Code:
package com.example.mvp

import android.os.Handler
import java.util.*

class Model : Contract.Model {
    private val blogs = Arrays.asList("C/C++","Java","Python","Kotlin/Android","Operating Systems")
    private var index = 0

    override fun getNextBlog(onFinishedListener: Contract.Model.OnFinishedListener?) {
        Handler().postDelayed({ onFinishedListener!!.onFinished(getNextBlogWithIndex(getNextIndex())) }, 900)
    }

    private fun getNextIndex(): Int{
        index = (index + 1)% blogs.size
        return index
    }

    private fun getNextBlogWithIndex(get_index: Int): String{
        return blogs[get_index]
    }
}
The Contract Kotlin file
This file defines the Contract interface. The Contract interface contains three nested interfaces, namely, Model, View and Presenter. We will be providing the implementation for all these interfaces in their respective files.
Code:
package com.example.mvp

interface Contract {
    interface Model {
        interface OnFinishedListener {
            fun onFinished(string: String?)
        }
        fun getNextBlog(onFinishedListener: OnFinishedListener?)
    }

    interface View {
        fun showProgress()
        fun updateBlog(string: String?)
        fun hideProgress()
    }

    interface Presenter {
        fun onButtonClick()
        fun onDestroy()
    }
}
The Presenter Kotlin file
This file contains the implementation of the Presenter class. It contains methods such as onButtonClick, onDestroy and onFinished.
Code:
package com.example.mvp

// Here we have created objects of View and Model Interface
class Presenter(private var mainView: Contract.View?,private val model: Contract.Model) :
    Contract.Presenter, Contract.Model.OnFinishedListener {

    override fun onButtonClick() {
        if (mainView != null) {
            mainView!!.showProgress()
        }
        model.getNextBlog(this)
    }

    override fun onDestroy() {
        mainView = null
    }

    override fun onFinished(string: String?) {
        if (mainView != null) {
            mainView!!.updateBlog(string) // Update the blog to be displayed
            mainView!!.hideProgress() // After updating, hide the progress bar
        }
    }
The Main Activity Kotlin file
This is the main file that gets your application running. This file contains the onCreate method, one of the first methods that get called after running our application. The code for MainActivity.kt file is given as below.
Code:
package com.example.mvp

import android.widget.TextView
import android.os.Bundle
import android.widget.ProgressBar
import android.widget.Button
import android.view.View

import androidx.appcompat.app.AppCompatActivity


class MainActivity : AppCompatActivity(), Contract.View {

    private var textView: TextView? = null

    private var button: Button? = null

    private var progressBar: ProgressBar? = null

    var presenter: Presenter? = null

    override fun onCreate(savedInstanceState: Bundle?) {

        super.onCreate(savedInstanceState)

        setContentView(R.layout.activity_main)

        progressBar = findViewById(R.id.progressBar)

        button = findViewById(R.id.button)

        textView = findViewById(R.id.textView)

        presenter = Presenter(this, Model())

        this.button!!.setOnClickListener(View.OnClickListener { presenter!!.onButtonClick() })
    }

    override fun showProgress() {
        textView!!.visibility = View.INVISIBLE
        progressBar!!.visibility = View.VISIBLE
    }

    override fun onResume() {
        super.onResume()
    }

    override fun hideProgress() {
        textView!!.visibility = View.VISIBLE
        progressBar!!.visibility = View.INVISIBLE
    }

    override fun onDestroy() {
        super.onDestroy()
        presenter!!.onDestroy()
    }

    override fun updateBlog(string: String?) {
        textView!!.text = string
    }
}
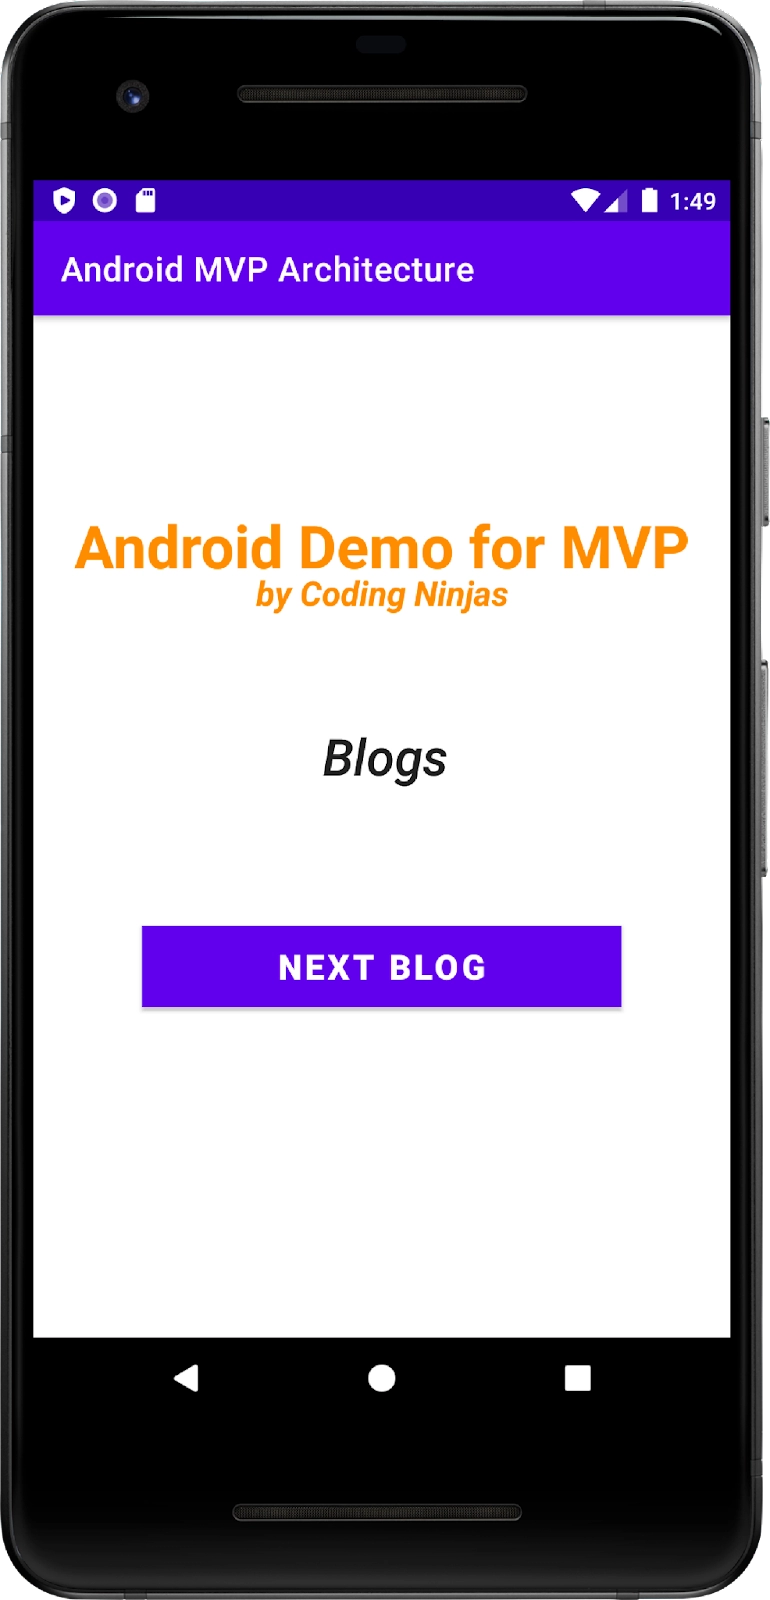
Final Application
When we run the app, the main screen of our application looks as follows.
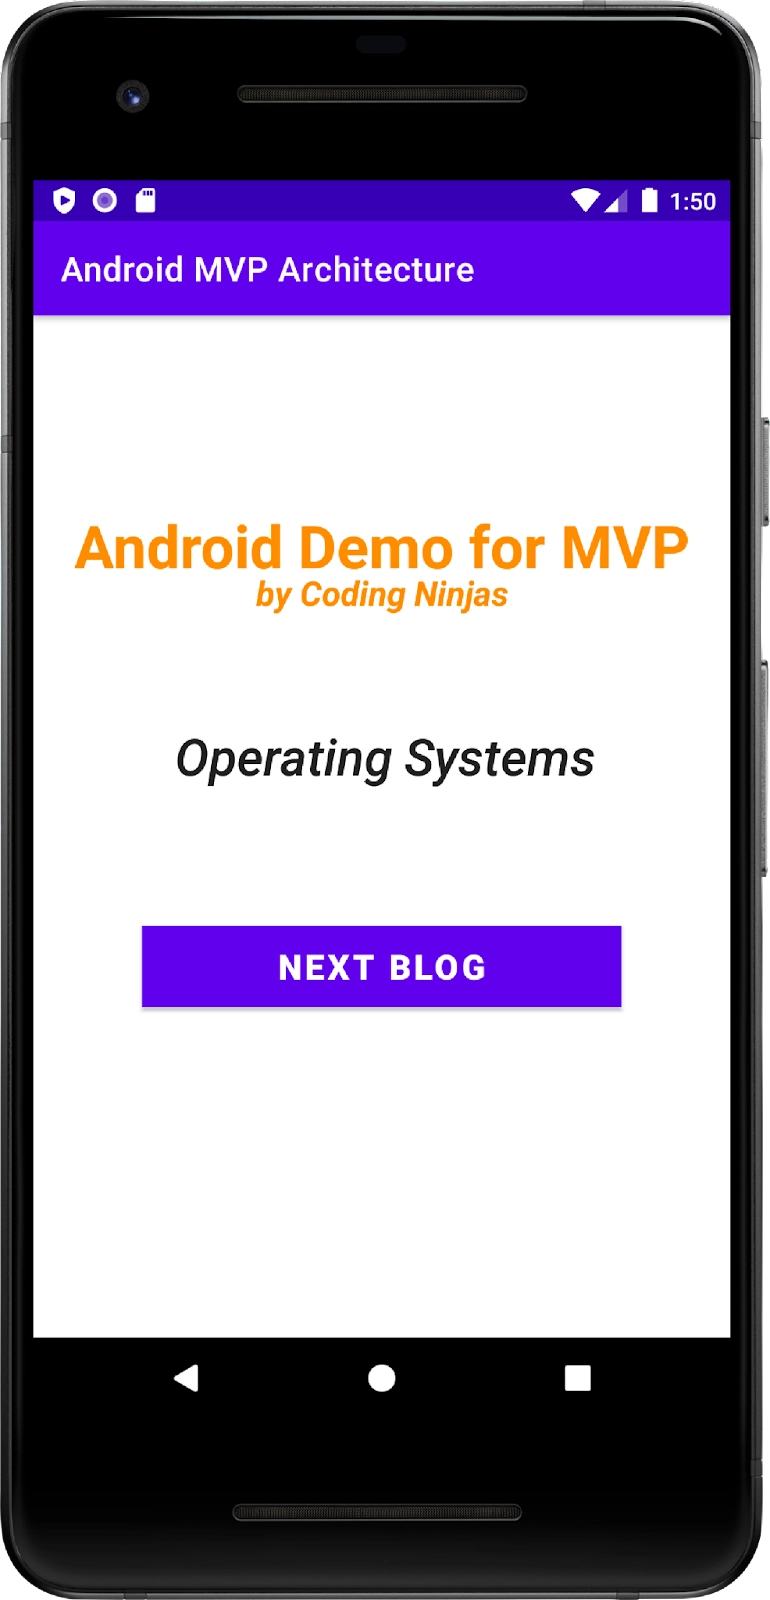
On pressing the Next Blog button, the following outputs appear.

Frequently Asked Questions
-
What is the relationship between the Presenter class and a View?
There is a one-to-one relationship between the Presenter class and a View, i.e. one Presenter class is responsible for managing a single view.
-
What is the task associated with the Presenter class?
The Presenter class is responsible for retrieving the data from the Model. It also manages the View and activates the logic of the UI.
-
How is the Model made independent of any Android classes in the project?
The Model is supplied the interfaces of local and remote data sources in its constructor, thus making it independent of the Android classes in the project.
Conclusion
In this article, we have extensively discussed Android MVP(Model View Presenter) Architecture along with a sample application that implements this model. You can also read the blog Radio Button in Android on the Coding Ninjas Website to create Radio Buttons in your Android application.
Recommended Reading: Instruction Format in Computer Architecture
We hope this blog has helped you enhance your knowledge regarding Android MVP Architecture. If you want to learn more, check out our Android Development Course on the Coding Ninjas Website to learn everything you need to know about Android development. Do upvote our blog to help other ninjas grow. Happy Coding!


 8+ registered

