


Introduction
In this blog, we will look into the Scroll View of Android. ScrollView allows you to scroll across several views within a parent view group. We will discuss how Scroll View is created and registered. Additionally, we will look at the different kinds of attributes a Scroll View can have and their uses.
In this article, we will be using the Android Studio application, so in case you haven't yet set up the application on your system, you can check out this article.
Scroll View
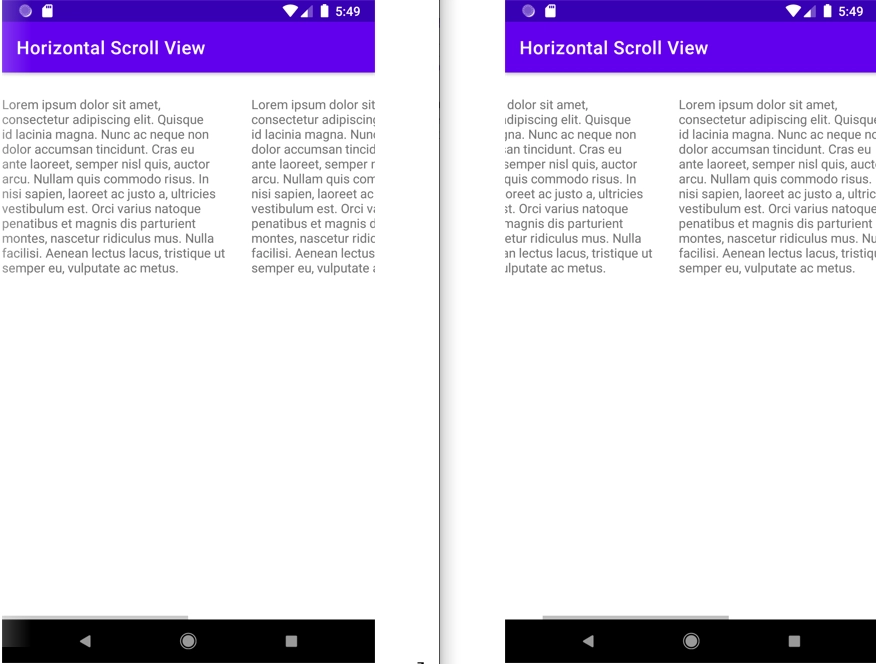
ScrollView is a view group that we can use to create vertically scrollable views. There is only one direct child in a scroll view. Because a ScrollView can only scroll vertically, you'll need to use a Horizontal Scroll View to create a horizontally scrollable view.
The ScrollView tag is used to create a Scroll View in an android application.
For example:
<ScrollView
        android:id="@+id/scrollView2"
        android:layout_width="match_parent"
        android:layout_height="match_parent"
        android:layout_marginStart="1dp"
        android:layout_marginEnd="1dp"
        app:layout_constraintBottom_toBottomOf="parent"
        app:layout_constraintEnd_toEndOf="parent"
        app:layout_constraintStart_toStartOf="parent"
        app:layout_constraintTop_toTopOf="parent">

        <TextView
            android:id="@+id/scroll_text"
            android:layout_width="match_parent"
            android:layout_height="wrap_content"
            android:orientation="vertical"
            android:text="@string/scroll_text" />
    </ScrollView>
In the above example, Scroll View has one child, which is a TextView widget. Here the android:orientation of the Text View widget is set to vertical. It defines whether to display child views in a row or column.
Attributes of Scroll View
Following are some of the important attributes of a Scroll View:
- android:id: A Unique id to identify any widget
- android:layout_width: It defines the width of the layout
- android:layout_height: It sets the layout's height
- android:layout_marginStart: The amount of space needed at the start of the widget
- android:layout_marginEnd: It represents the amount of space needed on the End of the widget
- android:inputType: This allows you to define the input method's behaviour
- android:text: Specifies the default text displayed in the field
- app:layout_constraintTop_toTopOf: Align the desired view's top with the top of another
Example:
Now that we have learned what a Scroll View is. Let's learn how to code it in a program by building a basic Android application that uses Scroll View.
First, we need to create a new project in Android Studio by selecting the empty activity option. Now add some strings that will be displayed on the screen, in the strings.xml file.
strings.xml:
<resources>
    <string name="app_name">Scroll View - Vertical</string>
    <string name="scroll_text">Lorem ipsum dolor sit amet, consectetur adipiscing elit. Quisque id lacinia magna. Nunc ac neque non dolor accumsan tincidunt. Cras eu ante laoreet, semper nisl quis, auctor arcu. Nullam quis commodo risus. In nisi sapien, laoreet ac justo a, ultricies vestibulum est. Nulla facilisi. Aenean lectus lacus, tristique ut semper eu, vulputate ac metus. Nullam tempor sagittis mi, non aliquet nunc blandit a. Vestibulum eget hendrerit lacus. Mauris iaculis est sed tellus imperdiet varius. Vestibulum a diam sem. Donec vestibulum, erat sit amet ornare ullamcorper, massa enim volutpat sem, eu facilisis velit leo eget nibh. Curabitur dapibus viverra elit ac tristique. Etiam maximus ut eros ac finibus. Pellentesque vitae est eros.
</string>
</resources>
In the string tag named "scroll_text," add a large text, preferably more than 1000-1500 words, so that viewing the whole text needs scrolling.
In this activity_main.xml file, we have added code for adding one Scroll View.
activity_main.xml:
<?xml version="1.0" encoding="utf-8"?>
<androidx.constraintlayout.widget.ConstraintLayout xmlns:android="http://schemas.android.com/apk/res/android"
    xmlns:app="http://schemas.android.com/apk/res-auto"
    xmlns:tools="http://schemas.android.com/tools"
    android:layout_width="match_parent"
    android:layout_height="match_parent"
    tools:context=".MainActivity">

    <ScrollView
        android:id="@+id/scrollView2"
        android:layout_width="match_parent"
        android:layout_height="match_parent"
        android:layout_marginStart="1dp"
        android:layout_marginEnd="1dp"
        app:layout_constraintBottom_toBottomOf="parent"
        app:layout_constraintEnd_toEndOf="parent"
        app:layout_constraintStart_toStartOf="parent"
        app:layout_constraintTop_toTopOf="parent">

        <TextView
            android:id="@+id/scroll_text"
            android:layout_width="match_parent"
            android:layout_height="wrap_content"
            android:orientation="vertical"
            android:text="@string/scroll_text" />
    </ScrollView>

</androidx.constraintlayout.widget.ConstraintLayout>
Now, go to the MainActivity.kt file. The code for the same would look something like this:
MainActivity.kt:
package com.example.scrollview_horizontal

import androidx.appcompat.app.AppCompatActivity
import android.os.Bundle

class MainActivity : AppCompatActivity() {
    override fun onCreate(savedInstanceState: Bundle?) {
        super.onCreate(savedInstanceState)
        setContentView(R.layout.activity_main)
    }
}
Output:


 9+ registered

