User Authentication In ASP.NET MVC Project
Let's create a secure web application using MVC Authentication step by step:
Step 1: Create a new project and select a template for the project as a Web Application(Model-View-Controller).
We have created our project in the following picture:

Step 2: Then click on the next, and in this step, you have to configure your application.
Change the Authentication from No Authentication To Individual User Accounts.
We have changed the Authentication from No Authentication To Individual User Accounts in the following picture:

Step 3: Click on the next, then it will ask you the name of the project. You can give any name to the project according to your preferences.
We have created our project with the name codingNinjas.

Step 4: Finally, click on create, and this will create a new application for you.
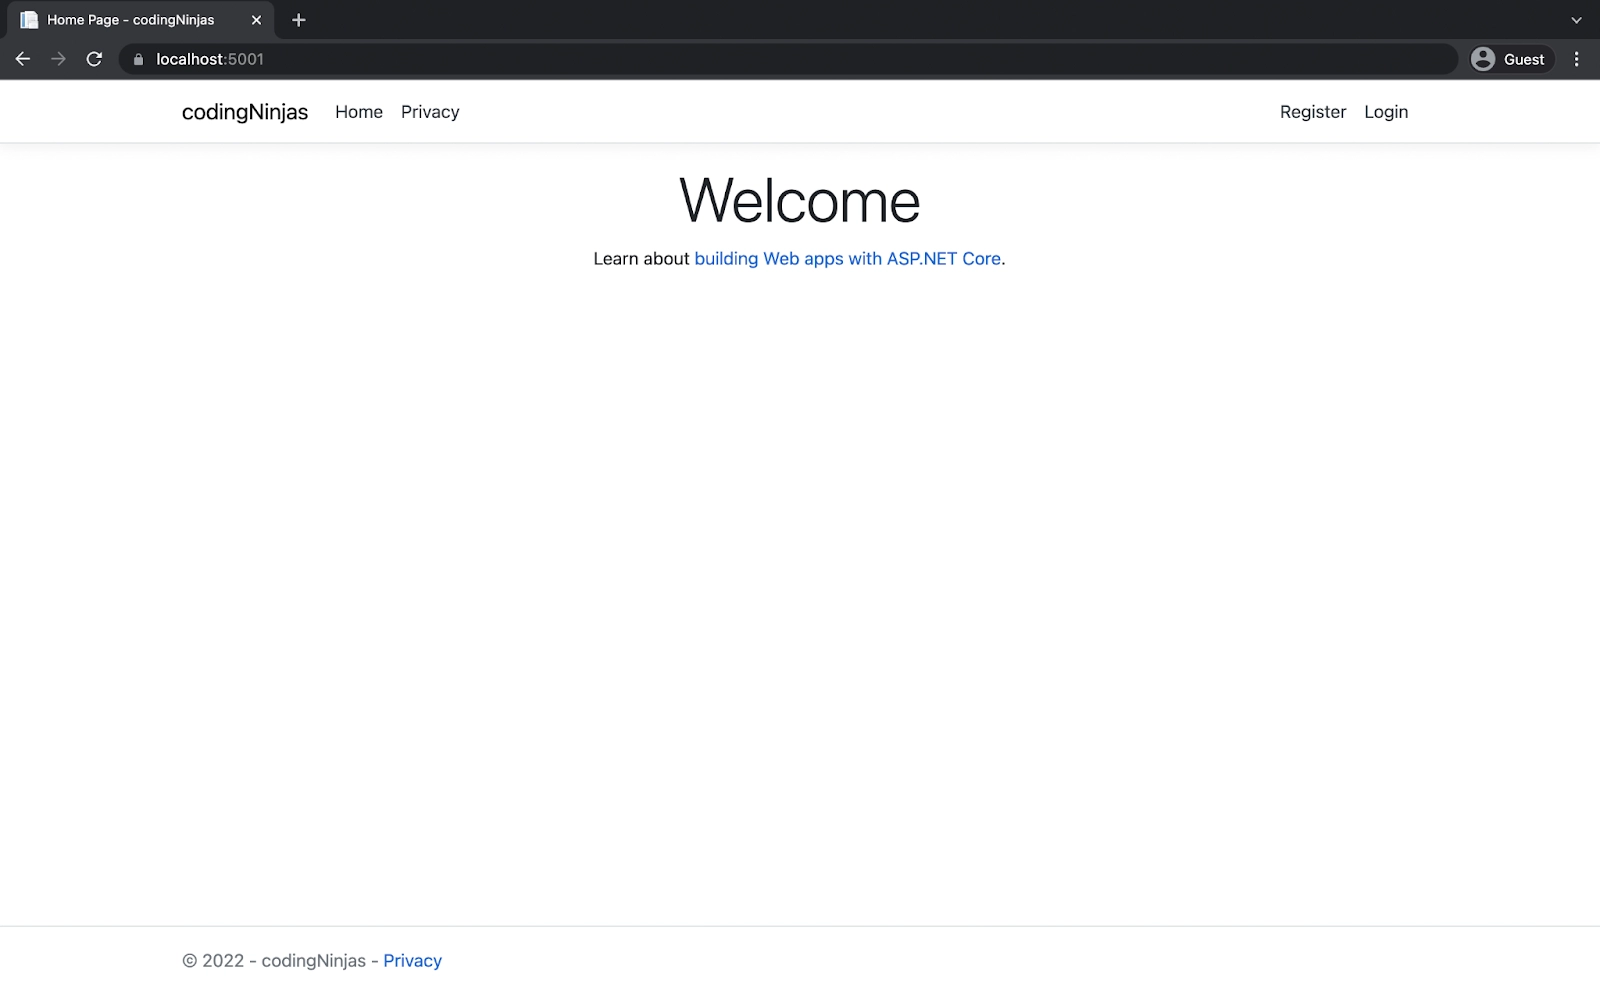
Step 5: Run the application, and you will see your application is running on some port number and having an interface like below.
Step 6: Since we don't have an account yet to log in, we first need to register.
Click on the Register link, and you will see the following interface.
 Step 7: Enter an Email address and password and register on this site.
In the following picture, we have entered a demo Email and Password and registered ourselves on the site.
 Step 8: Now, the application will recognize you, and you can easily log into the site.
We have logged in to the site in the following picture:
 If you are an authorized user, you will be able to log in and see your profile; otherwise, not.
Apart from this, we can also set authentication at the controller level. ASP.NET MVC provides annotations that we can apply to the controller and action level.
Authentication Annotations
ASP.NET came up with an Authorize annotation that can be used to set the user accessibility. To create a new controller right click on the Controller folder and select controller; it will add a new controller to the folder.
The newly created controller has some default code that we have modified to implement the authorized annotation. Our controller name is AuthController.
AuthController.cs
using System;
using System.Collections.Generic;
using System.Linq;
using System.Web;
using System.Web.Mvc;
namespace AuthenticateApplication.Controllers
{
    public class AuthController : Controller
    {
        // GET: Auth
        public ContentResult Index()
        {
            return Content("Hello, You are Guest.");
        }
        // GET: Auth/AuthorisedOnly
        [Authorize]
        public ContentResult AuthorisedOnly()
        {
            return Content("You are a registered user.");
        }
    }
}

You can also try this code with Online Java Compiler
By accessing the browser, if we use http://localhost:5001/Auth, it will produce the following output.
The above route works because it is publically accessible, but the other actions are not public. So, when we access http://localhost:5001/Auth/AuthorisedOnly, it automatically redirects the user to the login page, which means only registered users can access it.

Must Read Spring MVC Flow
Frequently Asked Questions
1.) What does MVC stand for?
Ans. MVC stands for Model-View-Controller.
2.) What are the different authentications we can set while creating our application?
Ans. There are four basic Authentication setups we can do while creating the application:-
a.) No Authentication
b.) Individual User Accounts
c.) Work or School Accounts
d.) Windows Authentication
3.) What is the purpose of Individual User Accounts in Authentication Setup?
Ans. It is mainly used as a traditional approach to set authentication for the application. It is used to set authentication for an individual user to access the application.
Key Takeaways
This blog has taught us how to create a secured web application using ASP.NET MVC Authentication using relevant code examples.
If you want to read more blogs related to ASP.NET, you can visit Web Forms LinkButton, Web Forms Calendar, ASP.NET MVC ViewBag, Features Of ASP Net, ViewData, And TempData, ASP.NET MVC Validations. If you want to learn advanced web development blogs, you can visit Coding Ninjas Web Blogs.
Happy Learning!


 9+ registered

