Example of Model Binding
Here, we will create a simple model binding with controller and View. Here we are creating a Student model with some properties, and we will use those properties to create form fields.
Create a Model
To create a Model, right-click on the Model folder and add class. Now edit the default code with the below-given code:
using System;
using System.Collections.Generic;
using System.Linq;
using System.Web;
namespace MvcApplicationDemo.Models
{
    public class Student
    {
        public int ID { get; set; }
        public string Name { get; set; }

        public string Contact { get; set; }
        public string Email { get; set; }
    }
}
Create a Controller
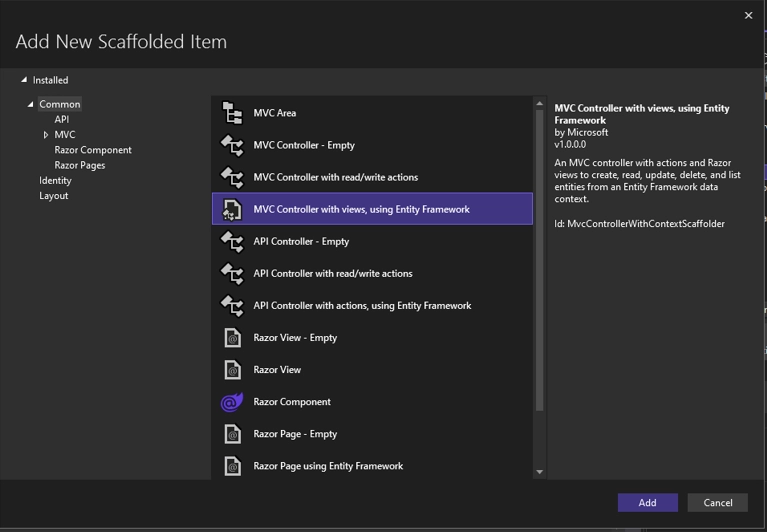
After creating the model, we will now create a controller by Right-clicking on the controller folder and adding the class as shown below:

Now add the following code in it:
using System;
using System.Collections.Generic;
using System.Linq;
using System.Web;
using System.Web.Mvc;
namespace MvcApplicationDemo.Controllers
{
    public class StudentsController : Controller
    {
        // GET: Students
        public ActionResult Index()
        {
            return View();
        }
    }
}
Creating a view
To create View, right-click on the index action method, and by selecting add view option, add the View and the corresponding model to the file.
The default file will contain some predefined code change that code with the following code:
@model MvcApplicationDemo.Models.Student
@{
    ViewBag.Title = "Index";
}
<h2>Index</h2>
@using (Html.BeginForm())
{
    @Html.AntiForgeryToken()
    <div class="form-horizontal">
        <h4>Student</h4>
        <hr />
        @Html.ValidationSummary(true, "", new { @class = "text-danger" })
        <div class="form-group">
            @Html.LabelFor(model => model.Name, htmlAttributes: new { @class = "control-label col-md-2" })
            <div class="col-md-10">
                @Html.EditorFor(model => model.Name, new { htmlAttributes = new { @class = "form-control" } })
                @Html.ValidationMessageFor(model => model.Name, "", new { @class = "text-danger" })
            </div>
        </div>
 <div class="form-group">
            @Html.LabelFor(model => model.Contact, htmlAttributes: new { @class = "control-label col-md-2" })
            <div class="col-md-10">
                @Html.EditorFor(model => model.Contact, new { htmlAttributes = new { @class = "form-control" } })
                @Html.ValidationMessageFor(model => model.Contact, "", new { @class = "text-danger" })
            </div>
        </div>


        <div class="form-group">
            @Html.LabelFor(model => model.Email, htmlAttributes: new { @class = "control-label col-md-2" })
            <div class="col-md-10">
                @Html.EditorFor(model => model.Email, new { htmlAttributes = new { @class = "form-control" } })
                @Html.ValidationMessageFor(model => model.Email, "", new { @class = "text-danger" })
            </div>
        </div>
               <div class="form-group">
            <div class="col-md-offset-2 col-md-10">
                <input type="submit" value="Create" class="btn btn-default" />
            </div>
        </div>
    </div>
}
<div>
    @Html.ActionLink("Back to List", "Index")
</div>
Output
Upon executing, the index file produces the following output:

Frequently Asked Questions
1. What are some main advantages of using ASP.NET?
Answer: There are mainly three advantages of using ASP.NET: cross-platform High performance and open source.
2. What is HTTP protocol?
Answer: HTTP protocol refers to Hypertext Transfer Protocol.
3. Explain any use of HTTP protocol.
Answer: HTTP protocol is used as an application layer protocol for transferring files like HTML.
4. What do you mean by MVC Pattern?
Answer: It is referred to as Model, View, Controller. All these have different functions, and together they create a proper functioning project.
Key Takeaways
In this blog, we have learned about Model Binding in ASP.NET its use with good examples by creating MVC structure and the corresponding output.
Refer to this blog to learn about MVC Validations in ASP.NET. You will have a complete idea about MVC validations with basic annotations and all these with suitable examples.
Recommended Reading:


