Do you think IIT Guwahati certified course can help you in your career?
Introduction
Postman is a popular API platform. It has over 20 million+ users worldwide. Creating an API project is simple by using Postman. A project may contain several APIs, but only specific authorized users may have access to them. Authorization is verifying a user's eligibility to access the server.
In this article, we will learn about authorizing requests in postman. So without any further delay, let’s start.
Authorization
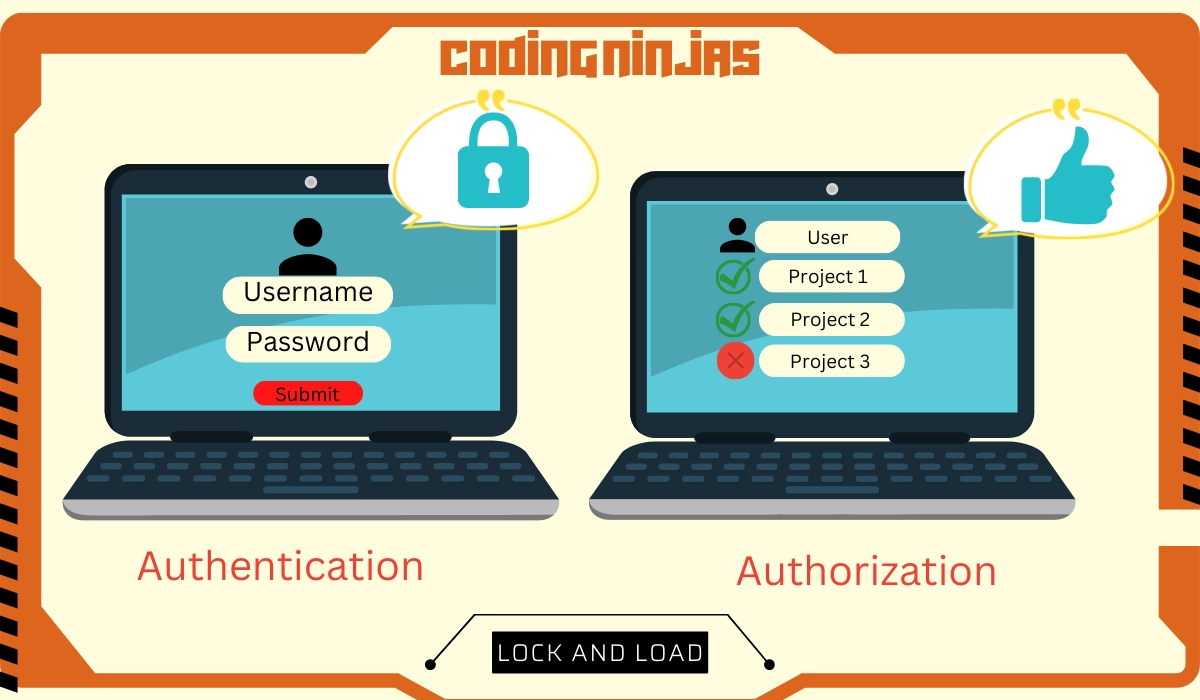
Protecting an API is very important. It includes two main processes:
Authorization
Authentication
Authorization is used by APIs that need to be secured. It is carried out to identify the user and determine whether they have the right to access a server resource. It provides two results to a user:
Authorized: “✅You can access the data.”
Not Authorized: “ERROR!!❌ You can’t access the data.”
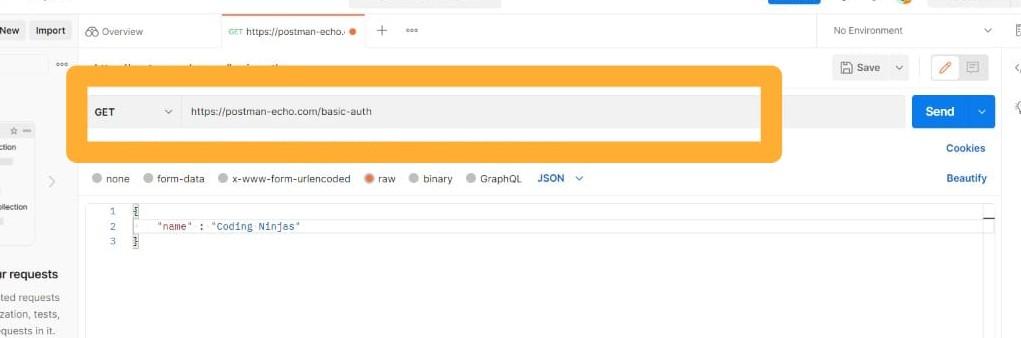
In Postman, it is done using the Authorization Tab, as shown below:
Now, let’s understand what Authentication is.
Authorization Vs Authentication
Many of us live in confusion that authorization and authentication are the same, but this is not the case. These two terms are different and are closely related.
After authentication, authorization is granting or denying someone access to the resources.
In simple terms,
Authentication: It checks Who you are.🔍
Authorization: It checks What you can do.🔑
Authentication is done to verify a user's identity, whereas Authorization permits access to resources.
Authorization using Postman
📁 When a request is authorized, the identity of the client sending it is verified.
📁 The client's authorization to access and use the endpoint is also checked.
📁 APIs employ authorization information to ensure that client requests for data access are secure.
📁 In Postman, there are various authorization types that you can utilise while building an API.
📁 When utilising a third-party API, you must ask the provider for any authorization information you need.
Let’s discuss the checking authorization in postman.
🧩 Step 2: In the edit box, type Postman: password.
🧩 Step 3: Click Encode. We can see the encoded value at the base.
🧩 Step 4: Go back to the postman app, and in the value section, instead of postman: password, add the encoded data. Press the Send button.
We will see “authenticated: true” in our response section.
Encoding through Postman
We'll try to encode using Postman rather than using a third-party website.
🧩 Step 1: Remove the values from the key-value pair that we previously created.
🧩 Step 2: Select the Basic Auth in the Type dropdown of the Authorization tab.
🧩 Step 3: Write postman in username and password in the password section.
🧩 Step 4: Click on the Send button.
We will find “authenticated: true” in our response section.
Frequently Asked Questions
What do you mean by 401 Authorization Error?
An HTTP status code problem known as the 401 Unauthorized Error denotes a client request that was delivered to a server but failed due to invalid authentication credentials. It could be displayed as HTTP error 401- Unauthorized, 401 Unauthorized, or Authorization required. It indicates that the request's authenticity was not possible.
How to fix Postman's 401 Unauthorized Error?
Verify that you typed the URL correctly.
Ensure you have chosen the correct authorization type in Postman and checked the API documentation for the service you are attempting to access.
Find a Sign in link on the service provider's page by visiting it.
After entering your credentials, try the page once more.
What does the 403 error code mean?
The server understands the request but rejects it, as shown by the HTTP response status code 403 Forbidden. This status is comparable to 401, yet re-authenticating does not affect the 403 Forbidden status code.
Conclusion
We discuss authorizing requests with the postman in detail. We covered Authorization, Authentication, Credentials, and Authorizing by encoding.
We hope this blog has helped you. We recommend you to visit our articles on different topics of Postman, such as


 9+ registered

