


Introduction
In this article, we will discuss Bootstrap -Thumbnails. In Bootstrap, thumbnails show linked images in a grid structure with minimal required markups. Bootstrap allows us to create these thumbnails that display linked images in grids with pre-defined classes. These classes help to reduce the length of the code. Thumbnails help us provide a glance of images using smaller versions of the media. Let's discuss how we can create a thumbnail and custom these.
Creating a thumbnail
Let’s discuss the step by step for implementation of thumbnails in bootstraps,
Step 1: The first step is to include the Bootstrap and jQuery CDN into the head tag before having CSS's stylesheets.
|
<link rel="stylesheet" href="https://maxcdn.bootstrapcdn.com/bootstrap/4.0.0/css/bootstrap.min.css" integrity="sha384-Gn5384xqQ1aoWXA+058RXPxPg6fy4IWvTNh0E263XmFcJlSAwiGgFAW/dAiS6JXm" crossorigin="anonymous"> <script src="https://cdn.jsdelivr.net/npm/bootstrap@5.1.3/dist/js/bootstrap.bundle.min.js" integrity="sha384-ka7Sk0Gln4gmtz2MlQnikT1wXgYsOg+OMhuP+IlRH9sENBO0LRn5q+8nbTov4+1p" crossorigin="anonymous"></script> |
Step 2: We need to create a div tag in our HTML body. We will create three div sections for each image in this div tag.
Step 3: We can add various col properties for making our page responsive, like col-sm-6 or col-md-3.
Step 4: You need to create an anchor tag <a>, with a class name - .thumbnail wrapped around an image tag.
Let’s see an example of how we can implement these steps,
|
<!DOCTYPE html> <html> <head> <title>Coding ninjas example</title> <link rel="stylesheet" href="https://maxcdn.bootstrapcdn.com/bootstrap/4.0.0/css/bootstrap.min.css" integrity="sha384-Gn5384xqQ1aoWXA+058RXPxPg6fy4IWvTNh0E263XmFcJlSAwiGgFAW/dAiS6JXm" crossorigin="anonymous"> <script src="https://cdn.jsdelivr.net/npm/bootstrap@5.1.3/dist/js/bootstrap.bundle.min.js" integrity="sha384-ka7Sk0Gln4gmtz2MlQnikT1wXgYsOg+OMhuP+IlRH9sENBO0LRn5q+8nbTov4+1p" crossorigin="anonymous"></script>
</head> <body> <div class = "row"> <div class = "col-sm-6 col-md-3"> <a href = "#" class = "img-thumbnail"> <img src = "./cn.png" alt = "thumbnail"> </a> </div> <div class = "col-sm-6 col-md-3"> <a href = "#" class = "img-thumbnail"> <img src = "./cn.png" alt = "thumbnail"> </a> </div> <div class = "col-sm-6 col-md-3"> <a href = "#" class = "img-thumbnail"> <img src = "./cn.png" alt = "Generic placeholder thumbnail"> </a> </div> </div> </body> </html> |
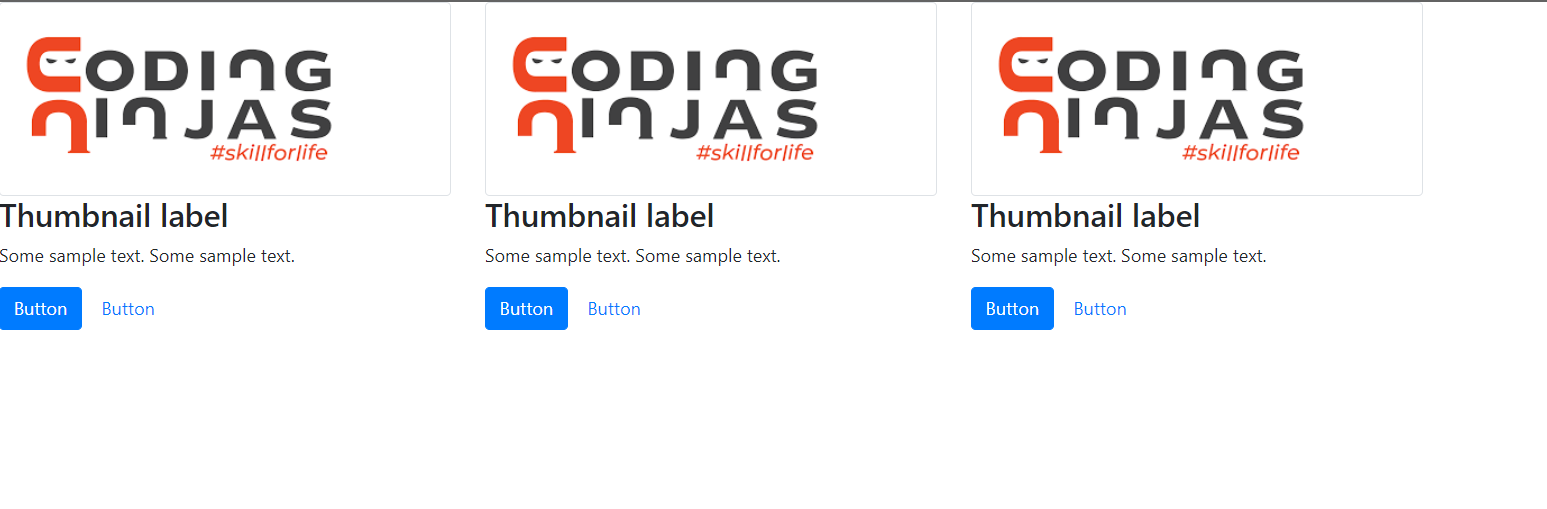
OUTPUT

Now that we have created a simple thumbnail in HTML using Bootstrap, we can customize and add any content on the screen to make it look much better. Let's see how we can do that.


 9+ registered

