Introduction
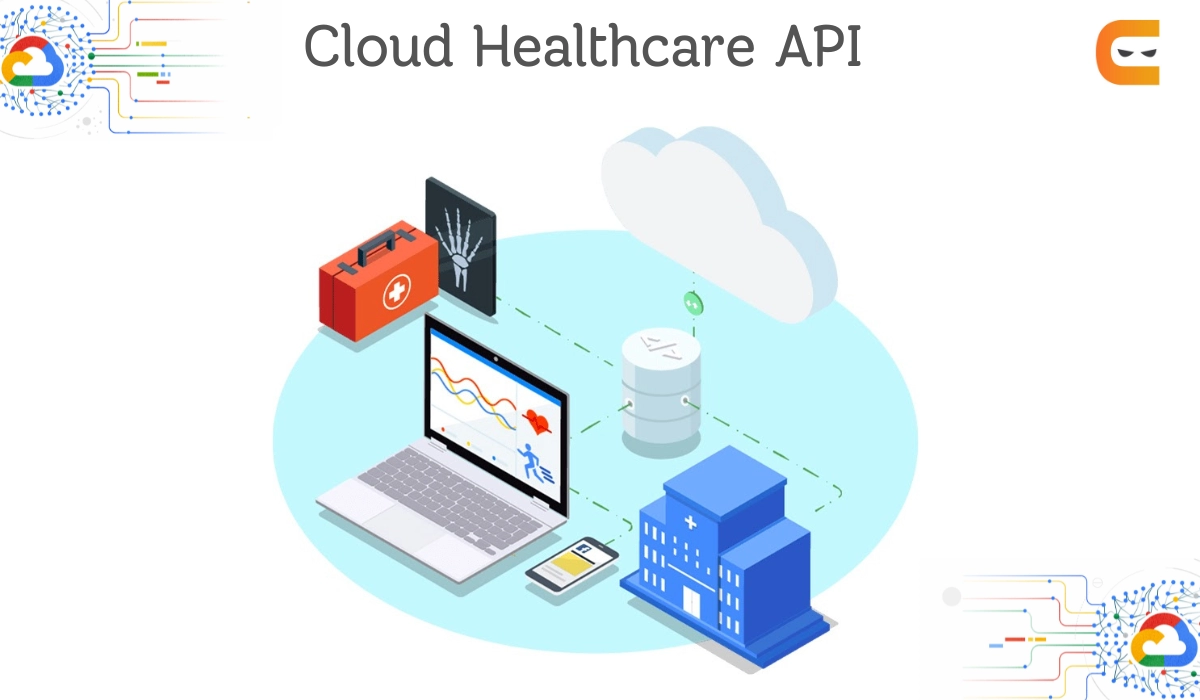
The Cloud Healthcare API offers a managed solution for storing and retrieving healthcare data in Google Cloud, acting as a vital link between applications running on Google Cloud and current healthcare systems.

In this blog, we will learn about Cloud Healthcare API.
How to use Healthcare API?
Steps to use Healthcare API:-
- Create a dataset for the Cloud Healthcare API.
-
In the dataset, establish one of the following data stores:
- Store for Digital Imaging and Communications in Medicine(DICOM).
- Store for Fast Healthcare Interoperability (FHIR)
- Store for Health Level Seven International Version 2 (HL7v2)
- Store and analyze a certain kind of medical data in the HL7v2, FHIR, or DICOM stores.
Let’s discuss the above steps briefly.
Create a Dataset
Healthcare data may be found in data stores, which are part of datasets. You must provide at least one dataset in order to use the Cloud Healthcare API.

Create a dataset using the datasets.create method:
curl -X POST \
    --data "" \
    -H "Authorization: Bearer $(gcloud auth application-default print-access-token)" \
    -H "Content-Type: application/json; charset=utf-8" \
    "https://healthcare.googleapis.com/v1/projects/PROJECT_ID/locations/us-central1/datasets?datasetId=my-dataset"
You need to replace PROJECT_ID with the ID of your Google Cloud project.
Store and View a DICOM instance
The tasks we need to do are:-

Create a DICOM store
DICOM stores are DICOM instances that reside within datasets. Using the dicomStores.create method, create a DICOM store.
curl -X POST \
    --data "" \
    -H "Authorization: Bearer $(gcloud auth application-default print-access-token)" \
    -H "Content-Type: application/json; charset=utf-8" \
    "https://healthcare.googleapis.com/v1/projects/PROJECT_ID/locations/us-central1/datasets/my-dataset/dicomStores?dicomStoreId=my-dicom-store"
You need to replace PROJECT_ID with the ID of your Google Cloud project.
Store a DICOM Instance
There are two steps you need to follow to store a DICOM instance.
Step1: Download the sample DICOM instance file to your computer. A de-identified patient X-ray is in the file.
curl -O https://cloud.google.com/healthcare-api/docs/resources/dicom_00000001_000.dcm
Step2: Use the dicomStores.storeInstances function to store the DICOM instance.
curl -X POST \
    -H "Content-Type: application/dicom" \
    -H "Authorization: Bearer $(gcloud auth application-default print-access-token)" \
    --data-binary @dicom_00000001_000.dcm \
    https://healthcare.googleapis.com/v1/projects/PROJECT_ID/locations/us-central1/datasets/my-dataset/dicomStores/my-dicom-store/dicomWeb/studies
You need to replace PROJECT_ID with the ID of your Google Cloud project.
View DICOM Instance metadata
Using the dicomStores.searchForInstances function, view the instance's metadata:
curl -X GET \
    -H "Authorization: Bearer $(gcloud auth application-default print-access-token)" \
    "https://healthcare.googleapis.com/v1/projects/PROJECT_ID/locations/us-central1/datasets/my-dataset/dicomStores/my-dicom-store/dicomWeb/instances"
You need to replace PROJECT_ID with the ID of your Google Cloud project.
Store and View an FHIR Resources
The tasks we need to do are:-

Create an FHIR store
FHIR stores, which include FHIR resources, are present inside datasets. Using the fhirStores.create method, create an FHIR store.
curl -X POST \
    -H "Authorization: Bearer $(gcloud auth application-default print-access-token)" \
    -H "Content-Type: application/json; charset=utf-8" \
    --data "{
      'version': 'R4'
    }" "https://healthcare.googleapis.com/v1/projects/PROJECT_ID/locations/us-central1/datasets/my-dataset/fhirStores?fhirStoreId=my-fhir-store"
You need to replace PROJECT_ID with the ID of your Google Cloud project.
Store an FHIR resource
There are two steps you need to follow to store an FHIR resource.
Step1: Save the sample JSON FHIR resource file to your computer. The file includes fundamental patient resource information.
curl -O https://cloud.google.com/healthcare-api/docs/resources/Patient.json
Step2: Use the fhir.create function to store the Patient resource.
curl -X POST \
    -H "Authorization: Bearer $(gcloud auth application-default print-access-token)" \
    -H "Content-Type: application/fhir+json; charset=utf-8" \
    --data @Patient.json \
    "https://healthcare.googleapis.com/v1/projects/PROJECT_ID/locations/us-central1/datasets/my-dataset/fhirStores/my-fhir-store/fhir/Patient"
You need to replace PROJECT_ID with the ID of your Google Cloud project.
View FHIR resource contents
Use the fhir.search to view information about the Patient resource.
curl -X GET \
    -H "Authorization: Bearer $(gcloud auth application-default print-access-token)" \
    "https://healthcare.googleapis.com/v1/projects/PROJECT_ID/locations/us-central1/datasets/my-dataset/fhirStores/my-fhir-store/fhir/Patient?family:exact=Ninjas"
You need to replace PROJECT_ID with the ID of your Google Cloud project.
Store and View an HL7v2 Message
The tasks we need to do are:-

Create an HL7v2 store
HL7v2 stores are found within datasets and contain HL7v2 messages. Using the hl7V2Stores.create method, create an HL7v2 store.
curl -X POST \
    --data "" \
    -H "Authorization: Bearer $(gcloud auth application-default print-access-token)" \
    -H "Content-Type: application/json; charset=utf-8" \
    "https://healthcare.googleapis.com/v1/projects/PROJECT_ID/locations/us-central1/datasets/my-dataset/hl7V2Stores?hl7V2StoreId=my-hl7v2-store"
You need to replace PROJECT_ID with the ID of your Google Cloud project.
Store an HL7v2 message
There are two steps you need to follow to store an HL7v2 message.
Step1: To your computer, download the sample HL7v2 message file.
curl -O https://cloud.google.com/healthcare-api/docs/resources/hl7v2-sample.json
Step2: Use the messages.create method to store the HL7v2 message.
curl -X POST \
    -H "Authorization: Bearer $(gcloud auth application-default print-access-token)" \
    -H "Content-Type: application/json; charset=utf-8" \
    --data-binary @hl7v2-sample.json \
    "https://healthcare.googleapis.com/v1/projects/PROJECT_ID/locations/us-central1/datasets/my-dataset/hl7V2Stores/my-hl7v2-store/messages"
You need to replace PROJECT_ID with the ID of your Google Cloud project.
View HLv72 message contents
Take note of the MESSAGE_ID from the answer you received after creating the HL7v2 message. Use the messages.get method to view message’s details.
curl -X GET \
    -H "Authorization: Bearer $(gcloud auth application-default print-access-token)" \
    "https://healthcare.googleapis.com/v1/projects/PROJECT_ID/locations/us-central1/datasets/my-dataset/hl7V2Stores/my-hl7v2-store/messages/MESSAGE_ID"
You need to replace PROJECT_ID with the ID of your Google Cloud project.
Replace MESSAGE_ID with the ID you received after creating the HL7v2 message.
Delete the Dataset
If you no longer need the dataset, you can delete it. When you delete a dataset, you permanently erase it, and any FHIR, HL7v2, or DICOM stores it includes.
curl -X DELETE \
    -H "Authorization: Bearer $(gcloud auth application-default print-access-token)" \
    "https://healthcare.googleapis.com/v1/projects/PROJECT_ID/locations/us-central1/datasets/my-dataset"
You need to replace PROJECT_ID with the ID of your Google Cloud project.


