Creation of Circular Button
For creating a circular button we will follow a similar implementation to that of creating a normal button with colour in Kivy. The difference here is that we will use Canvas to create the button so that we can customise it to be circular.
- Importing kivy
- Importing the kivy App
- Importing the widget
- Importing the Button
-
import Canvas, i.e.:
- from kivy.graphics import Rectangle, Color
- set the minimum version(it is optional)
- Extend the Widget Class
- Create App Class
-
Create .kv File ( Same name as the App class)
- Create the button using canvas
- Use border property to give them a circular shape.
- Add action/callback if needed
- Return the widget
- Run an instance of the class
Circular Button Implementation Using .kv File
As we have seen above, the steps are to be followed while creating a button with colour using the .kv file. Now we will be discussing with the help of a program.
The python code will set up our class, but we will define our buttons and their subsequent customisations using a separate .kv file. In the .kv file, we will use the canvas that we import in the python file to give it a circular shape using a rectangle with rounded corners.
Python Code
## Sample Python application demonstrating the
## working of canvas with buttonbehaviour i.e
## creating a circular button in Kivy using .kv file

import kivy


kivy.require("1.9.1")

# base Class of your App inherits from the App class.
# app:always refers to the instance of your application
from kivy.app import App

# From graphics module we are importing
# Rectangle and Color as they are
# basic building of canvas.
from kivy.graphics import Rectangle, Color

# The ButtonBehavior mixin class provides Button behavior.
from kivy.uix.button import ButtonBehavior

# The Label widget is for rendering text.
from kivy.uix.label import Label

# class in which we are creating the canvas
class CircularButton(ButtonBehavior, Label):
    pass

# Create the App Class
class BtnApp(App):
    def build(self):
        return CircularButton()

# run the App
BtnApp().run()

You can also try this code with Online Python Compiler
.kv File Program
# .kv file of creating a circular button using canvas
<CircularButton>:
# Creating Circular button
canvas:
# Color is different if button is pressed
Color:
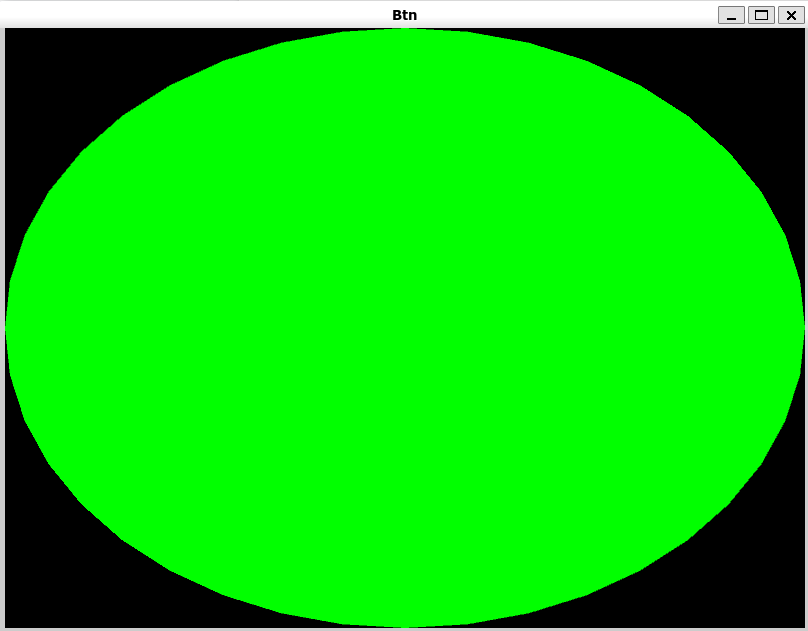
rgb: (0, 1, 0, 1) if self.state == 'normal' else (1, 0, 1, 1)
# Rounded rectangle canvas
RoundedRectangle:
# Giving the size and the position
size: (self.size)
pos: (self.pos)
# This will force the rectangle to be the circle
radius: [400, ]
Output
Frequently Asked Questions
How to set the background colour of the button in kivy?
The background-colour kivy is the property which sets the background colour of an element.
Syntax - background_color: 1, 0, 0, 1
How can we turn off a button in kivy?
To turn off a button in kivy we can use a Boolean statement from Kivy, disabled: True.
What is a widget in kivy?
A Widget is a base building block of the GUI interfaces in Kivy. It provides a Canvas that can be used to draw on the screen.
What is Kivy Uix?
The kivy.uix is a module which contains classes for creating and managing the Widgets.
Conclusion
In this blog, we started with the kivy framework and button introduction. Then we discussed the creation of a circular button by adding color to it using the .kv file in kivy. After that, we discussed how to change the button color and its background color with the help of a simple program.
We hope that this blog helped you enhance your knowledge to improve your understanding of changing the button colors in kivy using the .kv file.
You may also want to learn more so please visit interesting articles about buttons, kivy, and python libraries.
Learning never stops, and to learn more and become more skilled, head over to our practice platform Coding Ninjas Studio, practice top problems, attempt Mock Tests, read informative blogs, and interview experiences. Do upvote our blog to help other ninjas grow.
Happy Learning!


 9+ registered

