Introduction
When using Selenium we always have the option of creating test cases by recording the site we are currently working on. However, sometimes we need to make test cases manually using the Selenium commands in the Selenium IDE.
In this blog, we will learn how we can insert Selenium commands using the Selenium IDE.
Manual Test Cases
Following are the steps required to create manual test cases on Selenium.
Opening Selenium IDE
Before we create our first Manual Test case we must launch our browser and open the Selenium IDE.
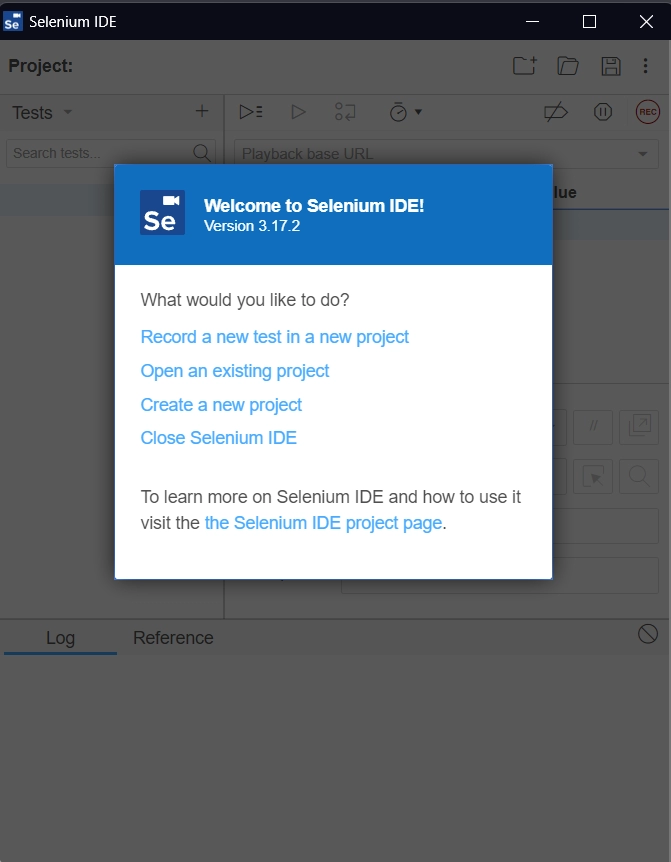
Here, we will click on the “Record a new test in a new project”, which will show us the option to give our project a name e.g “Manual Test”. Now, we reach the basic interface of the Selenium IDE.
Writing Test Cases
Before we start writing the test cases we first need to specify the website where we want to access the elements. For this we insert a command:
Command: open
Target: https://facebook.com/login
This will open us the page mentioned in the target of the command.
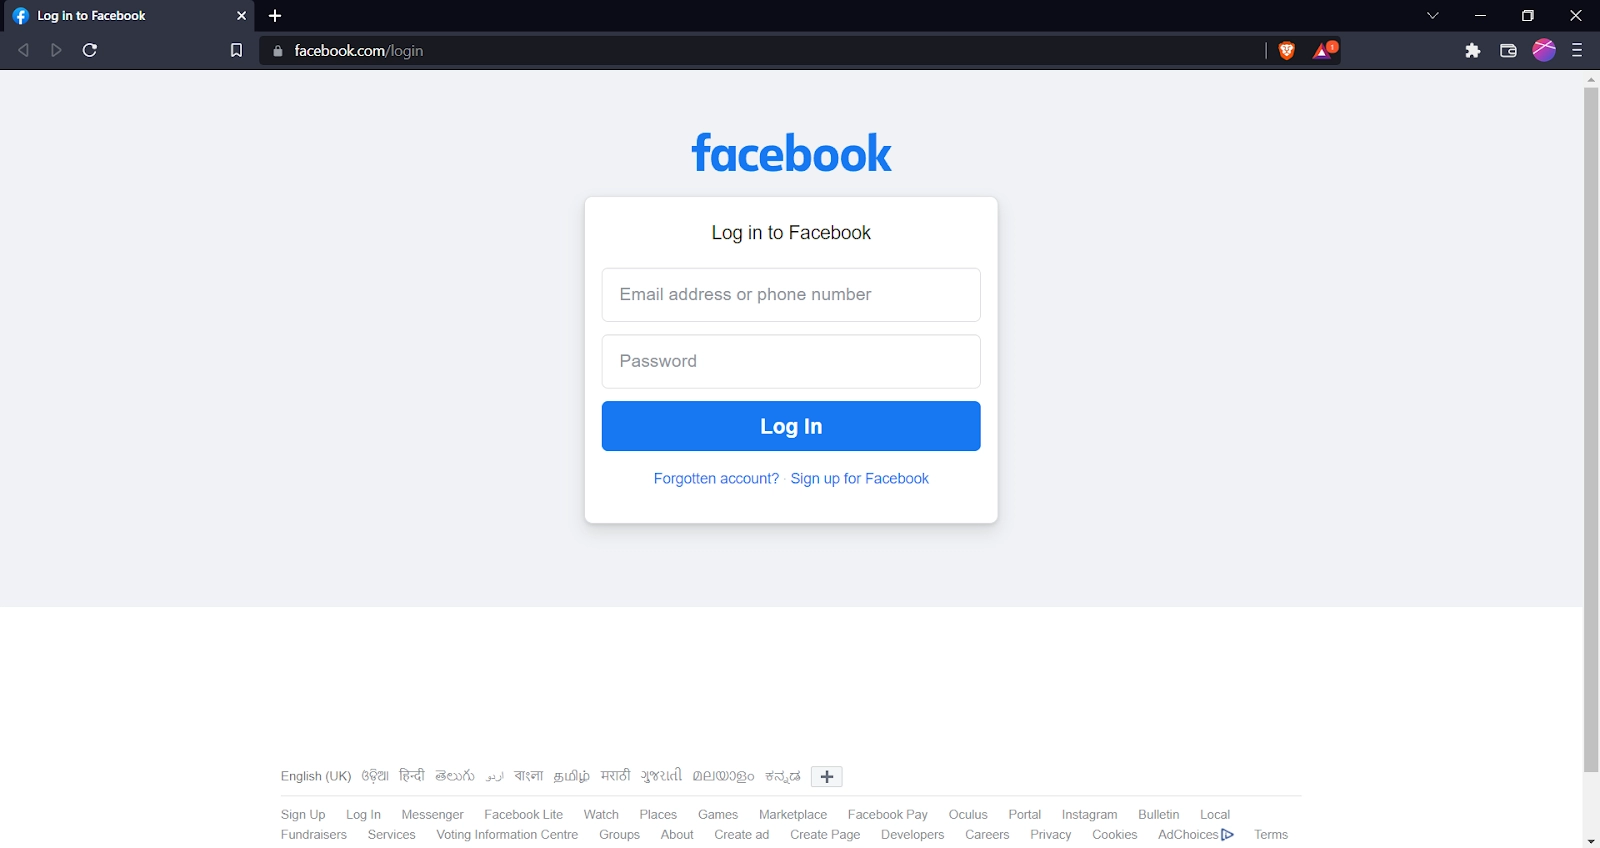
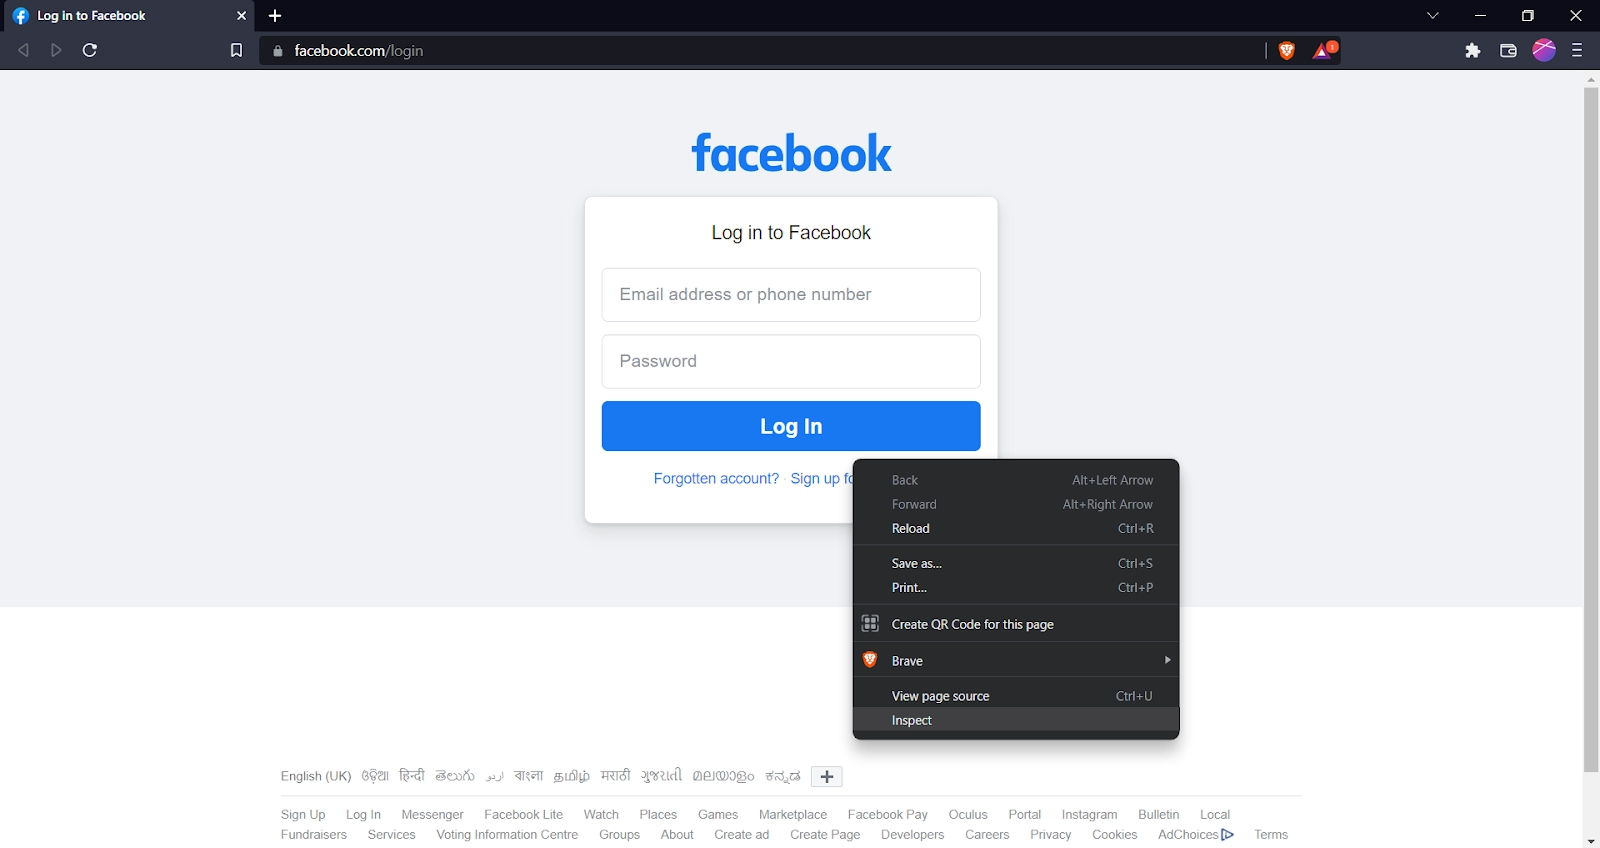
Now to insert further tests, we need to specify the components we want to test. So we need to inspect the element we want to test.
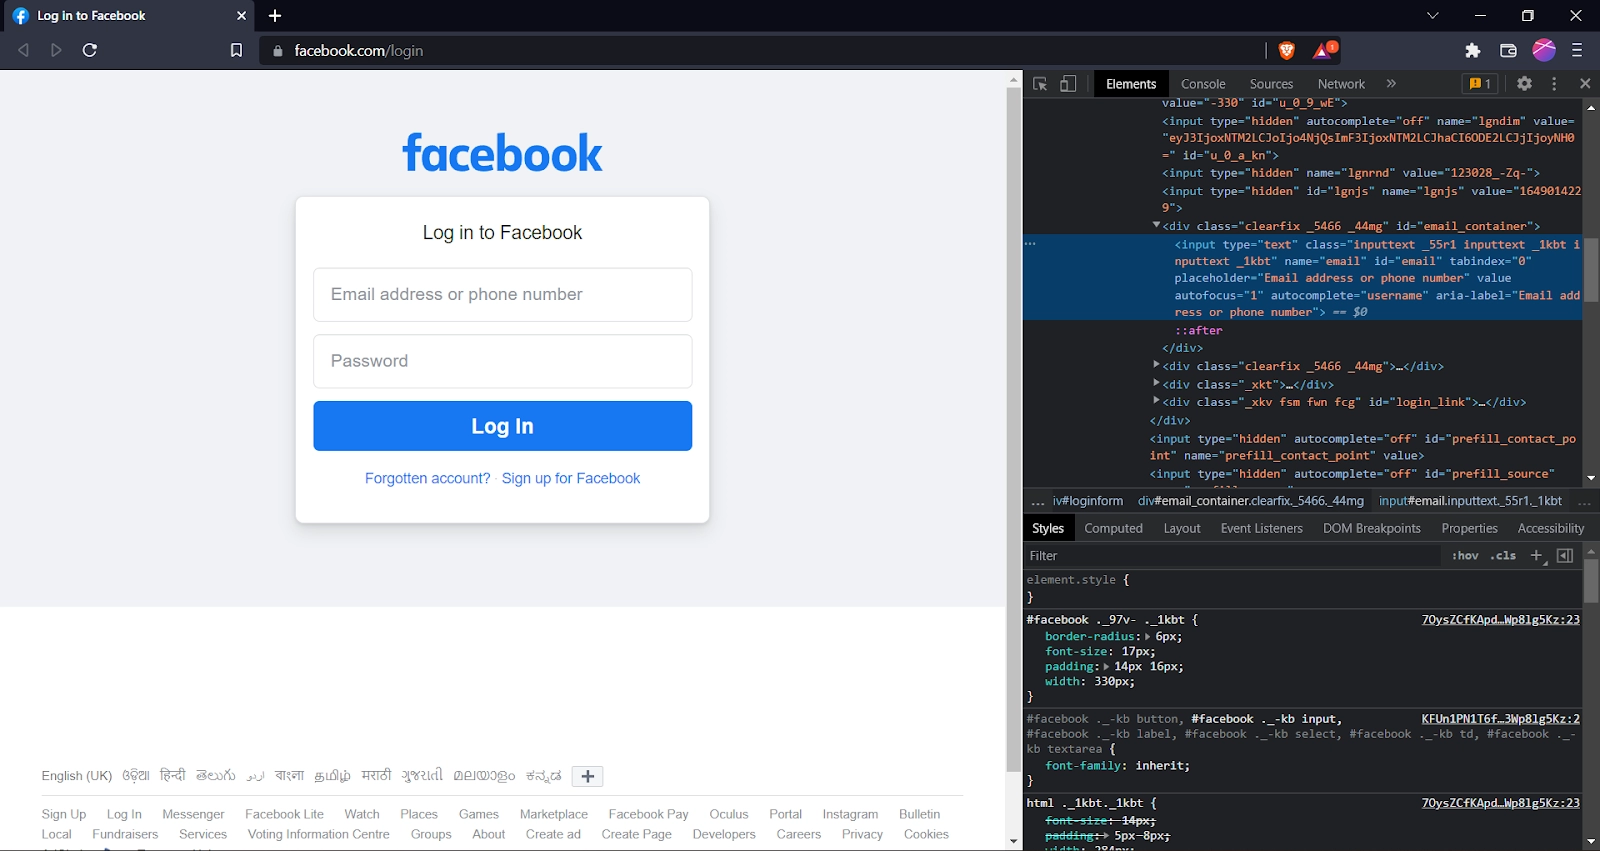
Next, we need to find the ID name of the element we want to locate in the application. Here we will test the element with id “email”. So our next command would be to create a click at event at the email field:
Command: click at
Target: id=email

Next, we will add a command that generates a type event in the same element:
Command: type
Target: id=email

Executing the Test Cases
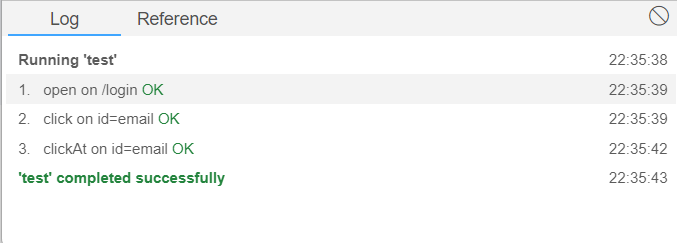
Now we just need to execute the test scripts created previously. We will simply click on the “Run Current Test” button present on the Toolbar. This will give you the executed scripts in the log pane.
Saving the Test Suite
We just need to simply click on the “Save Project” button on the toolbar.
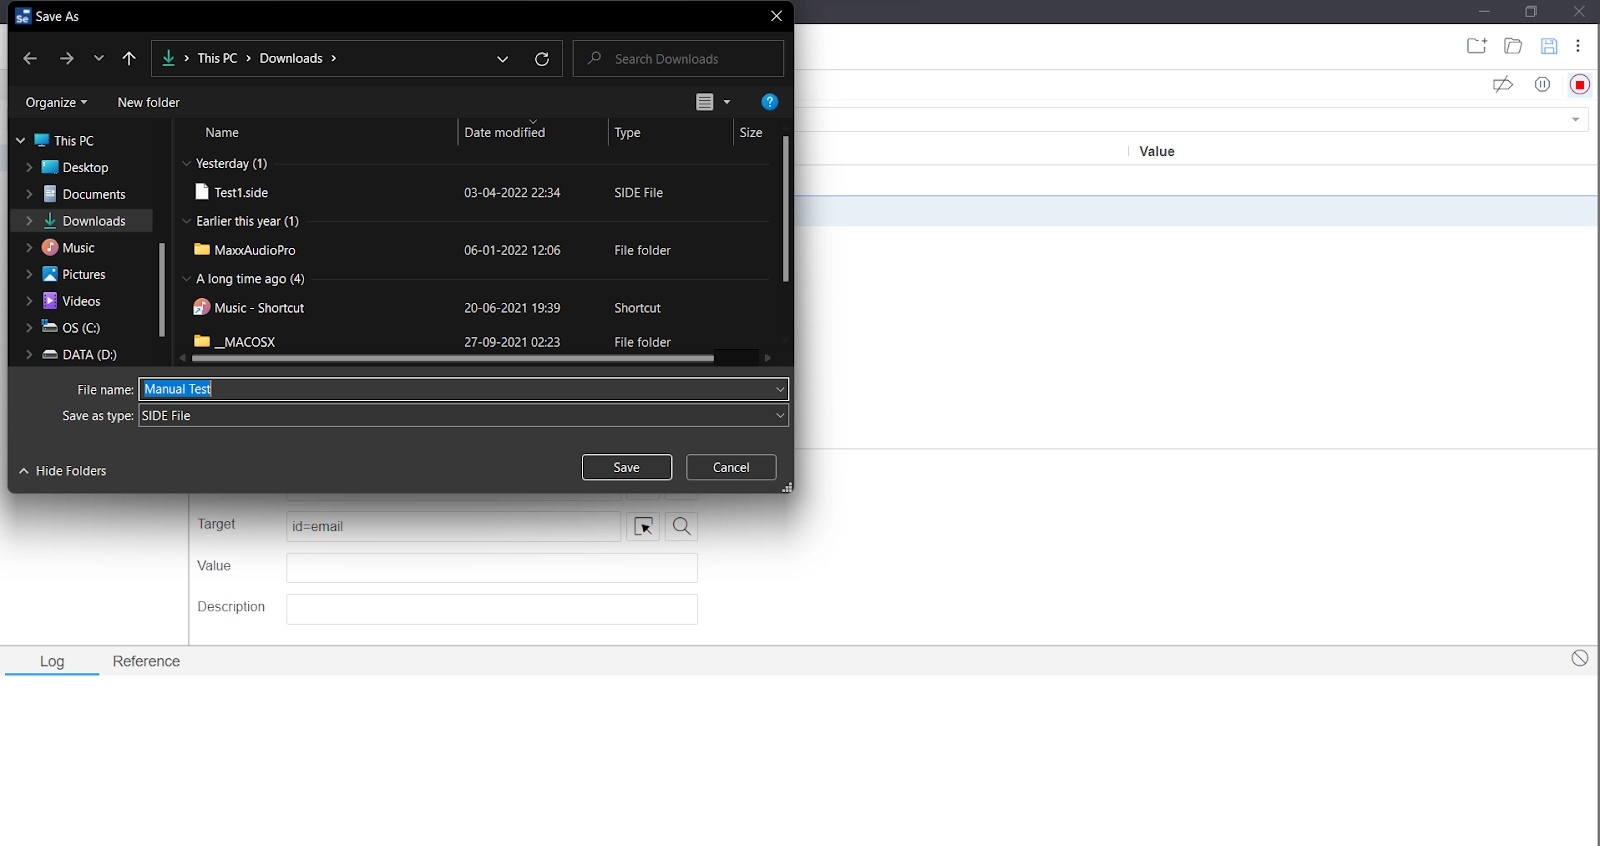
Now the test suite can be found at the location where it was saved. Thus, we have successfully made manual test cases using the Selenium IDE.


