Introduction
For development teams concerned with developing test automation across any workflow, ReadyAPI is a low-code API testing platform.
The API quality required for Agile and DevOps software teams is accelerated by ReadyAPI, which enables teams to build, organize, and run automated functional, security, and performance tests through a single centralized interface. Start by importing API definitions such as OpenAPI/Swagger or AsyncAPI, testing and recording real-time API traffic, or virtualizing web services to eliminate pipeline dependencies.
Data Driven Function testing
This article explains how to use the automatic creation of parameter values to develop a straightforward data driven function test.

Complete the actions listed below to develop a data-driven test:
-
The virtual API that you will use in this lesson is contained in a project that you may download and import.
-
Make a project that includes a minimum of one test case.
-
For that project, including a data source.
-
In order to verify test results, add an assertion.
- Execute the test.
Import the Virtual API
You must import and start a virtual API for this section so that requests may be sent to it.
-
Download the virtual API's packed ReadyAPI project here from smartbear.
-
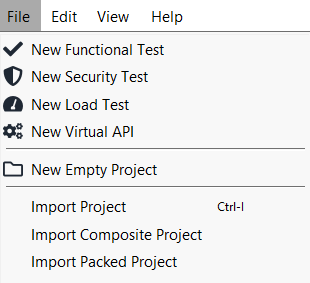
Choose the downloaded project in the window that appears by choosing File > Import Packed Project:
-
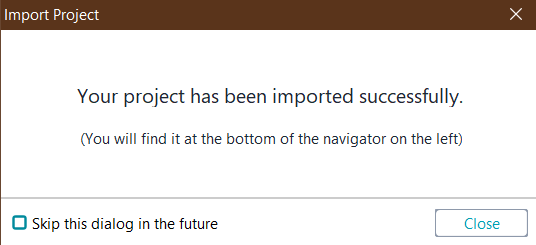
Indicate the location where the project will be saved and unzipped.
-
To execute the virtual API, choose it in the Navigator and click the green triangle with a tilt.
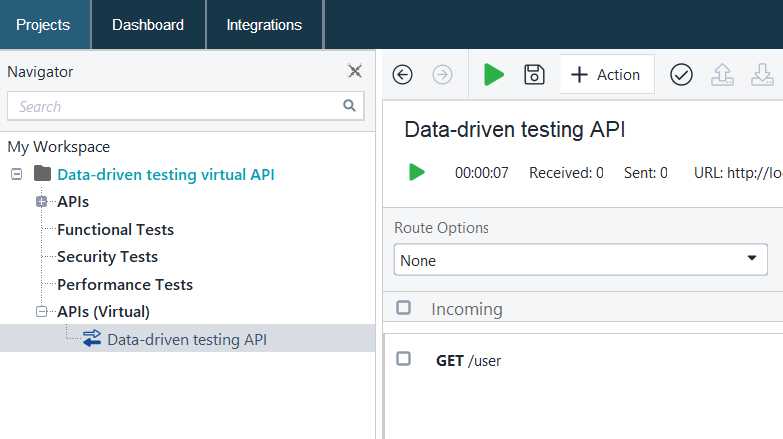
When the API gets queries with an email in the query string, it returns results based on the value of the email. You will develop a test step that will send queries to the hypothetical API in the following tutorial step.
Create a Test Case
You must first build a project with at least one test case in order to do functional testing.
-
To create a fresh functional test, choose New Functional Test under the file section.
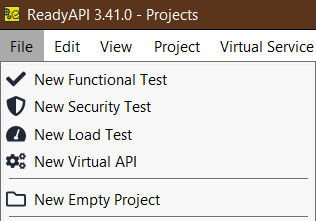
-
Click on Endpoint.
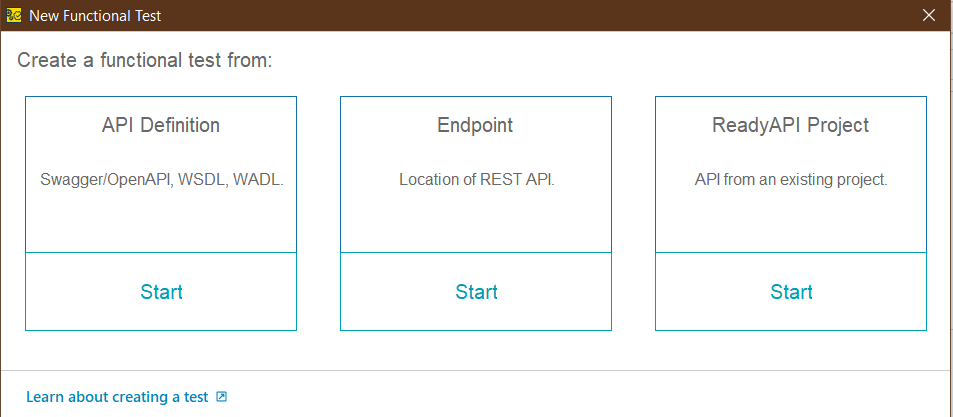
- Enter this URL: http://localhost:8092/user?email=

-
Choose whether you want to add the URL you have added to an existing project or create a new one on the wizard's following page.
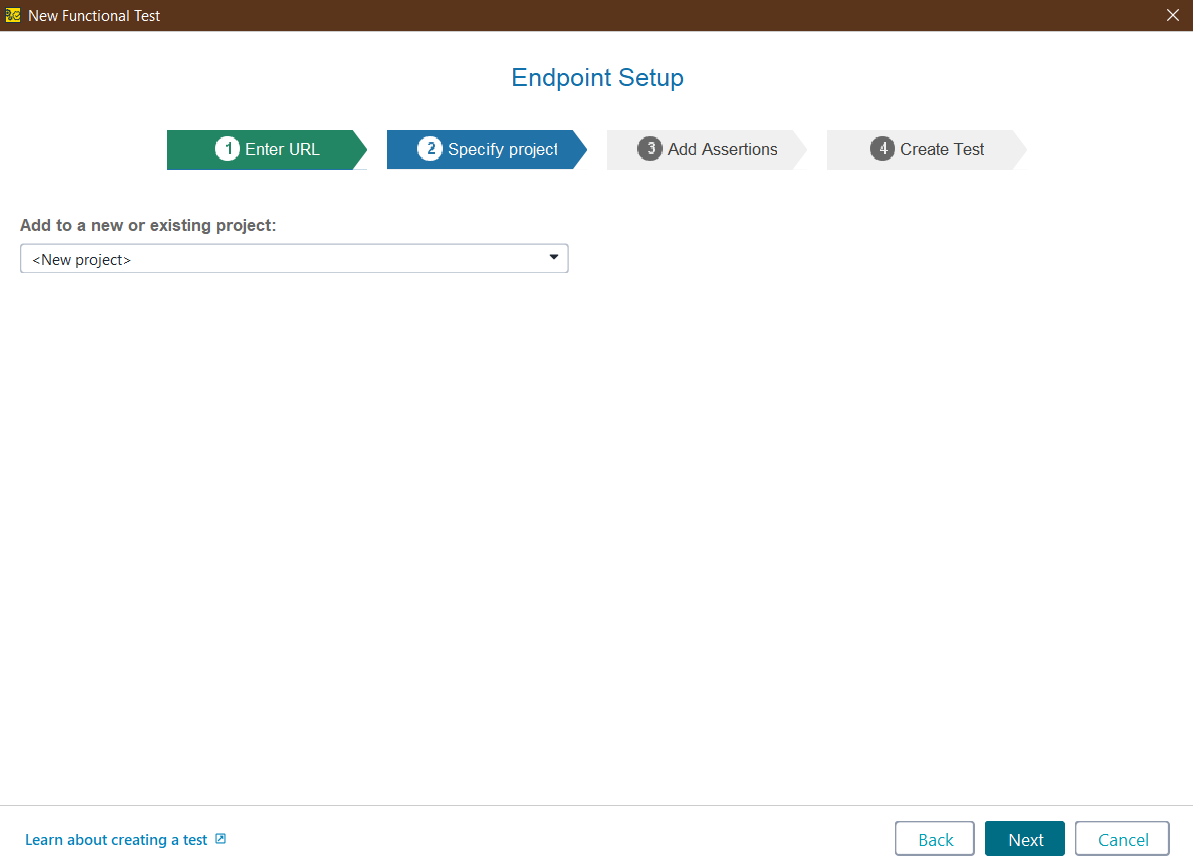
-
New requests may have assertions added to them on the wizard's subsequent page. The proposed assertions will not be used in this tutorial, so deselect them and click Next.
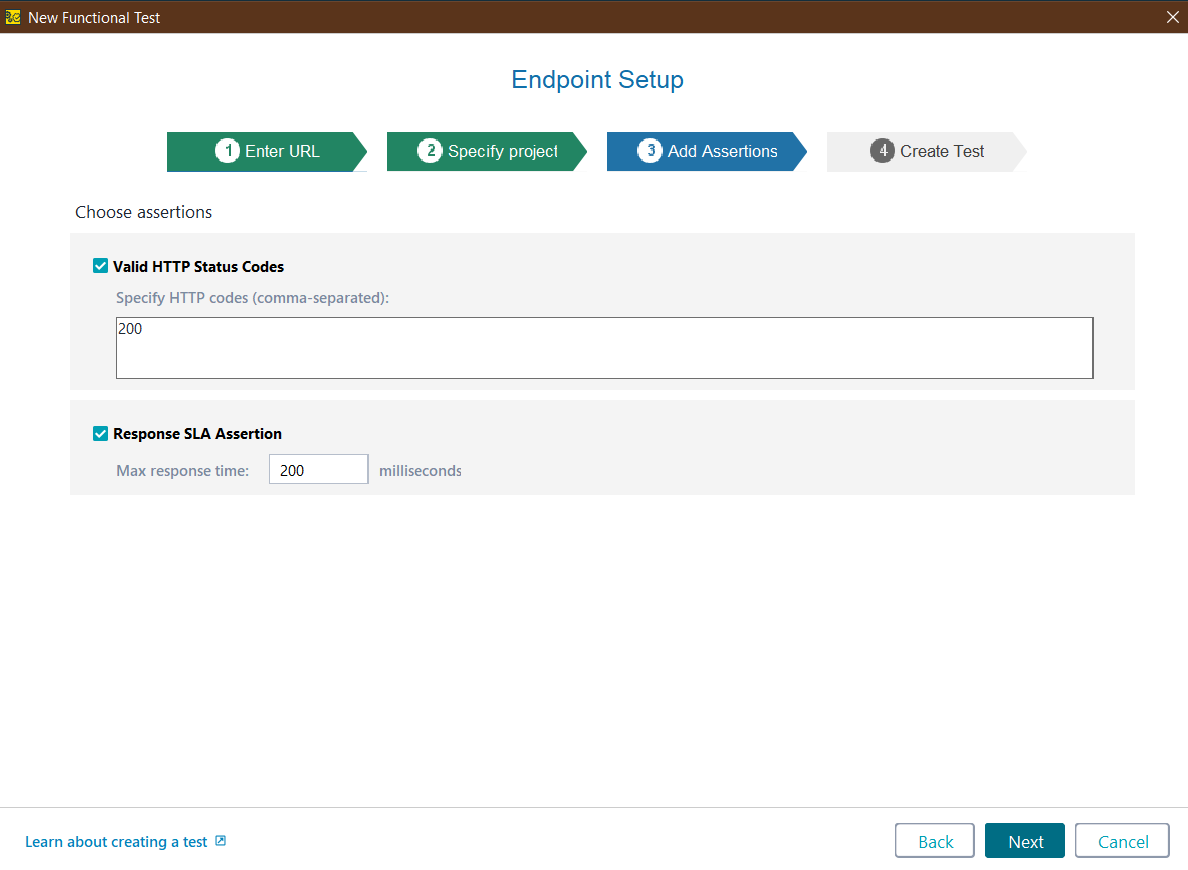
A project will be created by ReadyAPI, and a confirmation dialog will appear. Shut it. Your most recent test makes a single request to the given URL. You must add a data source in the tutorial's subsequent stage.
Create a Data Source
The email parameter is part of the request you created. You can instruct ReadyAPI to automatically produce the parameter value.
Create a data source
-
Click the Generate Values button in the request editor.
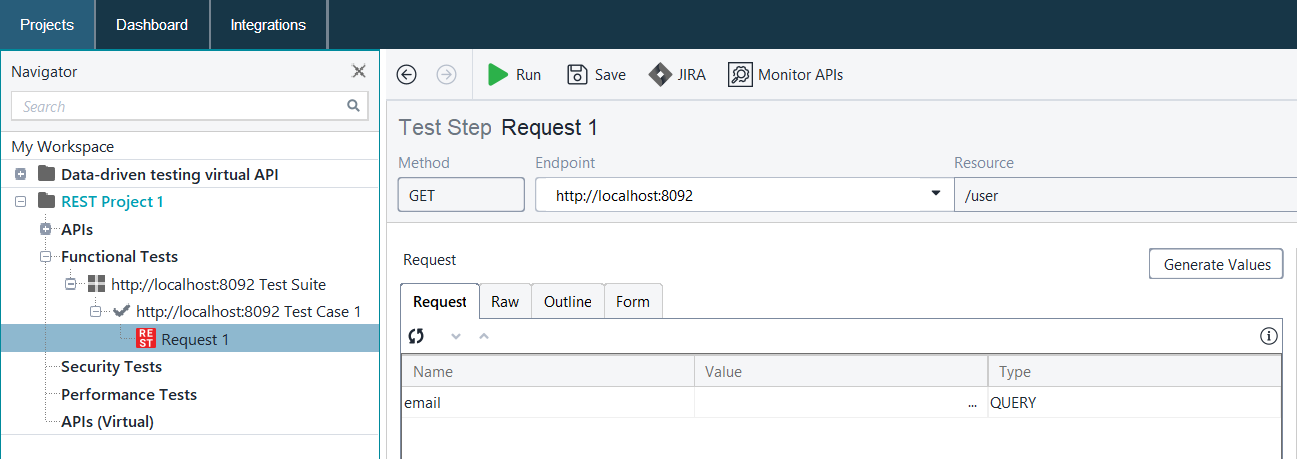
-
Select the request parameters that will be configured automatically in the Create Data-Driven Loop dialog:
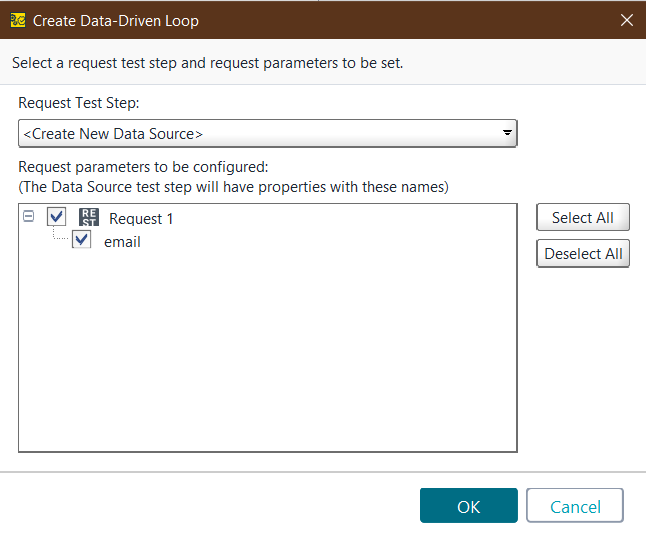
-
In the Data Source test stage, ReadyAPI will automatically add a property expansion that refers to the email property and a data source loop.

-
Launch the test phase for the data source. As you can see, ReadyAPI has set the data source to automatically produce random email addresses as values for the email attribute.
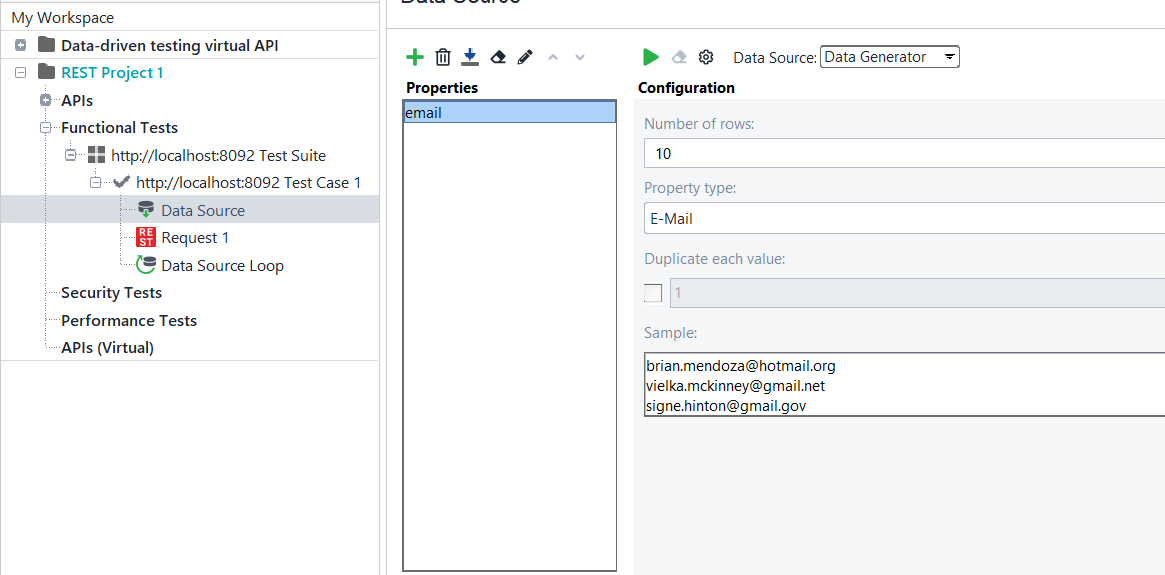
Test the data source
You can use the data log to test your data source:
-
Activate the Data Log panel.
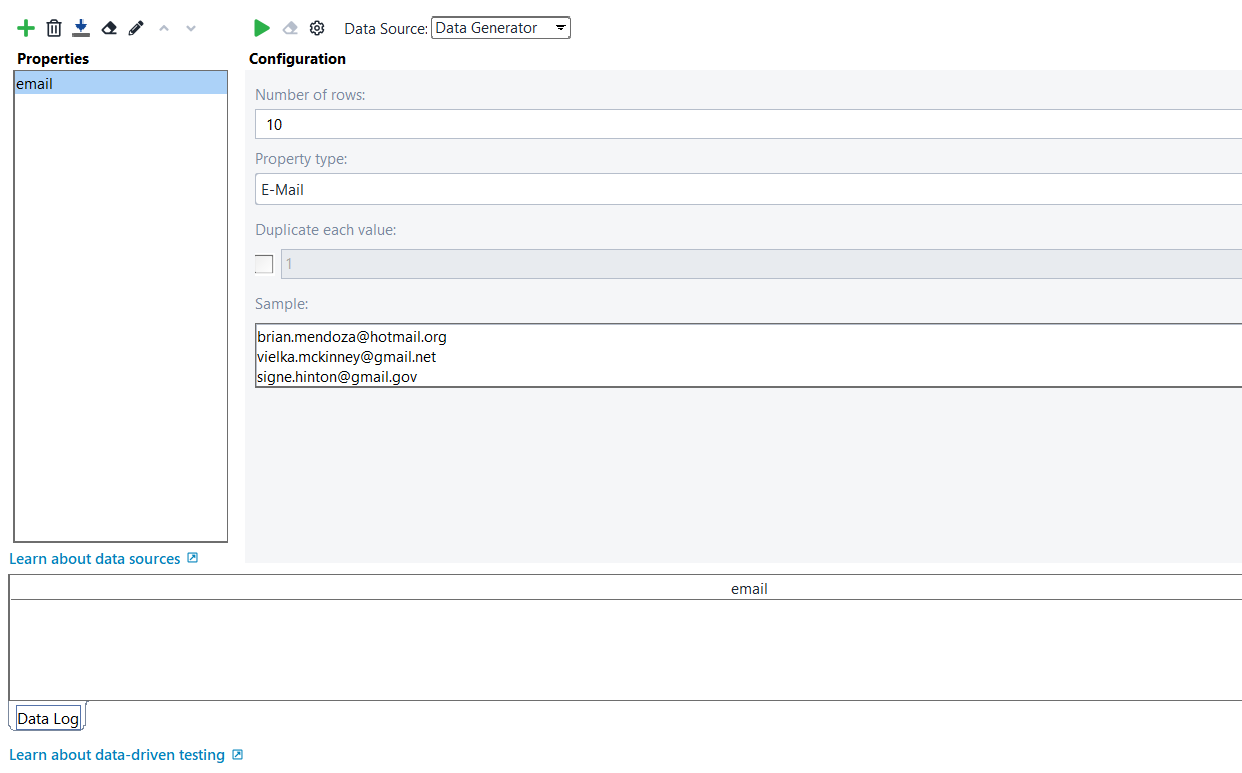
-
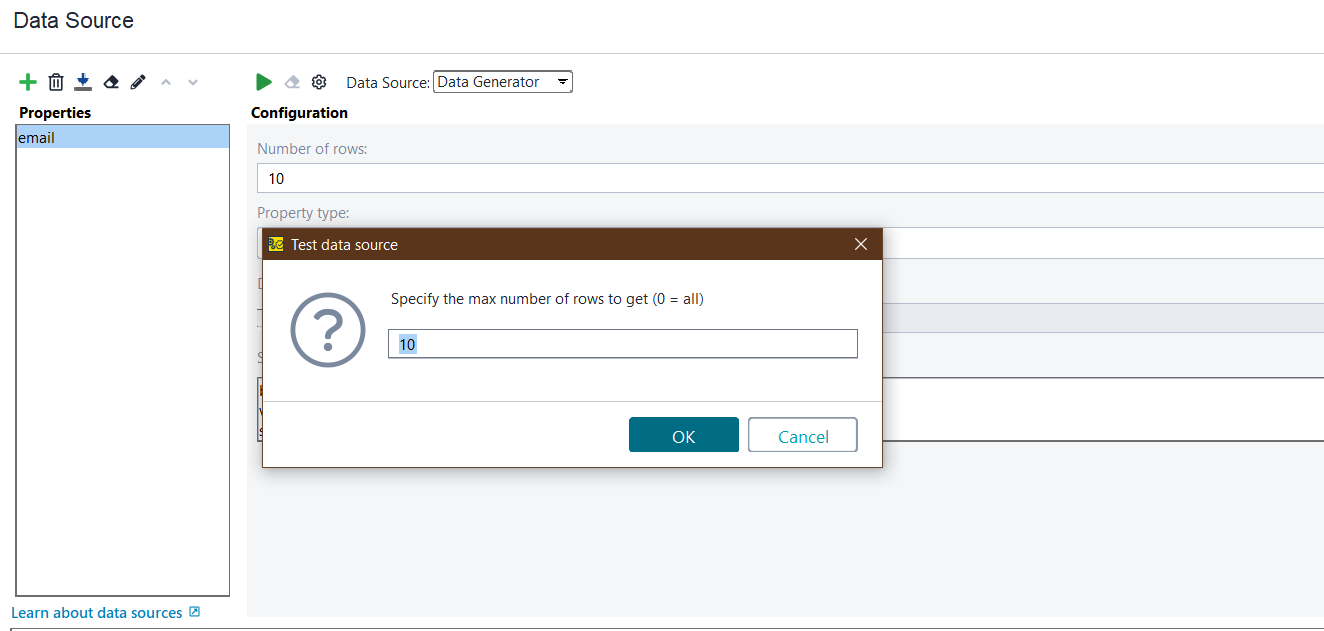
Click run, The ReadyAPI will query you for the number of rows you desire. Simply select OK.
-
The log will include the retrieved data.

You will add an assertion to the section's next step to verify test results.
Validate With Assertion
You can add an assertion to verify response data after setting up the Data Source test phase. We will employ Smart Assertion in this course, which is constructed automatically based on patterns found in responses.
The REST Request test phase, which makes use of data from a data source, should be included in your test case.
Get response
You must first replicate a request and obtain several sample responses before moving on. The information will be used by ReadyAPI to configure assertion properties automatically.
-
Click Run test case on the editor toolbar after switching to the test case editor:
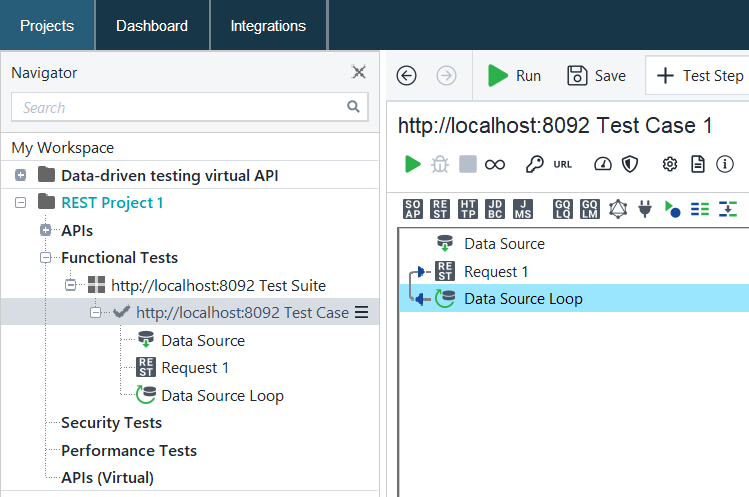
- You can now construct an assertion.
Create an assertion
-
Click Smart Assertion in the REST Request window.

-
Based on the most recent response, ReadyAPI will build an assertion and automatically set the required values for each data field. You can configure comparison operators and expected values, uncheck boxes to exclude specific fields from the assertion, and more. When finished, click Save:
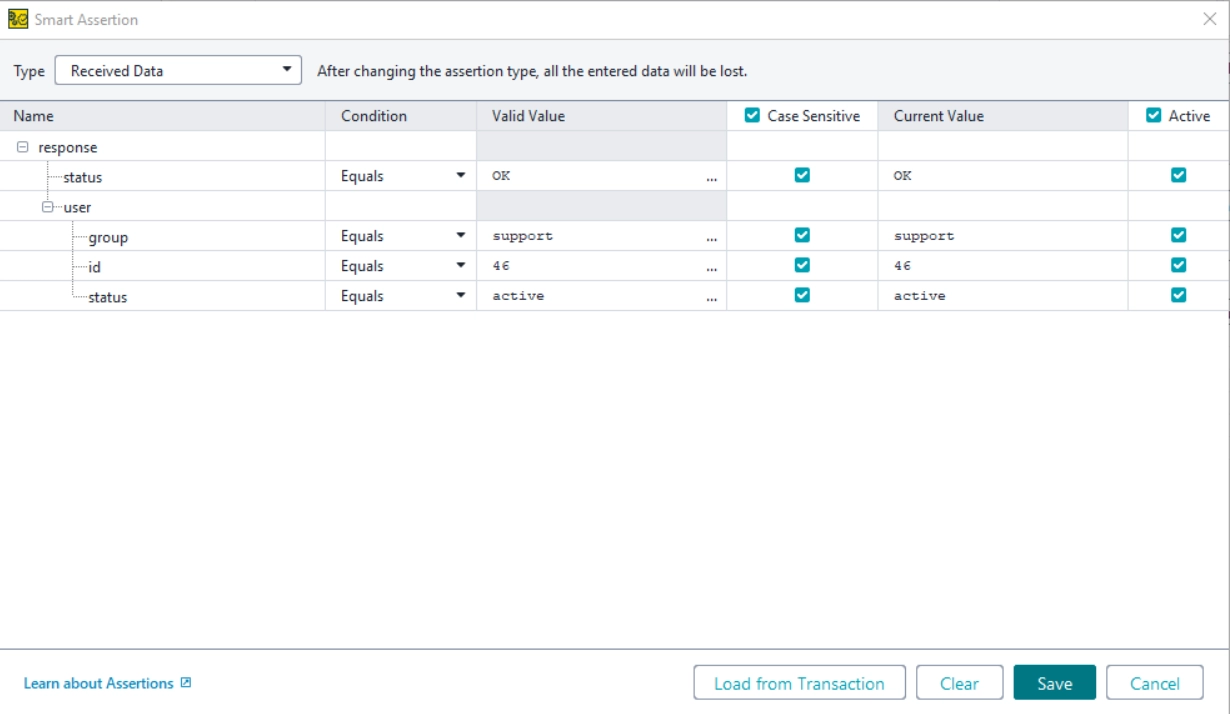
The Smart Assertion has been added to your test request. It will check to see if the response data corresponds to the predicted values. The additional assertion can be found in the Assertions panel:
Run the Test
You have a test step that uses a data source, a test case with a data source, and a data source loop that runs throughout the test. You can now execute your test case.
-
Click run on the test case toolbar to run the test case.
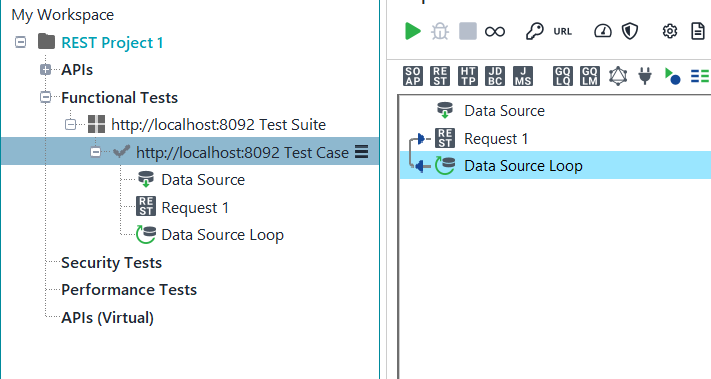
You can view the details in the Transaction Log after the test run is finished. Click Transaction Log on the test case toolbar to achieve that.

The specifics of the test case executed are shown below. The request test step was repeated by ReadyAPI and sent with various parameter values. The test case also passed because every execution succeeded.


