


Introduction
Nowadays, every business in the digital market is targeting a greater reach. The primary goal is to create user-friendly interfaces and engage your users. An interactive and strong user experience (UX) website is a must.
Vaadin, the Java framework, encourages developers to use Java as their programming language. The platform includes:
- Many web components.
- A Java-based web framework.
-
A few tools enabling the implementation of modern web Graphical User Interfaces (GUI).
The implementation can be done using Java only, TypeScript only, or both.

There are several tools of Vaadin which make it quite easy to operate. Therefore, it is now one of the most preferred platforms used for web development. In this blog, we will discuss one such tool of Vaadin, Design System Publisher, in detail.

Design System Publisher
Design System Publisher is a tool of Vaadin that let users generate their documentation website. The documentation website will be based on their design system consisting of the components, theme features, UI patterns, and guidelines.

A self-documented website makes it easier for designers and developers to keep note of the features available in their interface. That is, how they look like, how they would perform, and why they are used.
Starting with Design System Publisher
Before starting with the design system publisher tool, you must set up some mandatory environment requirements for pre-preparation.
-
Development Tools
The documentation created using Design System Publisher tools contains a project showing UI examples. Thus, installing the same development tools while developing applications is necessary.
-
Git
The CLI tool requires Git to clone an immediate copy of the documentation you create. So, make sure you have Git installed in your system before you start.
-
Node.js
The Design System Publisher tool uses Node.js to carry out its process. So, make sure you have Node.js installed in your system before you start. It is recommended to use Node.js version 16.

Creating a New Project
Run the following command in the console window to create a new website project using the Design System tool.
npx @vaadin/cli@2.7.0 dsp-init
You will be redirected to a page where you must enter your design system's name. This name is used in several instances, such as page title, folder name, etc.
The initialization script will take about a minute to finish. Once done with the process, you will have your project stored in your current working directory. Git manages the version control for the project.
You can refer to the image below to look into the directory's path. You can also get a brief idea of each step using the description.
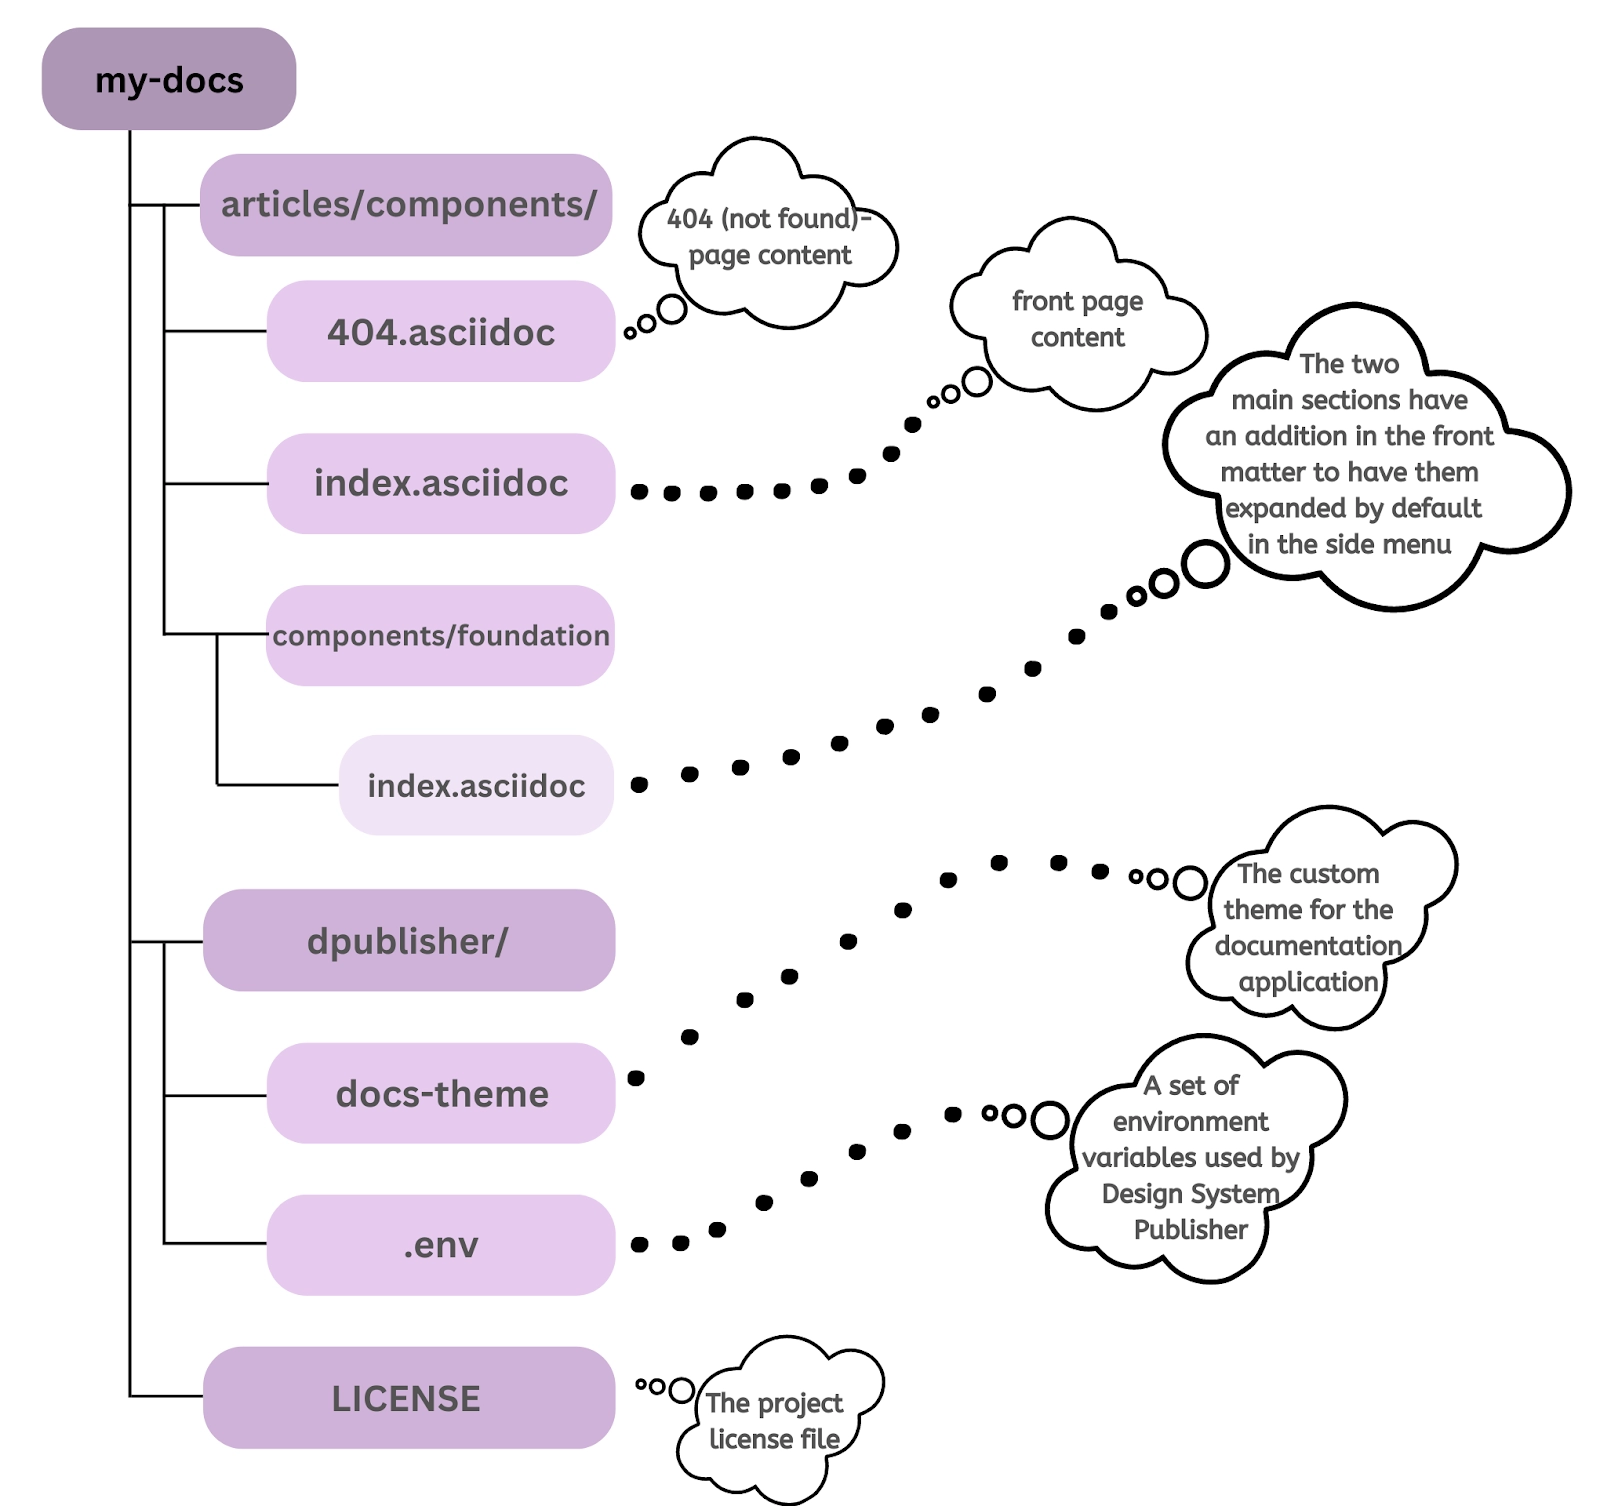
After the initialization process ends, you are required to make some file changes. Once satisfied with the changes, do not forget to commit them.
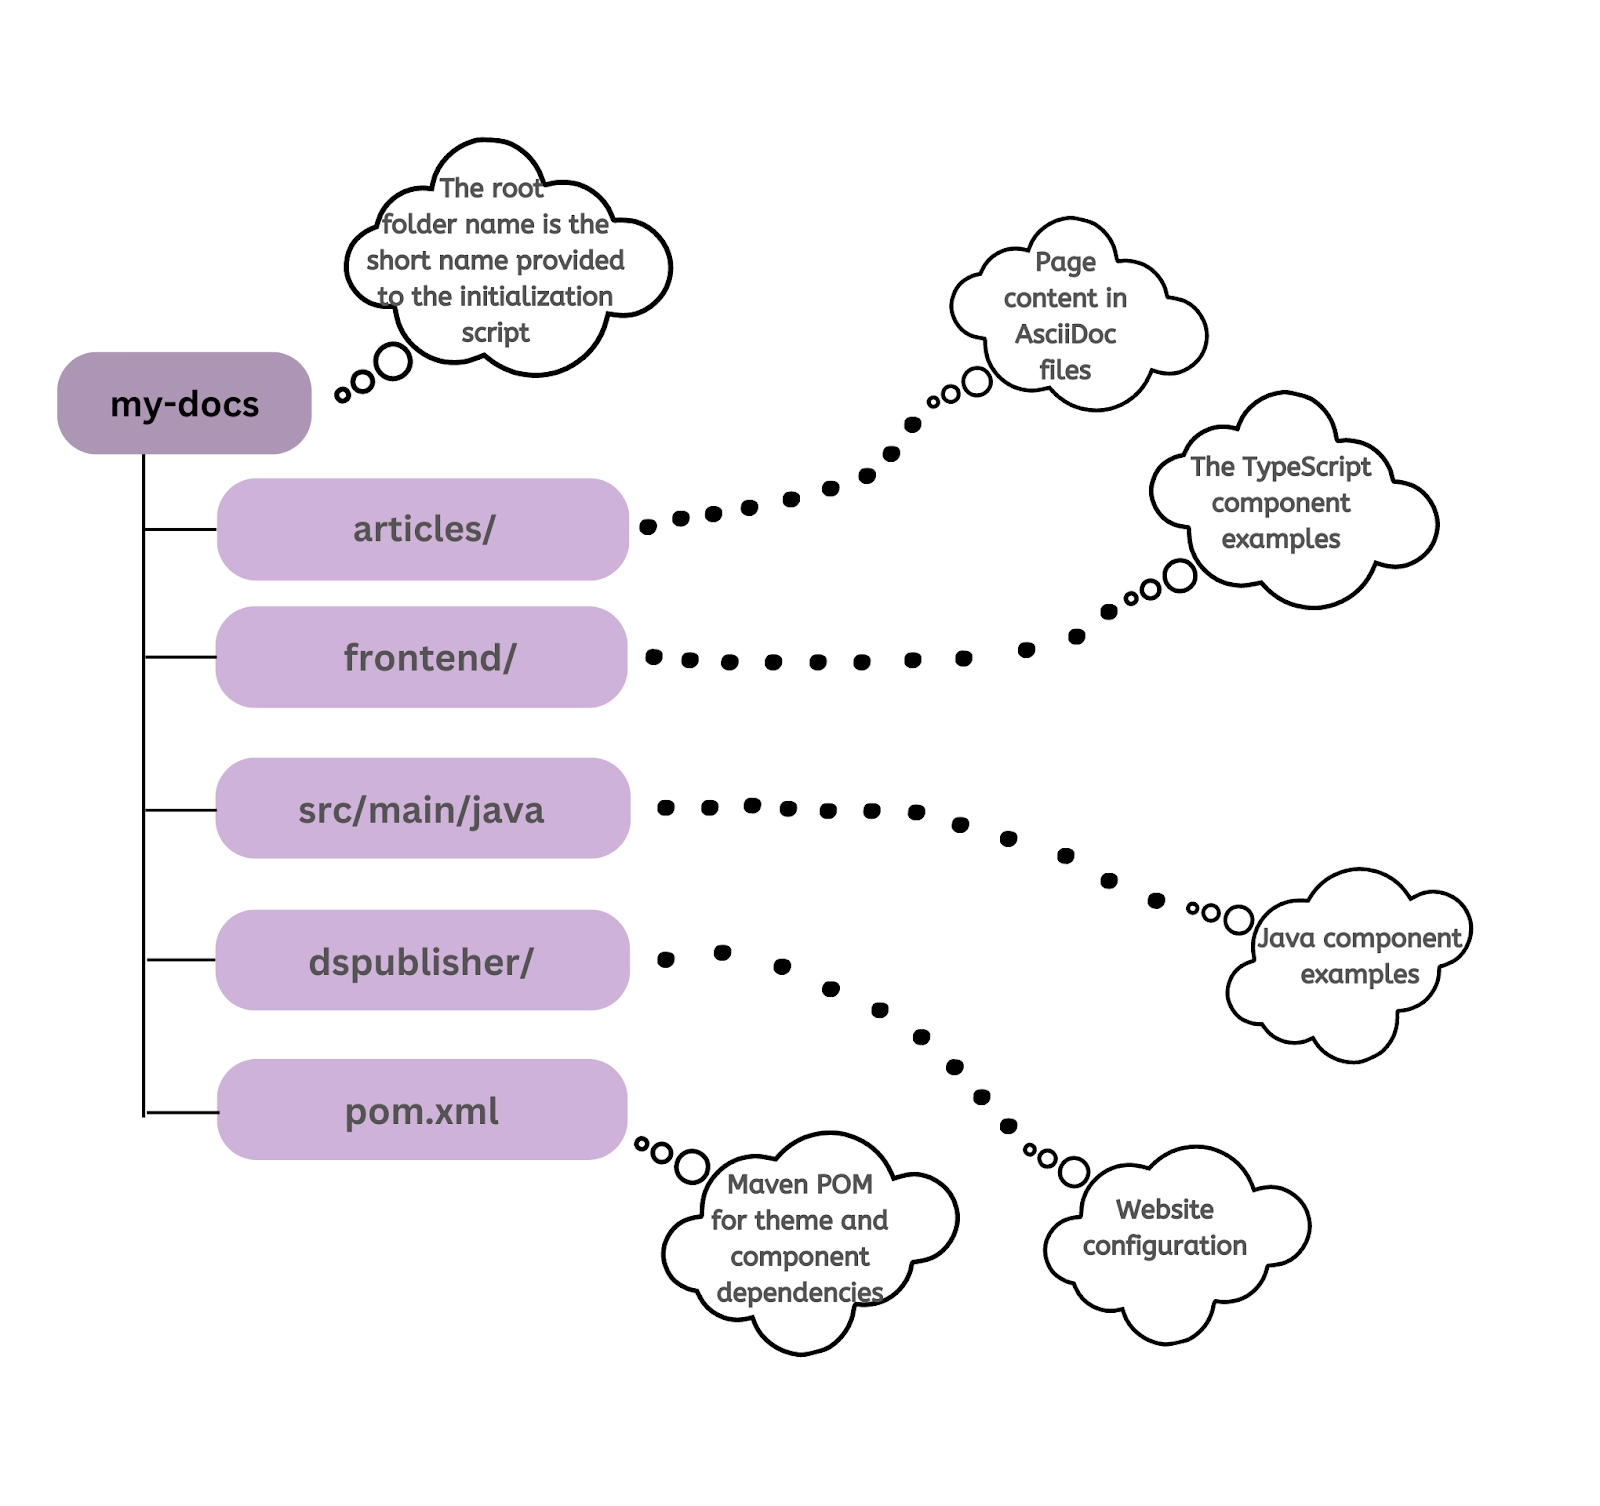
Folder Structure
The Folder Structure of a project is generated by its initialization script. An example of folder structure, along with a brief description, is given below.
Development Build
Once you finish the initialization and learn about its aspects, you must transfer the project to development or authoring mode. Execute the following command inside the project folder to start with the development build.
npm run dspublisher:start
The Design System Publisher is downloaded, and many dependencies (Maven and npm) are installed during the first run. So, the first run might take quite a long time to complete and be fully functional. The start-ups after that are much quicker. This is because dependencies are already installed.
After a certain number of runs, the project gets started. The browser opens automatically at http://localhost:8000. Use it to access the URL to view your documentation page in development mode.
Production Setup
We are done with the appearance part of our design system site. Now, it is time to set up the production part. Use the following command to start with the production setup of the documentation site.
npm run dspublisher:build
After the command has completed running, build a few artifacts under the dspublisher/out directory.
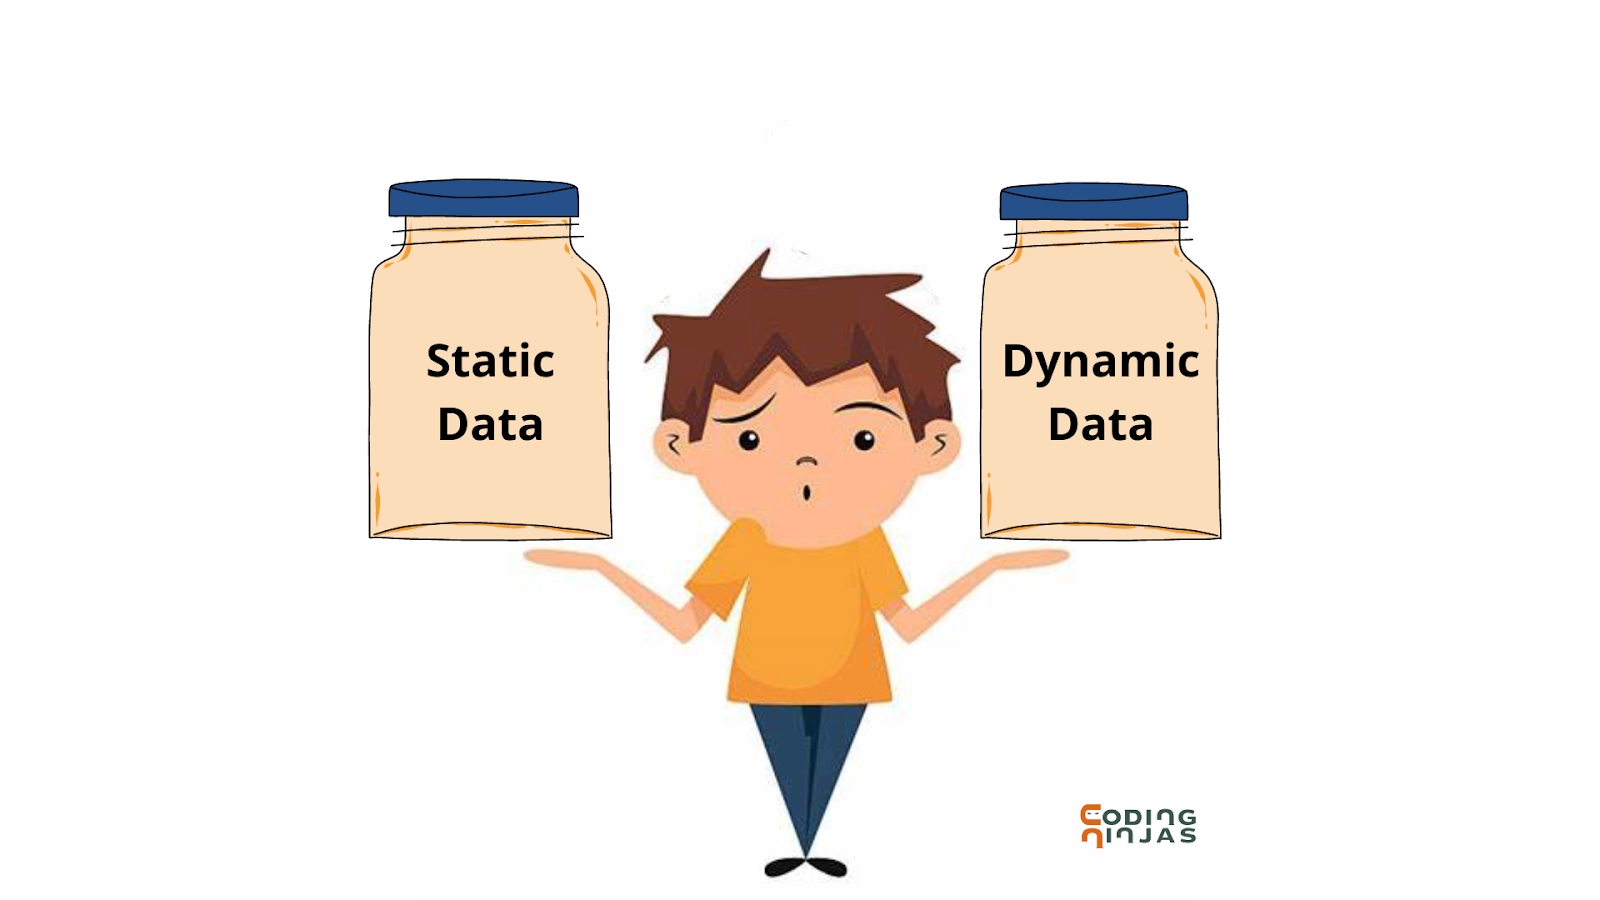
The documentation site consists of two types of data, static and dynamic.
🍎 Static Data
The type of data that does not change at every instance is known as static data. There are multiple ways in which you can host the static content of the website. The most common way is to look for the dspublisher/out/public folder that contains the output of the build process. The output comprises static content such as CSS, JavaScript, HTML, images, and other content mandatory to view the documentation site.
🍎 Dynamic Data
The type of data that is flexible and can change with instance is known as dynamic data. You need to add some extra details for the dynamic content, such as live examples for Java code. The documentation server should be running in the background and respond to incoming requests from the client.
The artifacts built earlier are stored in the directory, including the dspublisher/out/docs.jar file. It is the executable server-side counterpart for the site project. You can begin it using the following command.
java -jar docs.jar
The server only responds to requests on port 8080 by default.
We have already defined the setup for hosting the static and data. Now, we will set up a reverse proxy server to connect these two. You can refer to the request examples given below.
- ROOT/vaadin/* → docs:8080/vaadin
-
ROOT/connect/* → docs:8080/connect
As a precautionary measure, configure your server to respond with an ‘error 404’ page if a request for a non-existing page has been made. Add the 404/index.html file in the root of the static content directory to complete the configuration.
You can use Docker to test the build output with a simplified example. After successfully completing the build process and installing build artifacts, run the command given in the dspublisher/deployment-example-docker directory.
docker-compose up
To view the design system site created by you, open the http://localhost:80 directory.
Check out most important Git Interview Questions here.


 8+ registered

