Example
Now that we have learned what an EditText widget is. Let's learn how to use it in a program by building a basic Android application that uses EditText Widget. In this example, we will be using two EditText Widgets and one button. Upon clicking the button, a message will be displayed on the screen showing the value of the fields captured.
First, we need to create a new project in Android Studio by selecting the empty activity option. In this activity_main.xml file, we have added code for adding two EditText widgets and one button.
activity_main.xml:
<?xml version="1.0" encoding="utf-8"?>
<androidx.constraintlayout.widget.ConstraintLayout xmlns:android="http://schemas.android.com/apk/res/android"
xmlns:app="http://schemas.android.com/apk/res-auto"
xmlns:tools="http://schemas.android.com/tools"
android:layout_width="match_parent"
android:layout_height="match_parent"
tools:context=".MainActivity">
<EditText
        android:id="@+id/firstName"
        android:layout_width="wrap_content"
        android:layout_height="wrap_content"
        android:layout_marginTop="112dp"
        android:layout_marginEnd="136dp"
        android:ems="10"
        android:inputType="textPersonName"
        android:text="First Name"
        app:layout_constraintEnd_toEndOf="parent"
        app:layout_constraintTop_toTopOf="parent" />
<EditText
android:id="@+id/lastName"
android:layout_width="wrap_content"
android:layout_height="wrap_content"
android:layout_marginTop="56dp"
android:ems="10"
android:inputType="textPersonName"
android:text="Last Name"
app:layout_constraintEnd_toEndOf="parent"
app:layout_constraintHorizontal_bias="0.328"
app:layout_constraintStart_toStartOf="parent"
app:layout_constraintTop_toBottomOf="@+id/firstName" />
<Button
android:id="@+id/submitButton"
android:layout_width="124dp"
android:layout_height="53dp"
android:layout_marginStart="100dp"
android:layout_marginBottom="252dp"
android:text="Submit"
app:layout_constraintBottom_toBottomOf="parent"
app:layout_constraintStart_toStartOf="parent" />
</androidx.constraintlayout.widget.ConstraintLayout>
Now, let's configure the functionalities of these widgets in the MainActivity.kt file.
MainActivity.kt
package com.example.edittext_demo;

import androidx.appcompat.app.AppCompatActivity
import android.os.Bundle
import android.widget.Button
import android.widget.EditText
import android.widget.Toast

class MainActivity : AppCompatActivity() {
    // overriding the onCreate function
    override fun onCreate(savedInstanceState: Bundle?) {
        super.onCreate(savedInstanceState)
        setContentView(R.layout.activity_main)

        // assigning ids of widgets to the variables
        val submitButton: Button = findViewById<Button>(R.id.submitButton)
        val firstName: EditText = findViewById<EditText>(R.id.firstName)
        val lastName: EditText = findViewById<EditText>(R.id.lastName)
        submitButton.setOnClickListener { // amount of time that the message will be shown on the screen for
            val msg_duration = Toast.LENGTH_LONG
            // extracting the value of firstName field
            val firstName_val = firstName.text.toString()
            // extracting the value of firstName field
            val lastName_val = lastName.text.toString()
            //Concatenating all the values to create the final message
            val final_msg = "Hello, $firstName_val $lastName_val"
            // show the final message
            Toast.makeText(this@MainActivity, final_msg, msg_duration).show()
        }
    }
}
Output:
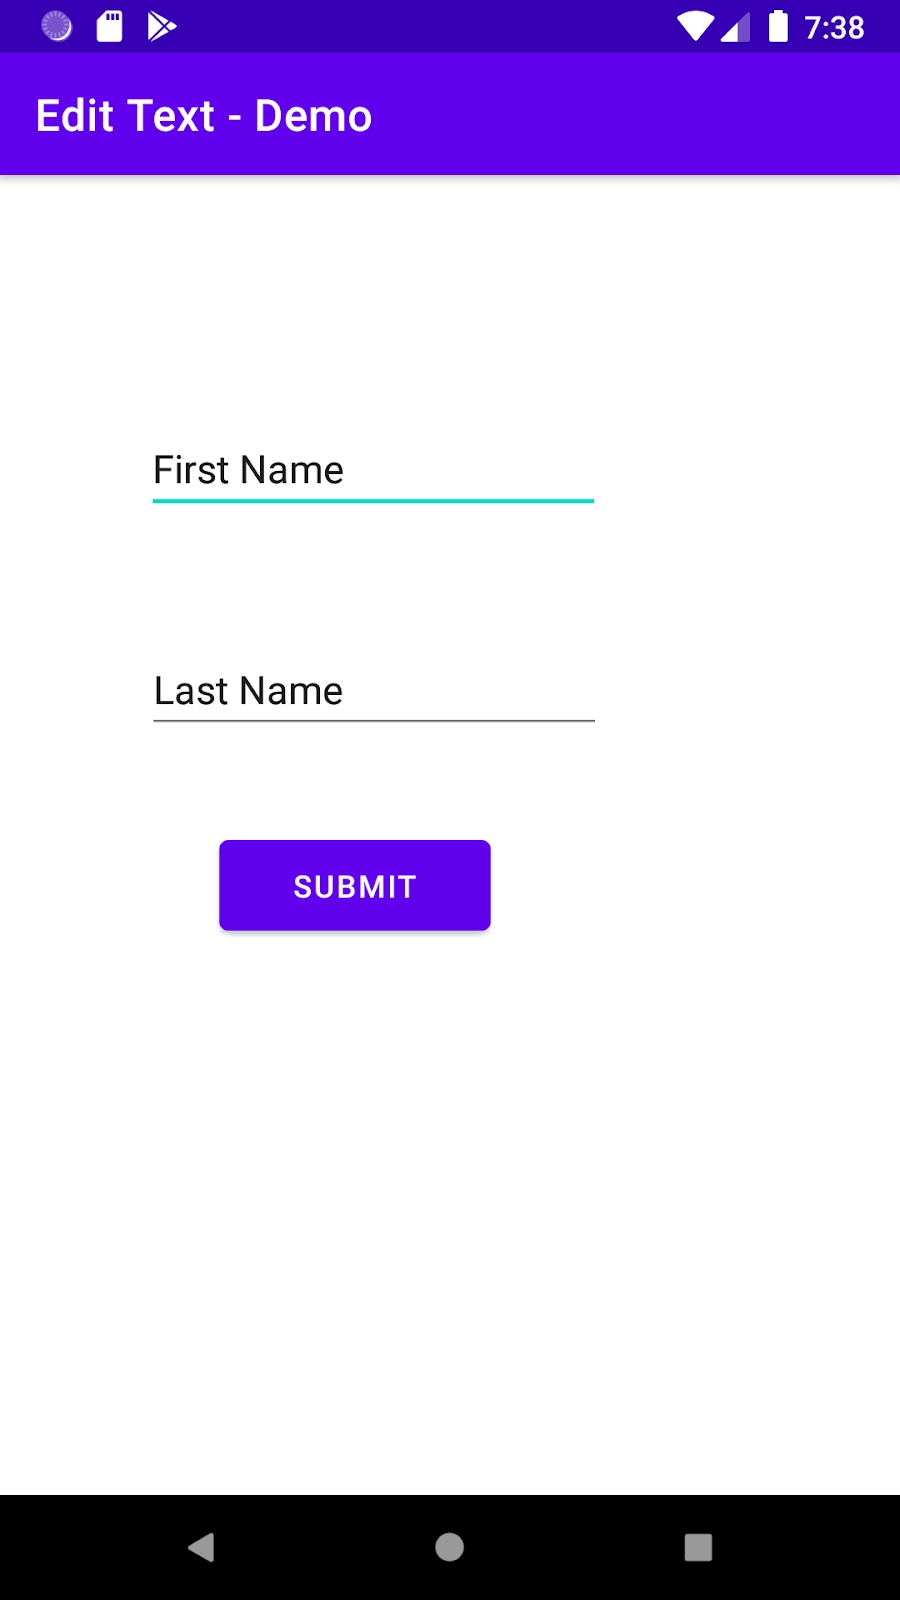
The default User-Interface of the application looks something like this:
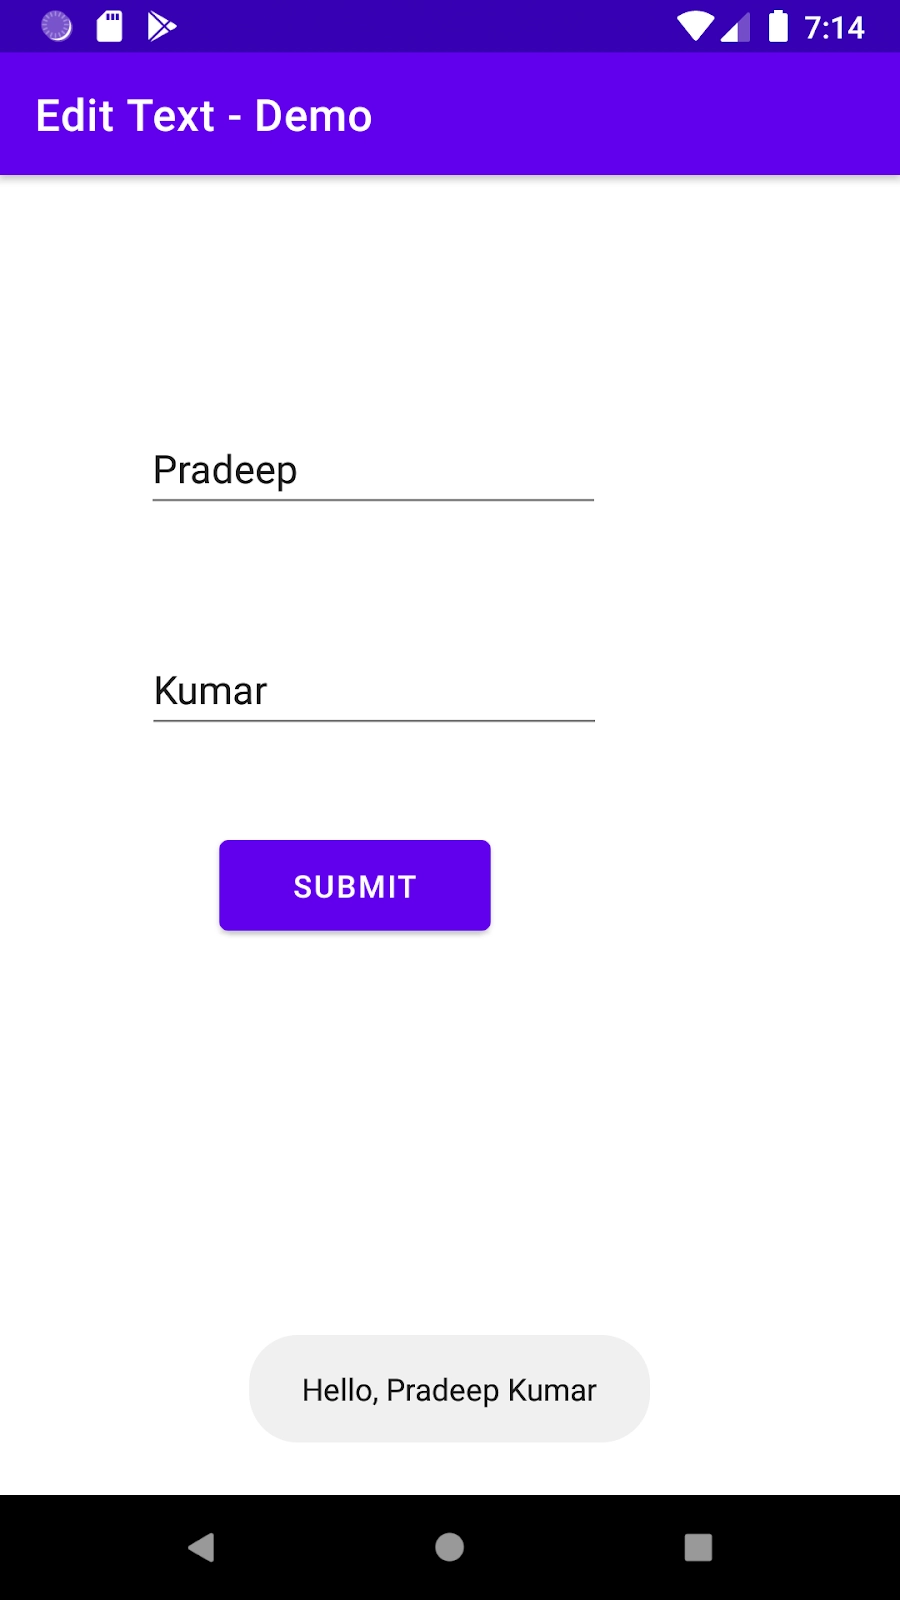
Upon filling the fields and pressing the submit button, a message appears on the screen, which looks like this:
FAQs
1. What does wrap_content mean?
Ans: It specifies that the view is just big enough to fit the content.
2. What is the purpose of the onClick method?
Ans: We generally use the onClick method with a button. It signifies what happens upon clicking that button.
3. How can we specify the width of an EditText widget?
Ans: The width of an EditText widget can be specified using the android:width property.
Key Takeaways
In this article, we have extensively discussed the EditText widget in Android and its implementation in Android Studio. We discussed how EditText could be created and registered in an android application.
We hope that this blog has helped you enhance your knowledge regarding the EditText widget. All the widgets are enclosed inside a UI layout and if you would like to learn more about layouts, check out our article on Android UI layouts. And to learn in-depth about android development, check out our Android Development course on the Coding Ninjas website. Do upvote our blog to help other ninjas grow. Happy Coding!


 9+ registered

