Flask Installation
After the installation of the virtual environment in the system, there are a few things we have to do to install Flask.
Step1: Create a new virtual environment in the folder to keep your Flask project.
Run the following command to create a new virtual environment:
virtualenv venv

You can also try this code with Online Python Compiler
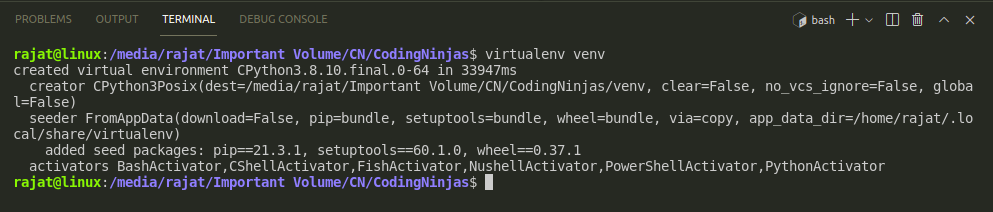
In the following picture, we have created a new virtual environment in the CodingNinjas Folder.
Step2: Now, we need to activate the environment we have created in Step1.
To activate the corresponding environment on Linux/OS X, use the following command:
source venv/bin/activate
You can also try this code with Online Python Compiler
To activate the corresponding environment on Windows, use the following command:
venv\scripts\activate
You can also try this code with Online Python Compiler
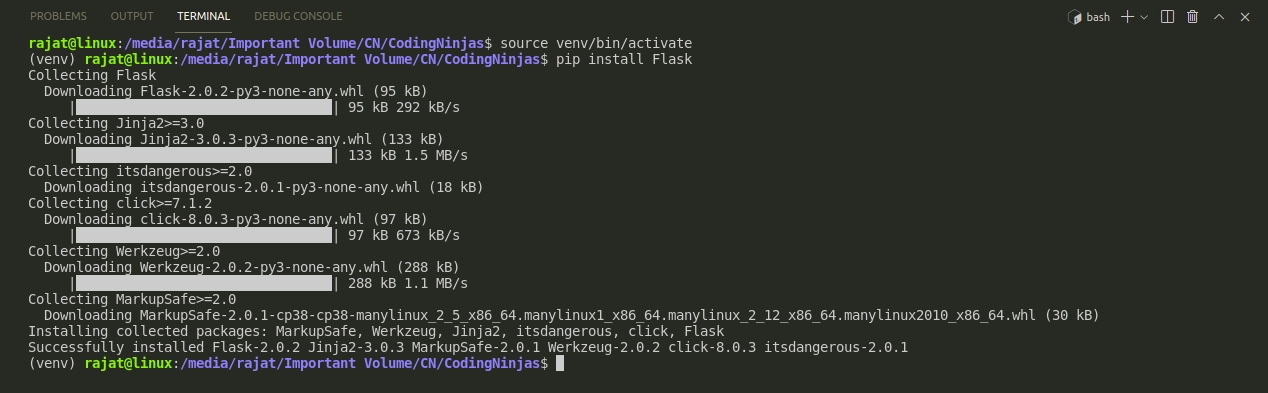
In the following picture, we have activated our virtual environment venv:

Step3: Within the activated environment, use the following command to install Flask:
pip install Flask
You can also try this code with Online Python Compiler
In the following picture, we have installed Flask inside our virtual environment venv:
Creating First Flask Application
As we have already installed Flask, Let’s create our first flask application.
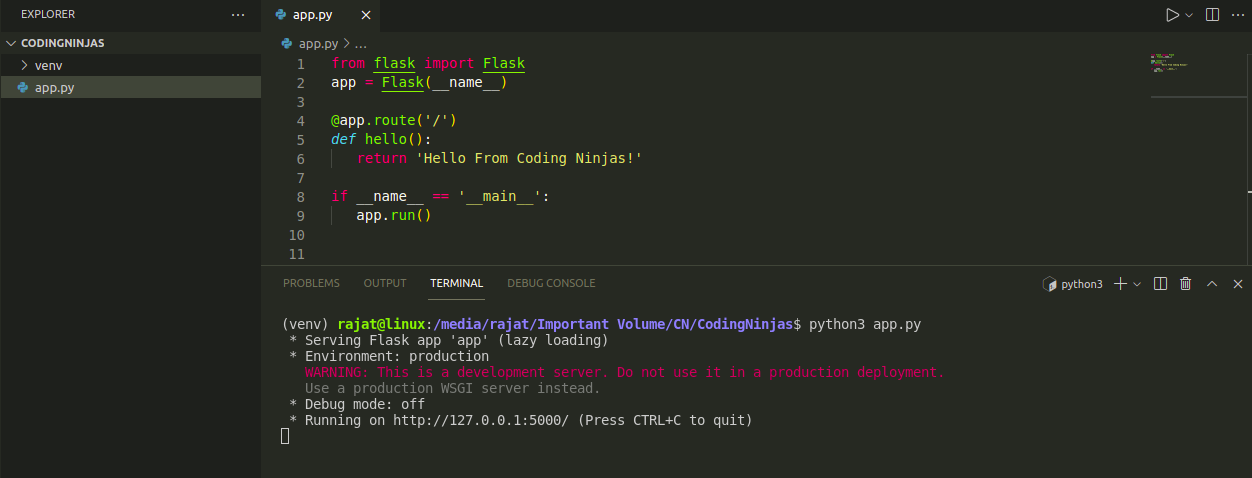
Create a file app.py with the below code, and the basic flask application will look like this:
from flask import Flask
app = Flask(__name__)

@app.route('/')
def hello():
  return 'Hello From Coding Ninjas!'

if __name__ == '__main__':
  app.run()
You can also try this code with Online Python Compiler
Let’s understand the functioning of the above code:
1.) At first, we have imported the Flask class. An instance of this class will become our WSGI application.
2.) Next, we create an instance of this class as Flask(__name__). The first argument is the name of the application’s module or package. __name__ is a convenient shortcut for this.
3.) After that, we use the route() decorator to implicate Flask what URL should trigger our function.
In the above example, the ‘/’ URL is bound with the hello() function. Hence, when the home page of a web server is opened in the browser, the output of this function will be rendered.
4.) And finally, we run our application by calling the app.run() method.
In the following picture, we have run our application as a python app:
Command: python3 app.py
Output:
We will see our application is by default running on port 5000.
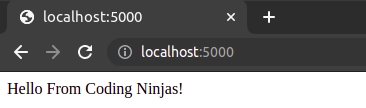
Go to the browser and type the URL: localhost:5000. You will get the following output:
As we know, a Flask application can be started by calling the run() method. However, while the application is in development, we have to restart the application every time any change is made to the code. To avoid this inconvenience, enable debug support. The server will then reload itself if the code changes. It will also provide a helpful debugger to track the errors, if any, in the application.
Pass the debug = True as one of the parameters in the app.run() method.
app.run(debug = True)
You can also try this code with Online Python Compiler
Refer to know about, PHP For Loop
FAQs
1.) What is a virtual environment?
Ans. Virtual environments are the autonomous groups of Python libraries, one for each project. The packages installed for one project will not affect other projects or the operating system’s packages.
2.) How to install a virtual environment in the local system?
Ans. You can run the following command to install a virtual environment:-
pip install virtualenv
You can also try this code with Online Python Compiler
3.) How to install Flask?
Ans. You can run the following command to install Flask:-
pip install Flask
You can also try this code with Online Python Compiler
Key Takeaways
In this blog, we have learned about the Flask environment, the installation of Flask, and created our first Flask application.
If you want to read more blogs related to Flask, you can visit Flask Introduction And Overview.
Happy Learning!!


 9+ registered

