Do you think IIT Guwahati certified course can help you in your career?
Introduction
Flutter is a software development kit (SDK) for creating high-performance, high-fidelity apps from a single Dart Language codebase for iOS, Android, Web (beta), and desktop (technical preview). In this article, We'll explain step-by-step how to create a short flutter hello world app.
In Flutter, everything is a widget, and user-defined widgets may be created using predefined widgets in the same way that user-defined data types can be made using int, float, and double.
System Requirements
Before writing our flutter hello world app, we need to focus on the system requirements of flutter.
Your development environment must meet these minimal prerequisites to install and execute Flutter:
Operating Systems: x86-64 based Windows 10 or later.
1.64 GB of available disc space (excluding space for IDE/tools).
Tools: These resources must be accessible for Flutter to function in your environment.
Microsoft Windows PowerShell 5.0 or later (pre-installed with Windows 10)
Use Git from the Windows Command Prompt in Git for Windows 2.x.
Note that you can execute git commands from the command prompt or PowerShell if Git for Windows is already installed. If you haven’t downloaded Git, you can download it here to make a Flutter hello world app.
Writing Our First Application in Flutter
There are three different widget kinds in Flutter.
Stateful Widget: It is a widget that can modify itself in response to user interaction. Stateful widgets are checkboxes, radio buttons, sliders, inkwells, forms, and text fields.
Stateless Widget: It remains constant. They cannot be modified. Examples of stateless widgets are the Icon, IconButton, and Text widgets.
Inherited Widget: This is a foundation class from which those classes might extend the knowledge contained within the tree. Examples of inherited widgets are the themes and MediaQuery.
For writing our flutter hello world app in the android studio, we will use the stateless widget, MaterialApp, center, and text widget.
Stateless Widget: In Flutter, stateless widgets have a fixed state. To draw components on the screen, stateless widgets have a method (or function) called ‘build’ that is called just once. A new instance of the stateless widget must be created to redraw a stateless widget.
MaterialApp: This widget is also offered by the Flutter Team and adheres to the Google Material Design Scheme. MaterialApp is a class with several named arguments, such as home, where we can pass the widget that will be displayed on an app's home screen.
Center Widget: The Flutter Team has created the Center widget, which accepts another widget as its child argument. As the name implies, Center Widget will display a widget in its child argument.
Text Widget: The text widget used to display text is predefined by the Flutter Team. Now let's make a flutter hello world app.
Steps to Write Our First Application
There are a few steps to write the flutter hello world app, which are given below:
Step 1: Open Android Studio.
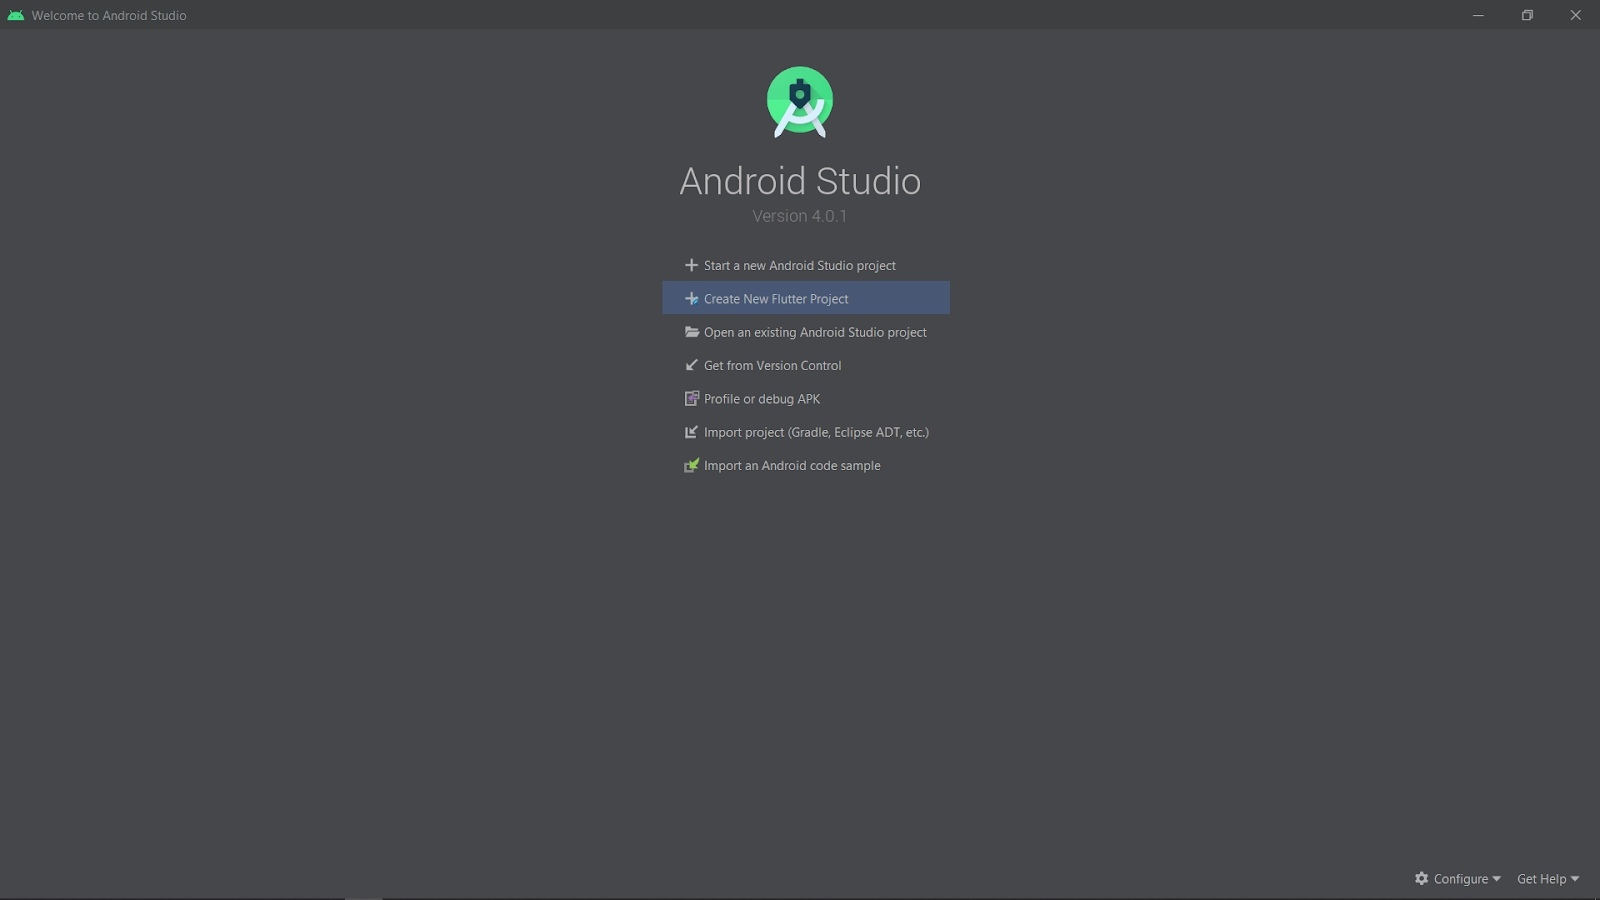
Step 2: Create a new flutter project.
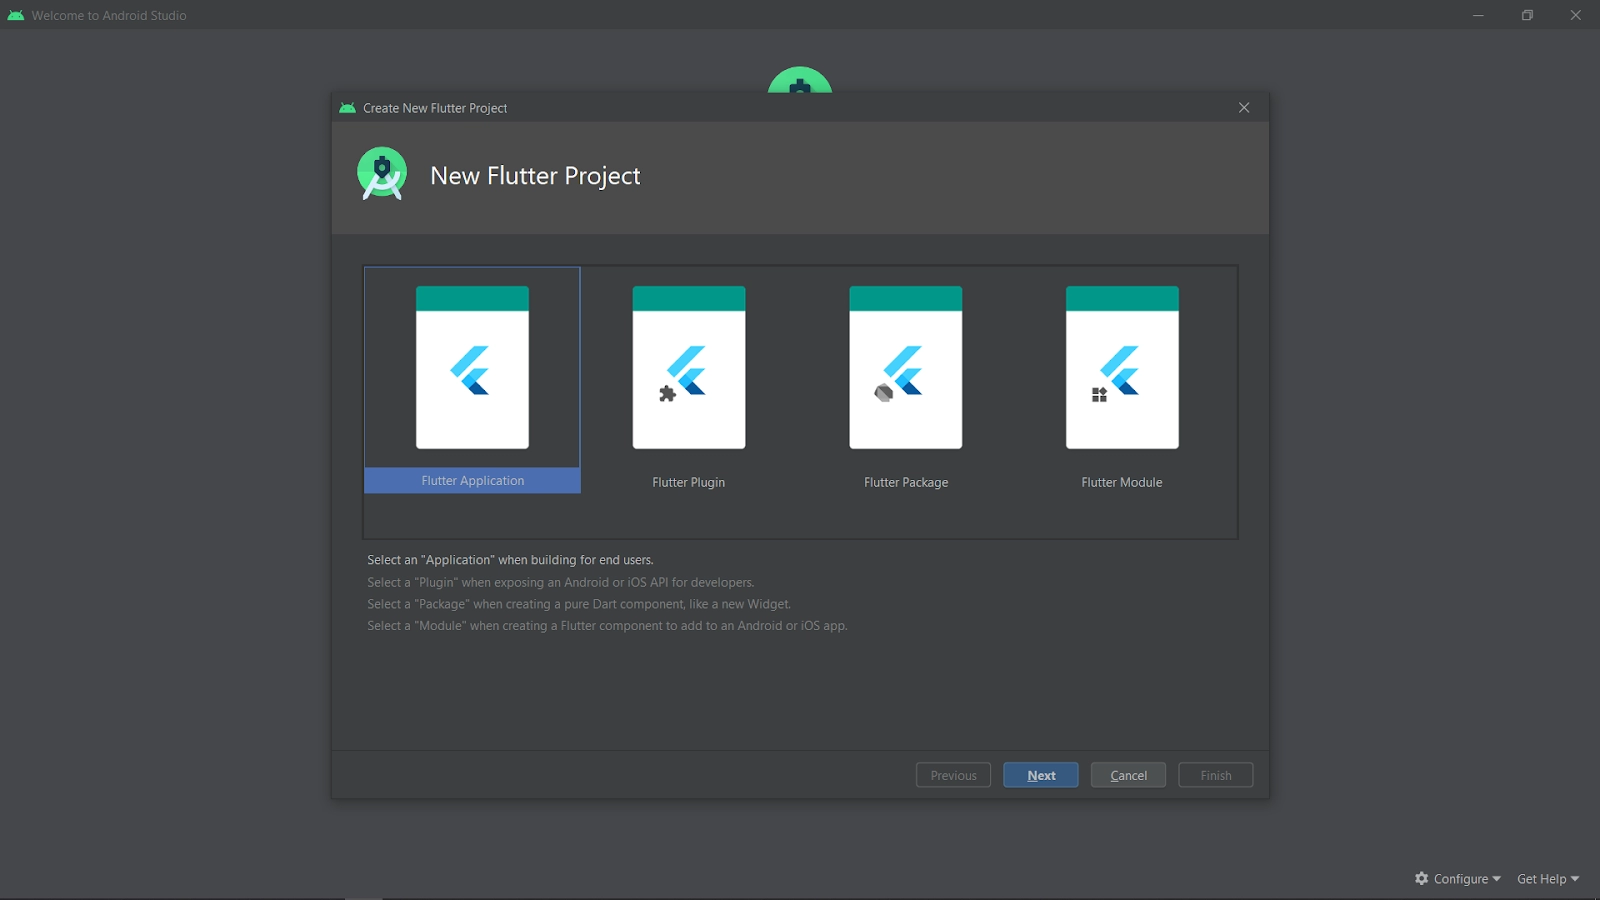
Step 3: Select application type as flutter and click on the next button.
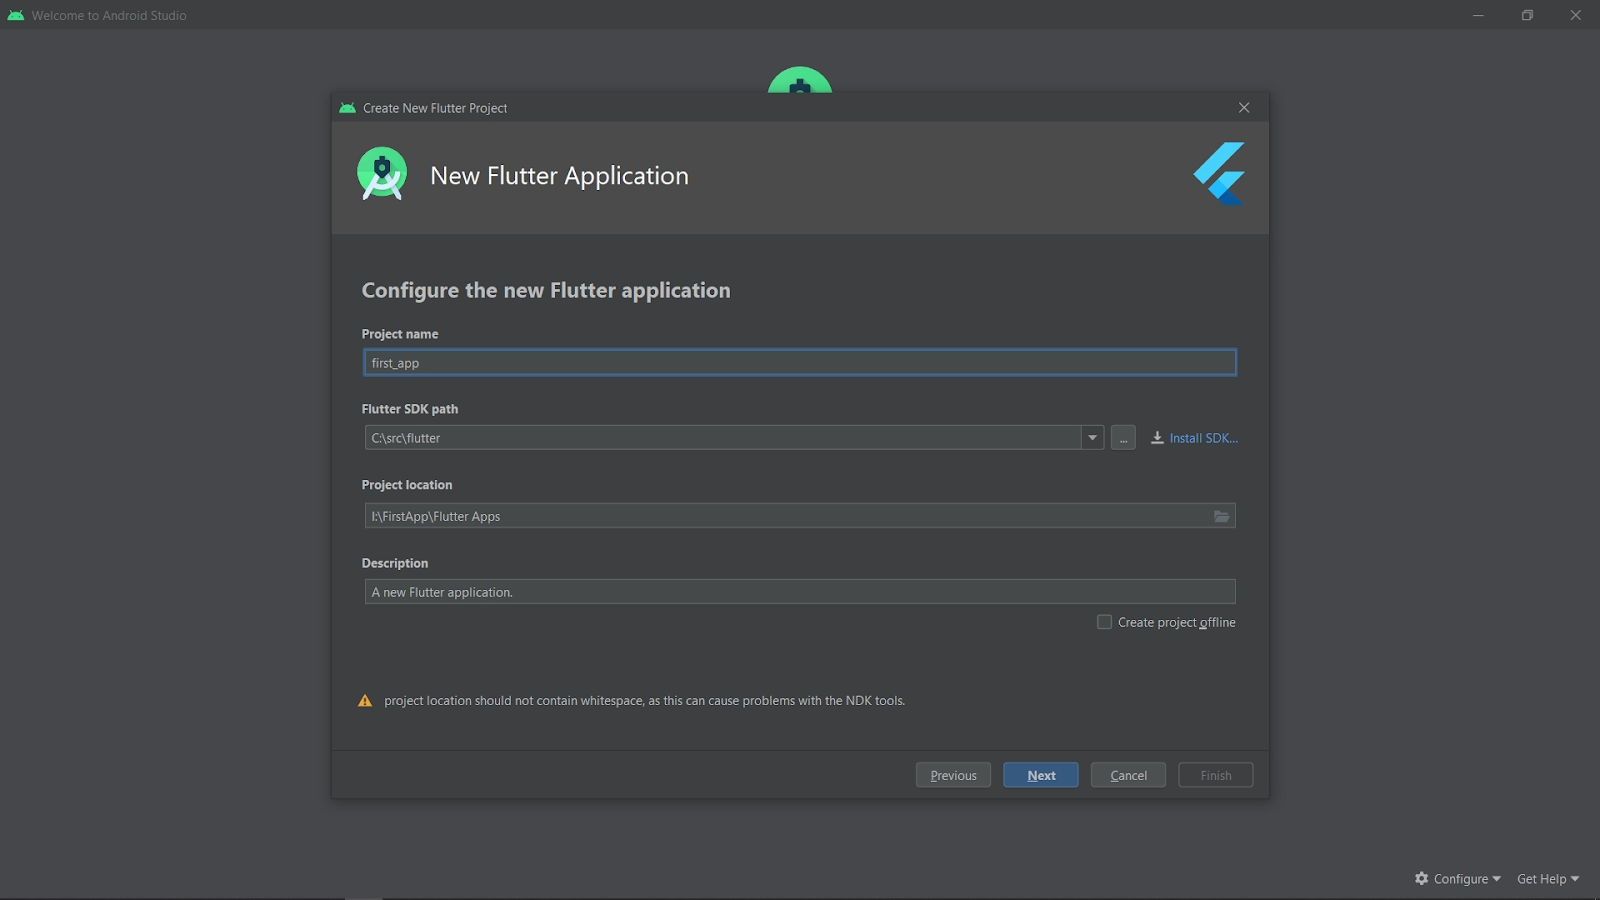
Step 4: Configure the new flutter application and click on the next button.
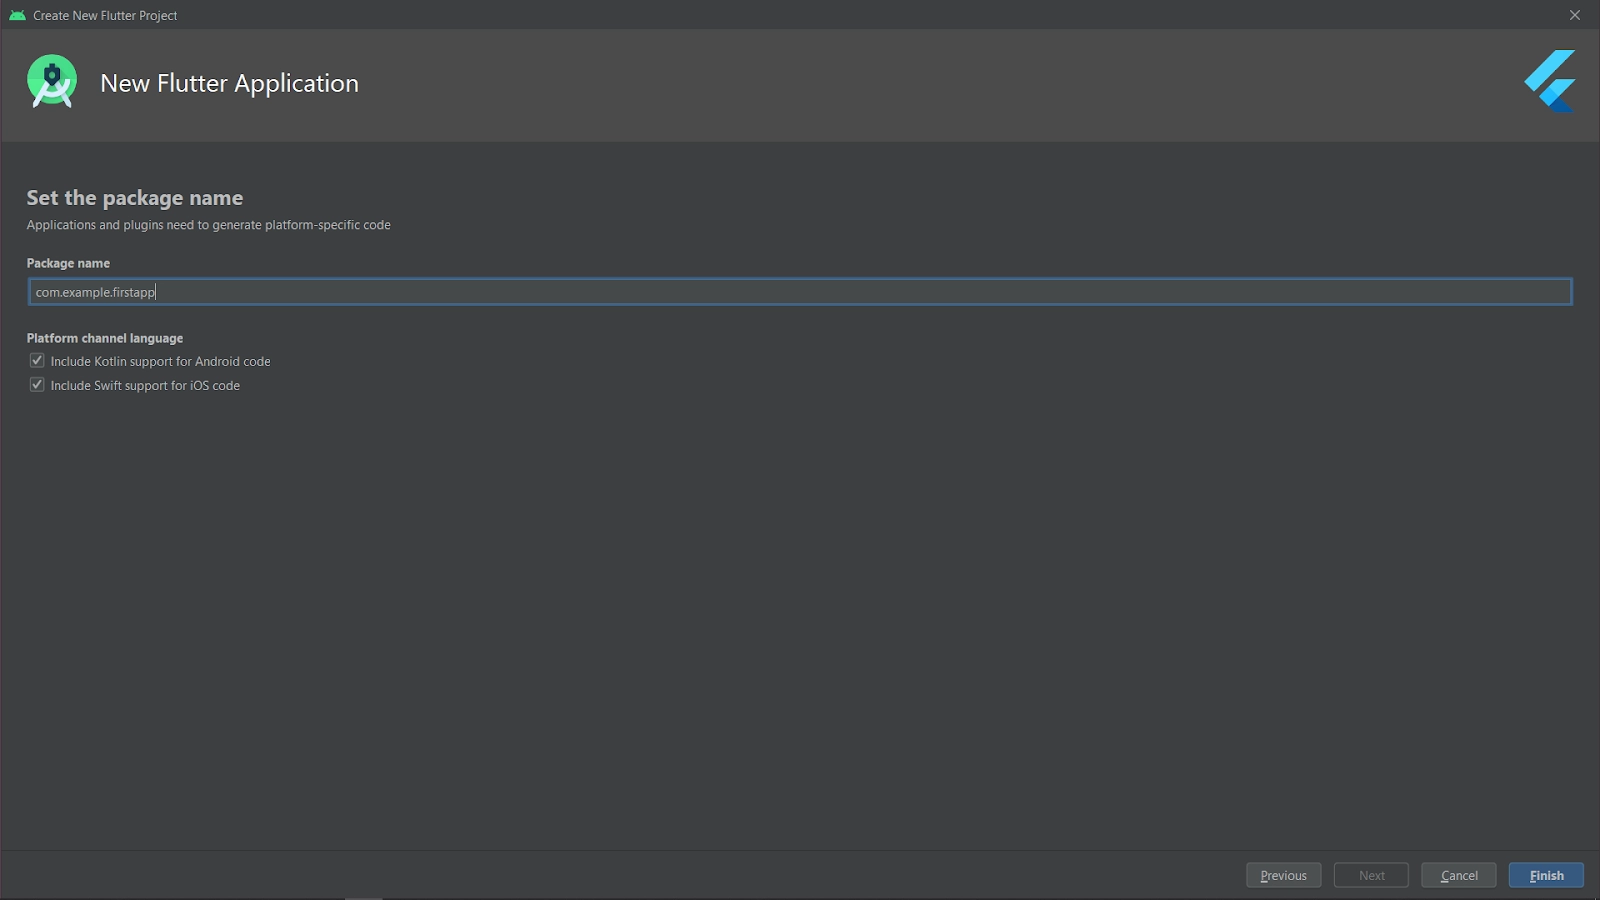
Step 5: Set the package name and click on the finish button.
Creating a project will take some time after pressing the Finish button. You will receive a minimally functional Flutter application once the project has been created.
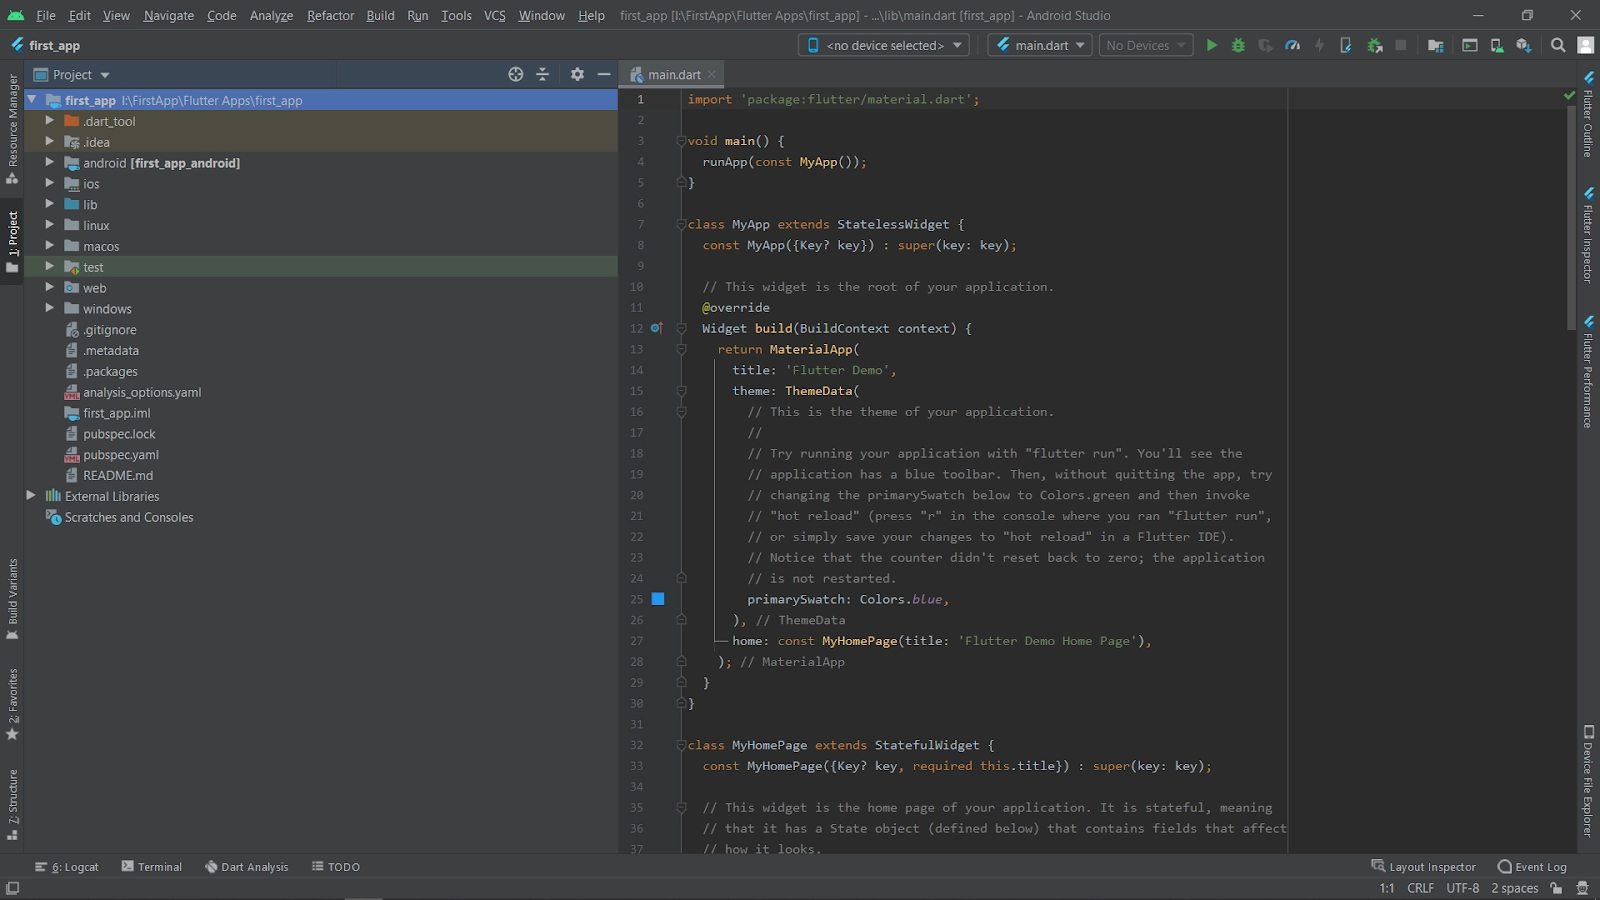
Step 6: Now examine the Flutter project application's structure and goal. The many folders and parts of the Flutter application structure, which will be covered in this article, are shown in the image below.
Elements of Structure:
Element of the Structure
Description
.idea
The settings for Android Studio are stored in the .idea folder, which is at the very top of the project structure. It makes no difference because we won't be using Android Studio. Thus the contents of this folder may be disregarded.
.android
When you create the Android version of the Flutter application, this folder contains the entire Android project. The Flutter code will be injected into this Android project once converted to native code, resulting in a native Android application. As an illustration, this Android project is used to create the Android app that is then deployed to the Android Virtual Device while using the Android emulator.
.ios
When creating the Flutter iOS application, this folder contains the entire Mac project. It is comparable to the android folder used when creating an Android app. The Flutter code will be injected into this iOS project once converted to native code, resulting in a native iOS application. When working on macOS, it is feasible to create a Flutter application for iOS.
.lib
The folder ending in .lib, which stands for the library, is crucial. We will complete 99 percent of the project work in this folder. The Dart files comprising our Flutter application's code are in the lib folder.
.test
This folder houses a piece of Dart code created specifically for the Flutter application to run an automated test when creating an app. For us here, it won't be all that significant.
Default files can also be included in the Flutter application. 99.99% of the time, we don't manually alter these files.
These are the default files:
.gitignore: It is a text file that instructs Git which files in a project should be ignored. It contains a list of files, file extensions, and folders. Git is a version-control program that keeps track of changes made to source code as software is developed.
.metadata: It is a file that the flutter tools automatically create and uses to keep track of the attributes of the Flutter project. You never need to manually edit the content because this file handles all internal tasks.
.packages: It is a file that the Flutter SDK automatically creates and uses to store a list of dependencies for your Flutter project.
first_app.iml: The file flutter first_app.iml, which contains additional project settings, is consistently named after the Flutter project. You never need to edit the content manually because this file handles all internal operations managed by the Flutter SDK.
pubspec.yaml: The configuration file for the project, pubspec.yaml will be utilized frequently when working with the Flutter project. It lets you control how your program functions. This document includes:
General project settings include the project's name, description, and version.
Dependencies on the project.
Project resources (e.g., images).
pubspec.lock: It is a file that was generated automatically using the .yaml file. It contains a more complete setup of all requirements.
README.md: An automatically created file called README.md contains details about the project. We can update this file if we wish to provide the developers with information.
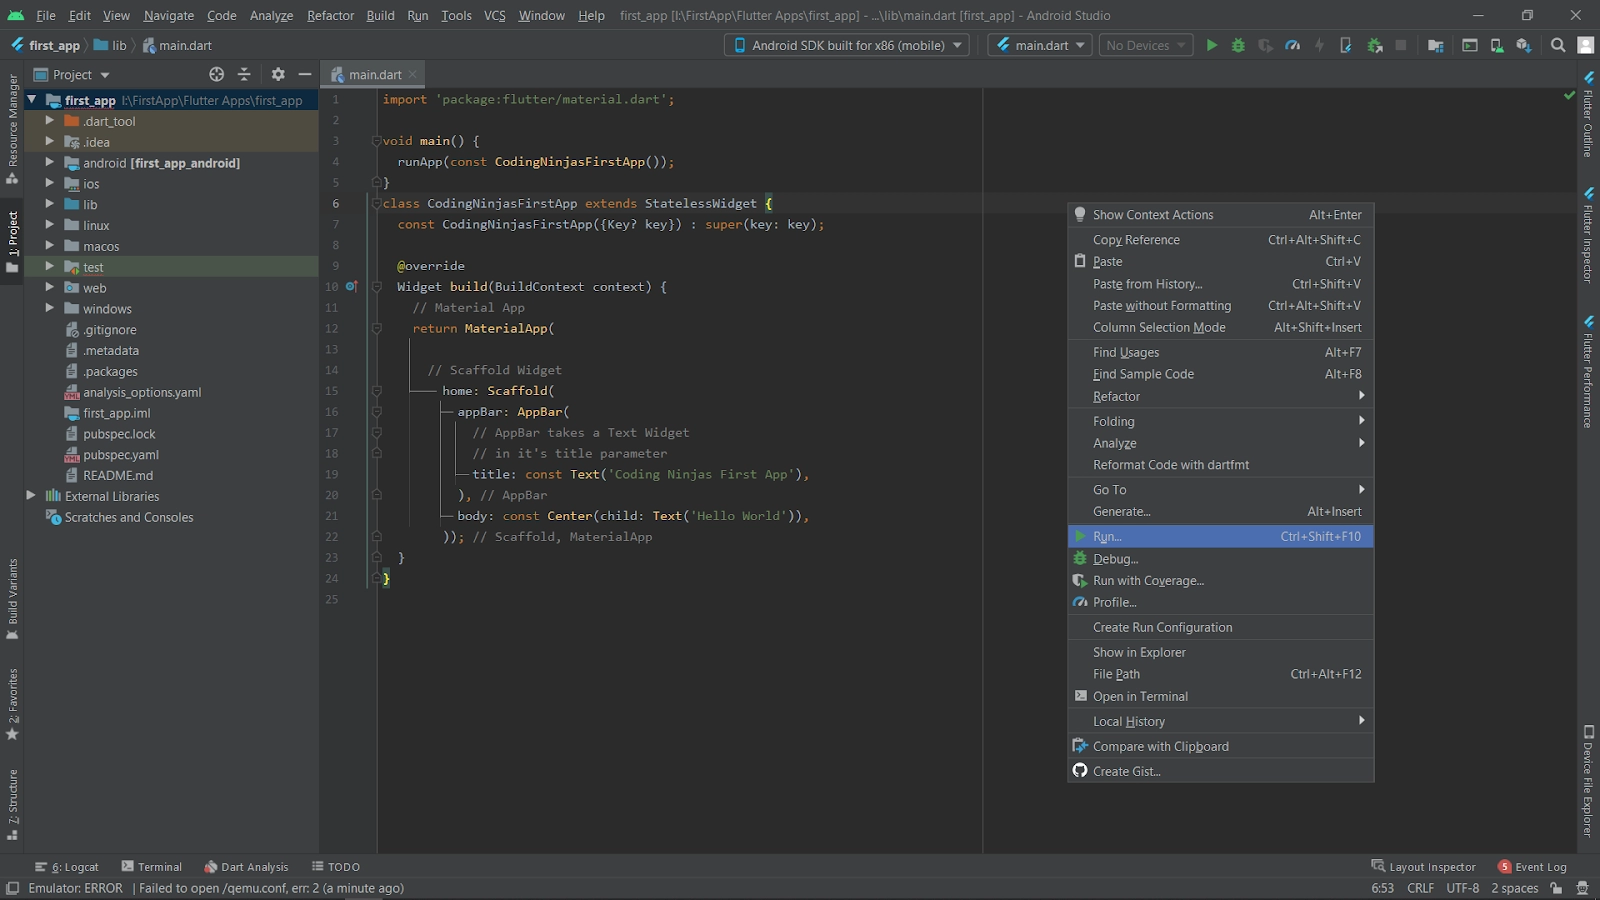
Step 7: Make changes in the main.dart file as we need.
/*
  Flutter hello world app
*/
import 'package:flutter/material.dart';

void main() {
  runApp(const CodingNinjasFirstApp());
}
class CodingNinjasFirstApp extends StatelessWidget {
  const CodingNinjasFirstApp({Key? key}) : super(key: key);

  @override
  Widget build(BuildContext context) {
    // Material App
    return MaterialApp(

      // Scaffold Widget
        home: Scaffold(
          appBar: AppBar(
            // AppBar takes a Text Widget in it's title parameter
            title: const Text('Coding Ninjas First App'),
          ),
          body: const Center(child: Text('Hello World')),
        ));
  }
}
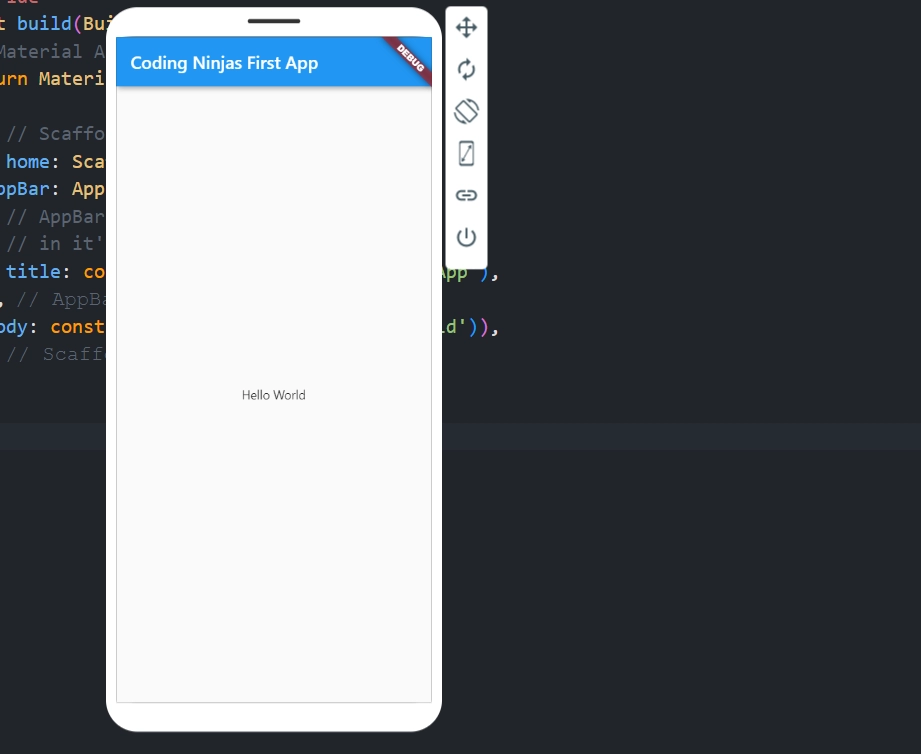
Step 8: Now run the application.
Output
Here is the output for the Flutter hello world application.
It is used to create cross-platform software from a single codebase for platforms like Android, iOS, Linux, macOS, Windows, Google Fuchsia, and the web.
What is Flutter's key benefit?
An open-source software development kit called Flutter makes it simple and easy to create cross-platform mobile apps.
When is it inappropriate to use a Flutter?
Two distinct building components for Android and iOS apps are Material Widgets and Cupertino widgets, respectively. Both widgets can be used while building Flutter apps, but when we utilize Material widgets for the iOS version, the app lacks a native appearance and feel.
Is flutter either a frontend or a backend?
Google's Flutter is a well-liked front-end programming framework.
How secure is flutter?
Although Flutter might be a more affordable approach to creating multi-platform native apps, it also comes with inherent security vulnerabilities that must be handled with thorough code hardening and anti-tampering features.
Conclusion
In this article, we have discussed Flutter hello world app. We have also discussed its implementation, system requirements, and steps to make it.


 9+ registered

