Basic Lists
Working with Lists, Flutter has provided one widget called ListView, the fundamental concept of displaying the data on the web or mobile apps. The lists contain only a few items; the ListView is the perfect standard for it. To provide more properties to the visual structure of the list, we have ListTitle included in ListView.
You can go to the FlutLab website, where you will see something like this with the main.dart file open-
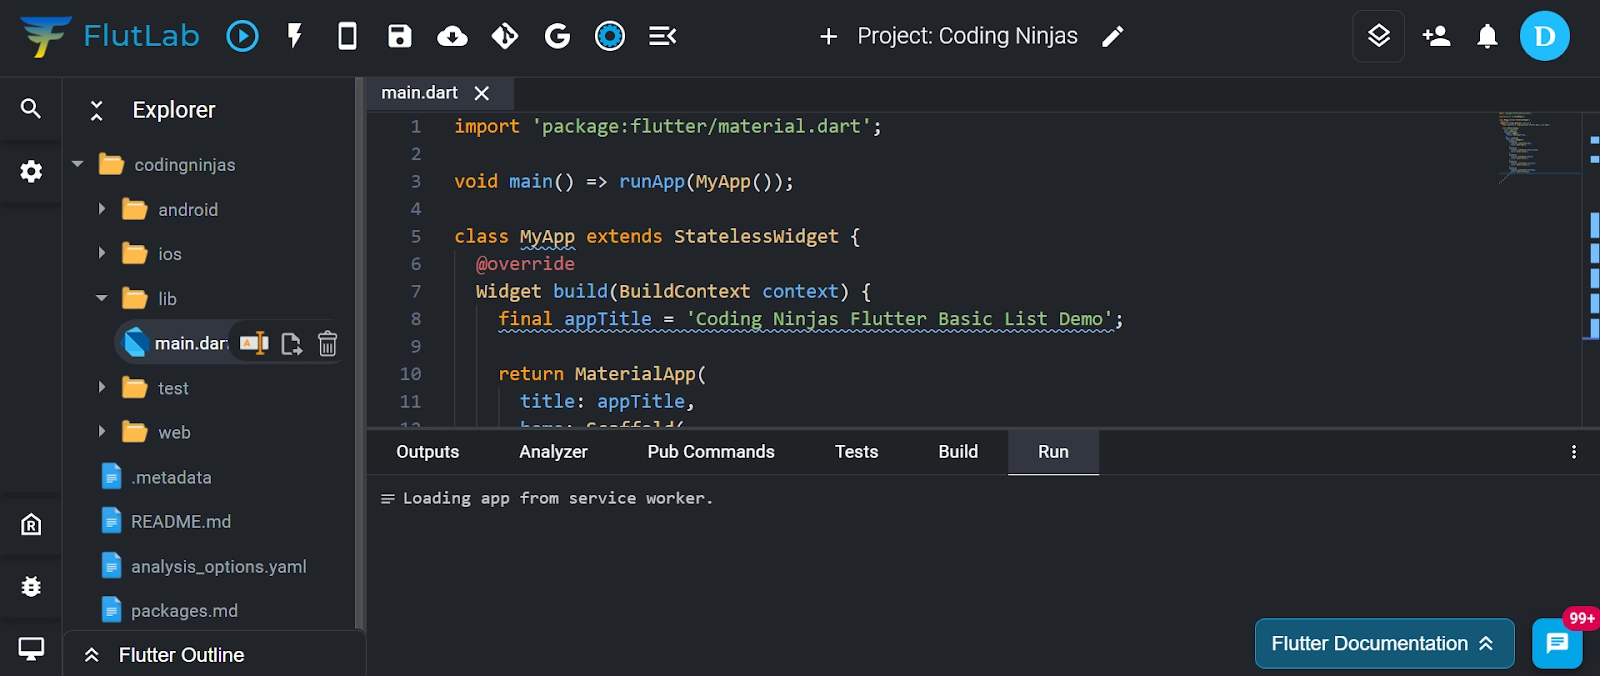
Now you can replace the ‘main.dart’ file code with the following given code-
import 'package:flutter/material.dart';

void main() => runApp(MyApp());

class MyApp extends StatelessWidget {
  @override
  Widget build(BuildContext context) {
    final appTitle = 'Coding Ninjas Flutter Basic List Demo';

    return MaterialApp(
      title: appTitle,
      home: Scaffold(
        appBar: AppBar(
          title: Text(appTitle),
        ),
        body: ListView(
          children: <Widget>[
            ListTile(
              leading: Icon(Icons.map),
              title: Text('Map'),
            ),
            ListTile(
              leading: Icon(Icons.photo_album),
              title: Text('Album'),
            ),
            ListTile(
              leading: Icon(Icons.phone),
              title: Text('Phone'),
            ),
            ListTile(
              leading: Icon(Icons.contacts),
              title: Text('Contact'),
            ),
            ListTile(
              leading: Icon(Icons.settings),
              title: Text('Setting'),
            ),
          ],
        ),
      ),
    );
  }
}
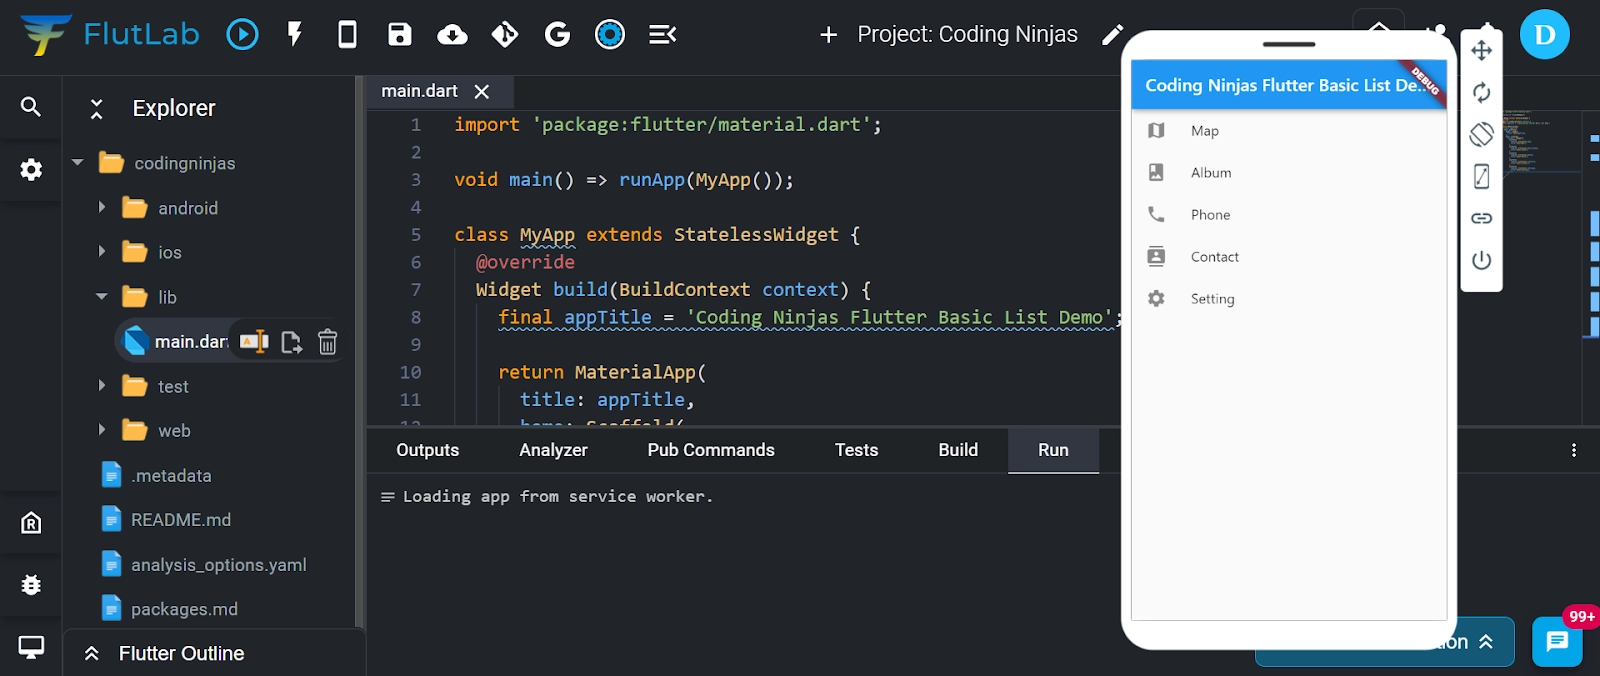
Now you can run the program, and the output of the above will be like this -

Long Lists
When you want to display a very long list or contain many items on a single screen of your app, then ListView.builder() constructor is best to use.
You can go to the FlutLab website, where you will see something like this with the main.dart file open-
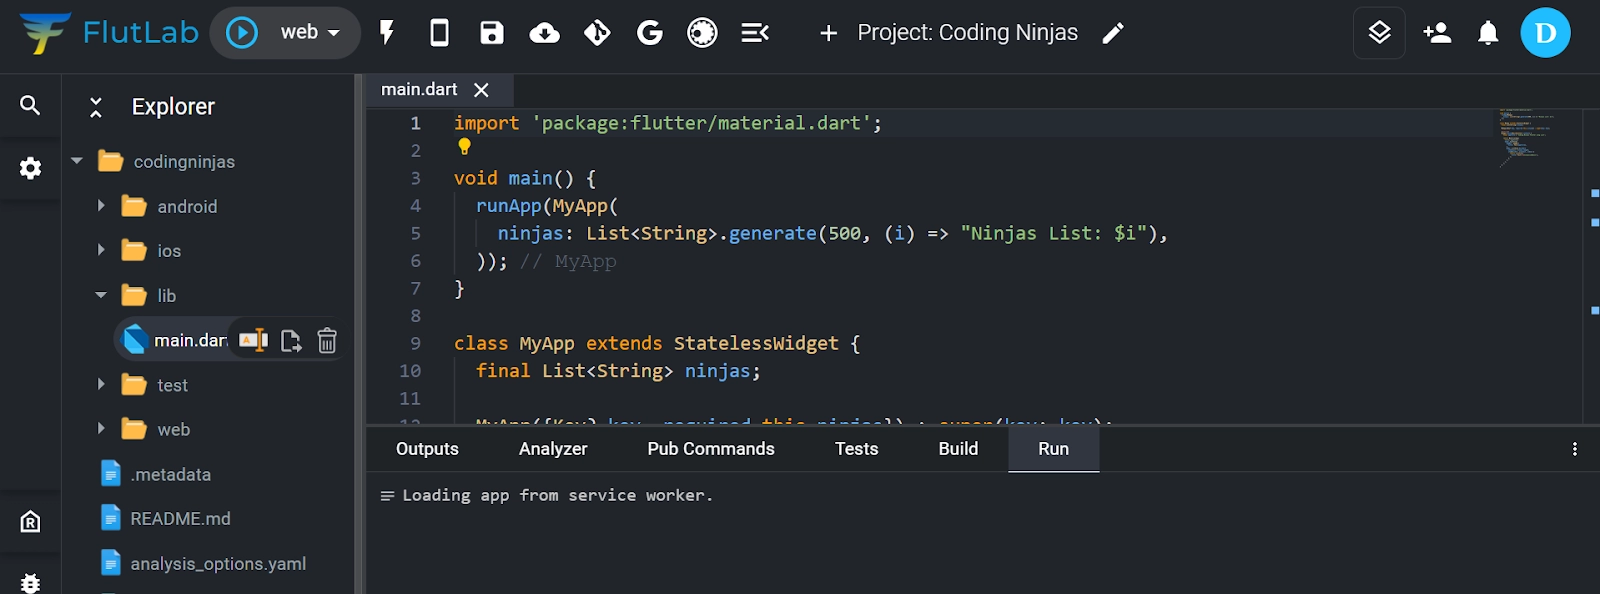
Now you can replace the ‘main.dart’ file code with the following given code-
import 'package:flutter/material.dart';

void main() {
  runApp(MyApp(
    ninjas: List<String>.generate(500, (i) => "Ninjas List: $i"),
  ));
}

class MyApp extends StatelessWidget {
  final List<String> ninjas;

  MyApp({Key? key, required this.ninjas}) : super(key: key);

  @override
  Widget build(BuildContext context) {
    final appTitle = 'Coding Ninjas Flutter Long List';

    return MaterialApp(
      title: appTitle,
      home: Scaffold(
        appBar: AppBar(
          title: Text(appTitle),
        ),
        body: ListView.builder(
          itemCount: ninjas.length,
          itemBuilder: (context, index) {
            return ListTile(
              title: Text('${ninjas[index]}'),
            );
          },
        ),
      ),
    );
  }
}
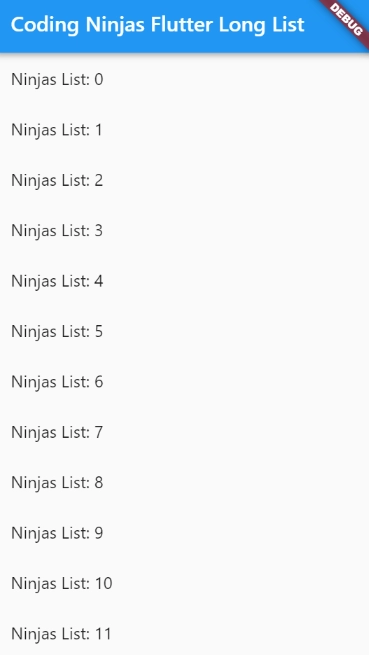
Now you can run the program, and the output of the above will be like this -

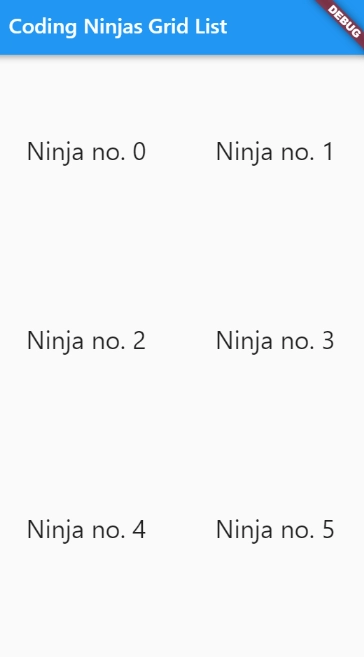
Grid Lists
When we want to display the list items in a grid layout rather than a normal list, we use the Grid View widget provided by Flutter that allows you to create a grid list. We can easily create a grid by using the GridView.count() constructor, which will enable us to specify the number of columns and rows in a grid.
You can go to the FlutLab website, where you will see something like this with the main.dart file open.

Now you can replace the ‘main.dart’ file code with the following given code-
import 'package:flutter/material.dart';

void main() {
  runApp(const MyApp());
}

class MyApp extends StatelessWidget {
  const MyApp({key});

  @override
  Widget build(BuildContext context) {
    const title = 'Coding Ninjas Grid List';

    return MaterialApp(
      title: title,
      home: Scaffold(
        appBar: AppBar(
          title: const Text(title),
        ),
        body: GridView.count(
          // Create a grid with 2 columns. If you change the scrollDirection to
          // horizontal, this produces 2 rows.
          crossAxisCount: 2,
          // Generate 100 widgets that display their index in the List.
          children: List.generate(100, (index) {
            return Center(
              child: Text(
                'Ninja no. $index',
                style: Theme.of(context).textTheme.headline5,
              ),
            );
          }),
        ),
      ),
    );
  }
}
Now you can run the program, and the output of the above will be like this -

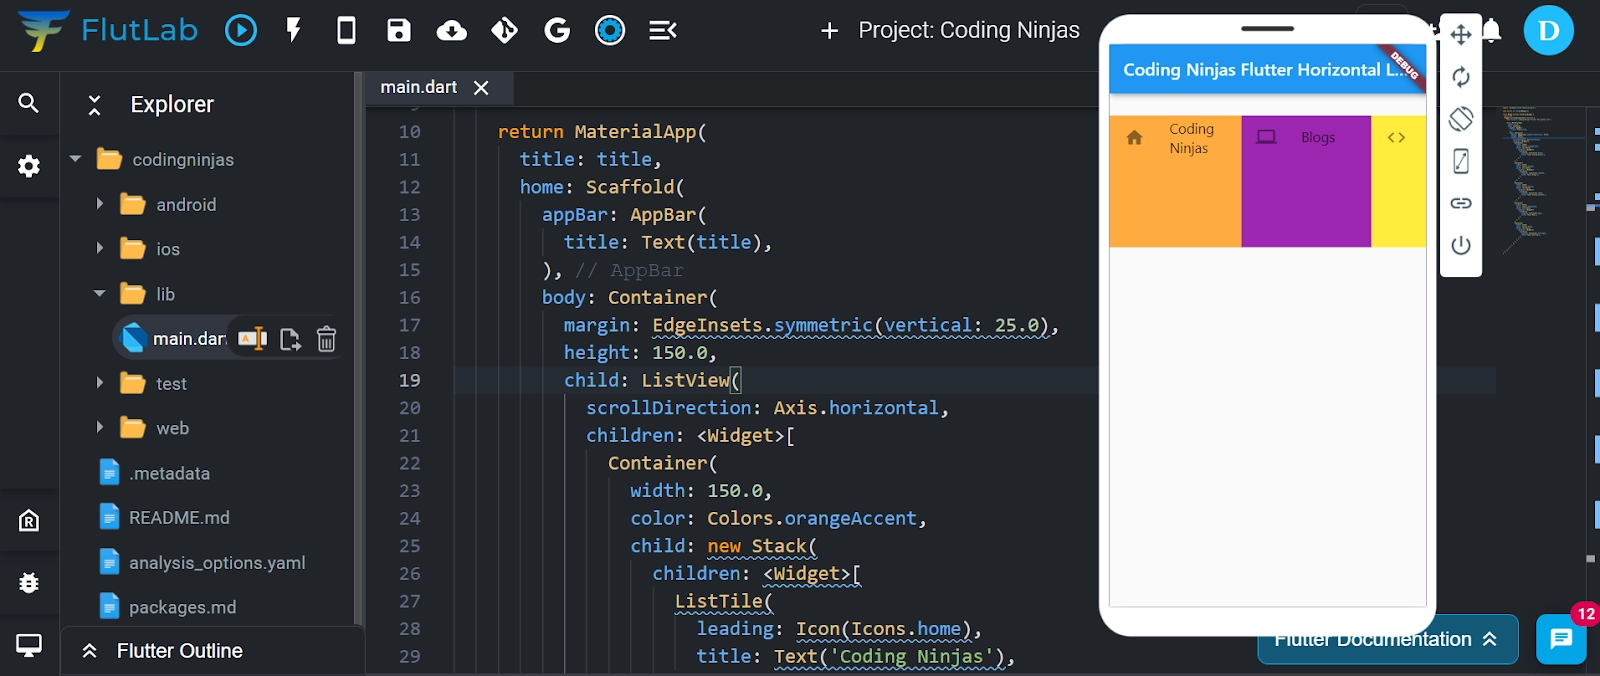
Horizontal Lists
The ListView widget also supports a horizontal list. When we want our list to be scrolled horizontally rather than vertically, we go for Horizontal List. List view provides the horizontal scrollDirection that overrides the vertical direction.
You can go to the FlutLab website, where you will see something like this with the main.dart file open-

Now you can replace the ‘main.dart’ file code with the following given code-
import 'package:flutter/material.dart';

void main() => runApp(MyApp());

class MyApp extends StatelessWidget {
  @override
  Widget build(BuildContext context) {
    final title = 'Coding Ninjas Flutter Horizontal List';

    return MaterialApp(
      title: title,
      home: Scaffold(
        appBar: AppBar(
          title: Text(title),
        ),
        body: Container(
          margin: EdgeInsets.symmetric(vertical: 25.0),
          height: 150.0,
          child: ListView(
            scrollDirection: Axis.horizontal,
            children: <Widget>[
              Container(
                width: 150.0,
                color: Colors.orangeAccent,
                child: new Stack(
                  children: <Widget>[
                    ListTile(
                      leading: Icon(Icons.home),
                      title: Text('Coding Ninjas'),
                    ),
                  ],
                ),
              ),
              Container(
                width: 148.0,
                color: Colors.purple,
                child: new Stack(
                  children: <Widget>[
                    ListTile(
                      leading: Icon(Icons.laptop),
                      title: Text('Blogs'),
                    ),
                  ],
                ),
              ),
              Container(
                width: 148.0,
                color: Colors.yellow,
                child: new Stack(
                  children: <Widget>[
                    ListTile(
                      leading: Icon(Icons.code),
                      title: Text('Coding contest'),
                    ),
                  ],
                ),
              ),
              Container(
                width: 148.0,
                color: Colors.blueAccent,
                child: new Stack(
                  children: <Widget>[
                    ListTile(
                      leading: Icon(Icons.map),
                      title: Text('Map'),
                    ),
                  ],
                ),
              ),
              Container(
                width: 148.0,
                color: Colors.brown,
                child: new Stack(
                  children: <Widget>[
                    ListTile(
                      leading: Icon(Icons.settings),
                      title: Text('Setting'),
                    ),
                  ],
                ),
              ),
            ],
          ),
        ),
      ),
    );
  }
}
Now you can run the program, and the output of the above will be like this -

Frequently Asked Questions
What is Flutter?
Flutter is a cross-platform development framework used to write code and can deploy on various platforms like android, iOS, and desktop.
What are the advantages of using Flutter?
A flutter is a potent tool. Following are a few advantages of using Flutter-
- Faster Development
- Live and Hot Reloading
- Good Community
- Minimal Code
- Documentation
- Cross-Platform Development
- UI Focused
- UI Focused
What are the different types of widgets in Flutter?
We have two types of widgets in Flutter -
This widget does nothing. This widget is static and does not store any state or values that may change.
This widget does anything. This widget is dynamic, which means the stateful widget monitors changes and updates the UI accordingly.
What is Dart?
It is an object-oriented programming language with C-style syntax. It is an open-source Language that Google created in 2011. Frontend user interfaces are created by this dart of mobile and web apps. For creating flutter apps, the dart is an essential language.
What are flutter lists?
Lists are a popular element of mobile and web apps and are made up of multiple columns and rows. Lists can include text, buttons, icons, and many more items.
Conclusion
In this blog, we covered the topic of flutter lists, different types of flutter lists with running code and output and if you would like to learn more, check out our articles on Flutter Checkbox and Flutter Stateful and Stateless Widgets.
Refer to our guided paths on Coding Ninjas Studio to learn more about DSA, Competitive Programming, JavaScript, System Design, etc. Enroll in our courses and refer to the mock test and problems available. Take a look at the interview experiences and interview bundle for placement preparations.
Do upvote our blog to help other ninjas grow.

Happy Learning!


 9+ registered

