


Introduction
The tabs are primarily used for navigating on mobile devices. Tabs are styled differently on different operating systems. For example, it is at the top of the screen on Android smartphones, but on iOS devices, it is towards the bottom.
Working with tabs is prevalent in Material Design-compliant Android and iOS apps. Flutter makes it simple to construct a tab layout. To add tabs to the program, we must first build a TabBar and a TabBarView, which we will then attach to the TabController. The controller will sync both so that we may get the desired behavior.
This blog will look at how Flutter TabBar works.
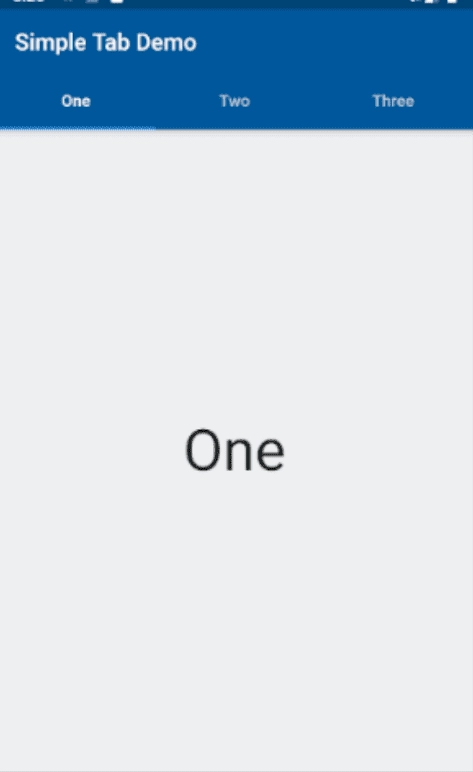
Source: https://1.bp.blogspot.com/-CsH3i2D-S7k/X2uUUTnedFI/AAAAAAAAB3Y/OyusE5X-L24ebM5X71_1fafzHBX2O5M2gCNcBGAsYHQ/s2048/Flutter_tabs.png
Steps for Creating a Flutter TabBar
Let's learn how to make a tab bar in the Flutter application step by step.
Step 1: To begin, open your IDE and create a Flutter project. We are using Android Studio in this case.
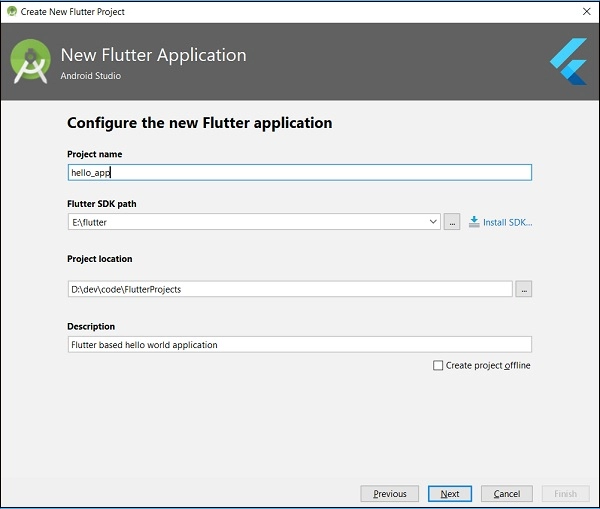
Source: https://www.tutorialspoint.com/flutter/images/project_name.jpg
Step 2: Navigate to the lib folder in Android Studio after opening the app. Create two dart files named FirstScreen and SecondScreen in the lib folder.
Source: https://abhiandroid.com/androidstudio/wp-content/uploads/2016/05/Paste-jar-files-in-Libs-folder-Android-Studio.jpg
In the FirstScreen.dart file, write the following code:
import 'package:flutter/material.dart';

class FirstScreen extends StatelessWidget {
  @override
  Widget build(BuildContext context) {
    return Container(
      child: Center(
        child: Text('This is the home screen',
            style: TextStyle(fontSize: 32.0),
          )
      ),
    );
  }
}
In the SecondScreen.dart file, write the following code:
import 'package:flutter/material.dart';

class SecondScreen extends StatelessWidget {
  @override
  Widget build(BuildContext context) {
    return Container(
      child: Center(
        child: Text('This is the calling screen..',
        style: TextStyle(fontSize: 35.0),
        ),
      ),
    );
  }
}
Step 3: The next step is to build a DefaultTabController. The DefaultTabController generates a TabController for all widgets and makes it accessible.
DefaultTabController(
  // The number of tabs that will be shown.
  length: 2,
  child: // In the next step, complete this code.
);
Step 4: Make a tab for it. The TabBar widget may be used to generate tabs, as shown in the code below.
DefaultTabController(
  length: 2,
  child: Scaffold(
    appBar: AppBar(
      bottom: TabBar(
        tabs: [
          Tab(icon: Icon(Icons.directions_car)),
          Tab(icon: Icon(Icons.directions_bike)),
        ],
      ),
    ),
  ),
);
Step 5: Create content for each tab to display the content when a tab is selected. To do this, we must employ the TabBarView widget as follows:
TabBarView(
  children: [
  ],
);
Step 6: Finally, open the main.dart file and paste the code below into it.
import 'package:flutter/material.dart';
import './FirstScreen.dart';
import './SecondScreen.dart';

void main() => runApp(MyApp());

class MyApp extends StatelessWidget {
  @override
  Widget build(BuildContext context) {
    return MaterialApp(
      home: DefaultTabController(
        length: 2,
        child: Scaffold(
          appBar: AppBar(
            title: Text('Flutter Tabbar Demo(CodingNinjas)'),
            bottom: TabBar(
              tabs: [
                Tab(icon: Icon(Icons.contacts), text: "Tab 1"),
                Tab(icon: Icon(Icons.camera_alt), text: "Tab 2")
              ],
            ),
          ),
          body: TabBarView(
            children: [
              FirstScreen(),
              SecondScreen(),
            ],
          ),
        ),
      ),
    );
  }
}
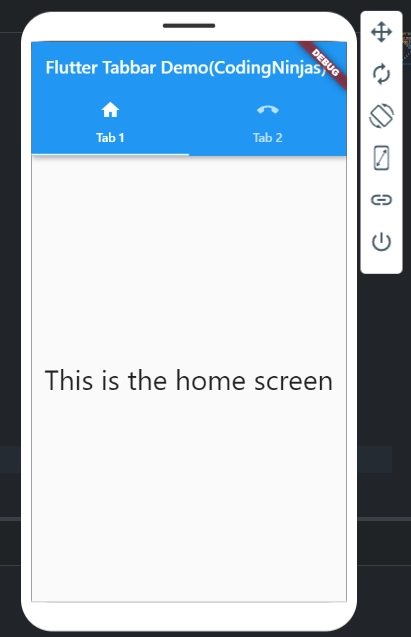
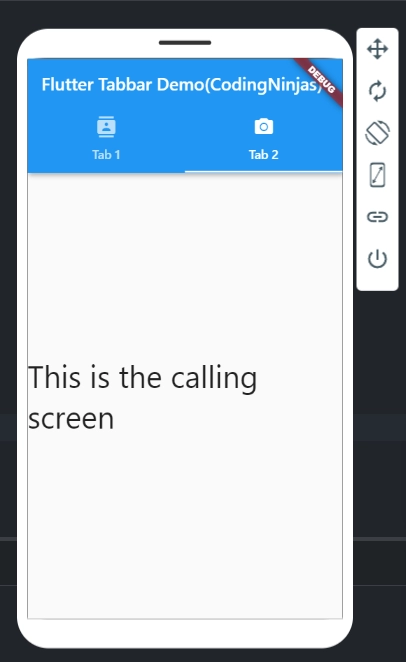
Step 7: Run the app on Android Studio now. It will display the following screen with two tab icons. As a result, clicking any tab icons will take you to the relevant screen.
Output:


 9+ registered

