Prerequisites

You should know the following for understanding flutter themes better-
-
You should know how to download and install Flutter.
-
You should know how to download and install Android Studio or Visual Studio Code.
-
Installing plugins for your code editor is recommended:
-
For Android Studio, Flutter and Dart plugins are installed.
-
Flutter extension installed for Visual Studio Code.
Note- Instead of all this; you can also use an online flutter compiler called FlutLab which we have used in this blog.
Properties Of Theme Widgets
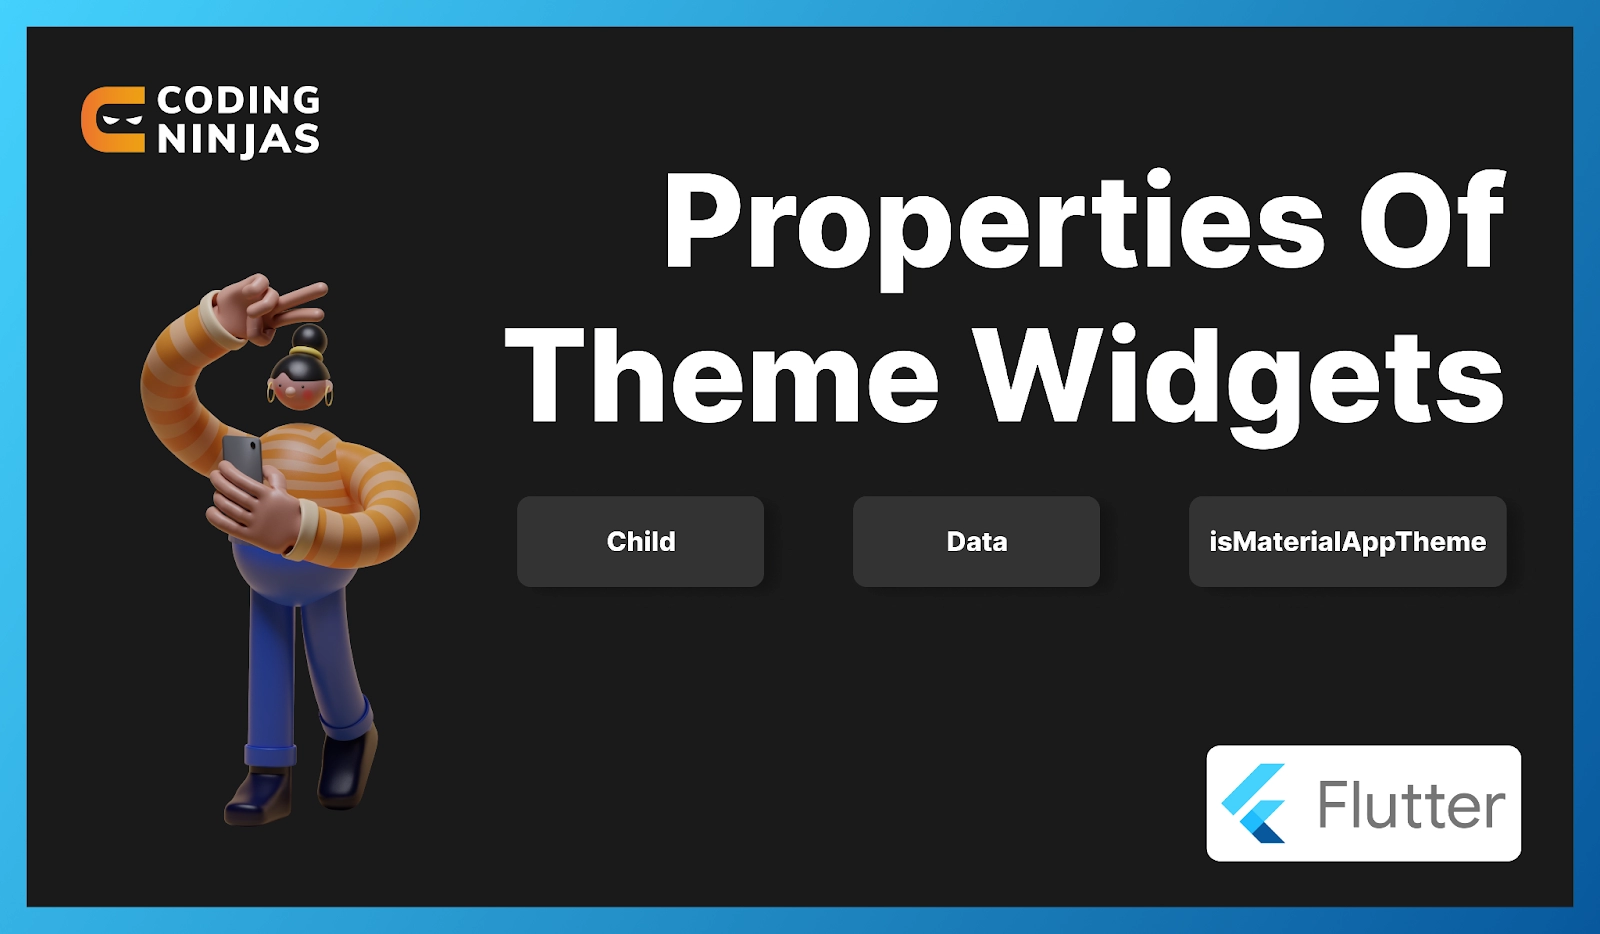
The following given are the properties of widgets-
-
Child
A widget is taken by child property as an object to show below the theme widget in the widget tree.
-
Data
ThemeData is taken by this property as the object for specifying the styling, typography, and colour used.
-
isMaterialAppTheme
Boolean(final) is taken by this property as the object. The theme uses the material design if it is true.
Steps To Create Flutter Theme
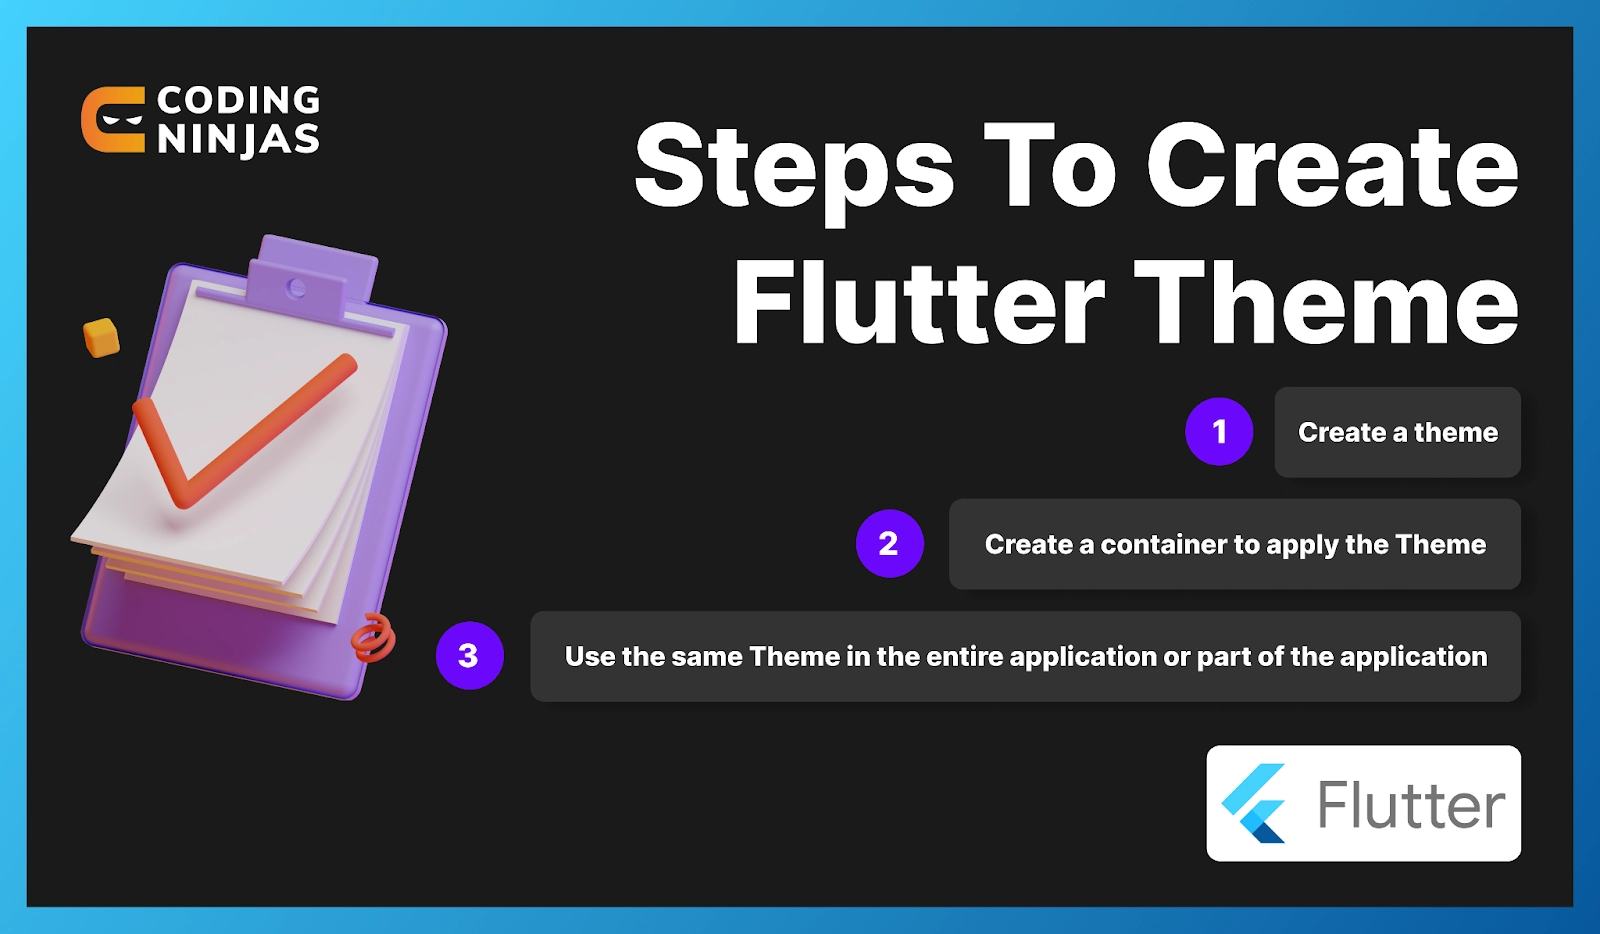
This section will look at the theme widget by creating a simple flutter app. For creating an app, follow the below-given app-
- Create a theme
- Create a container to apply the Theme
-
Use the same Theme in the entire application or part of the application.
Let's go through each step one by one-
Creating a Theme
For creating a theme, we will use a ‘theme widget’. We will use the following properties of the Theme -
- extreme
- primary-colour
- brightness
- fontFamily
-
accent colour
A simple theme will look like the following-
MaterialApp(
title: appName,
theme: ThemeData(
brightness: Brightness.dark,
primaryColor: Colors.orangeAccent,
accentColor: Colors.deepOrangeAccent,
fontFamily: 'Inter',

//text styling
textTheme: TextTheme(
headline1: TextStyle(fontSize: 72.0, fontWeight: FontWeight.bold),
headline6: TextStyle(fontSize: 36.0, fontStyle: FontStyle.italic),
bodyText2: TextStyle(fontSize: 14.0, fontFamily: 'Inter'),
),
),
home: MyHomePage(
title: appName,
),
);
Creating a Container
We can define a simple container in flutter like the following -
Container(
  color: Theme.of(context).accentColor,
  child: Text(
    'Namste Ninjas🥷!',
    style: Theme.of(context).textTheme.headline6,
  ),
);
Applying the Theme
You can wrap the same widget inside the theme widget to override the default theme of a widget. We can create and pass Themedata() to the respective widget as given below-
Theme(
  data: ThemeData(
    accentColor: Colors.blue,
  ),
  child: FloatingActionButton(
    onPressed: () {},
    child: Icon(Icons.add),
  ),
);
Using copyWith(), we can extend the same Theme app-wide as given below-
Theme(
  data: Theme.of(context).copyWith(accentColor: Colors.blue),
  child: FloatingActionButton(
    onPressed: null,
    child: Icon(Icons.arrow_circle_up),
  ),
);
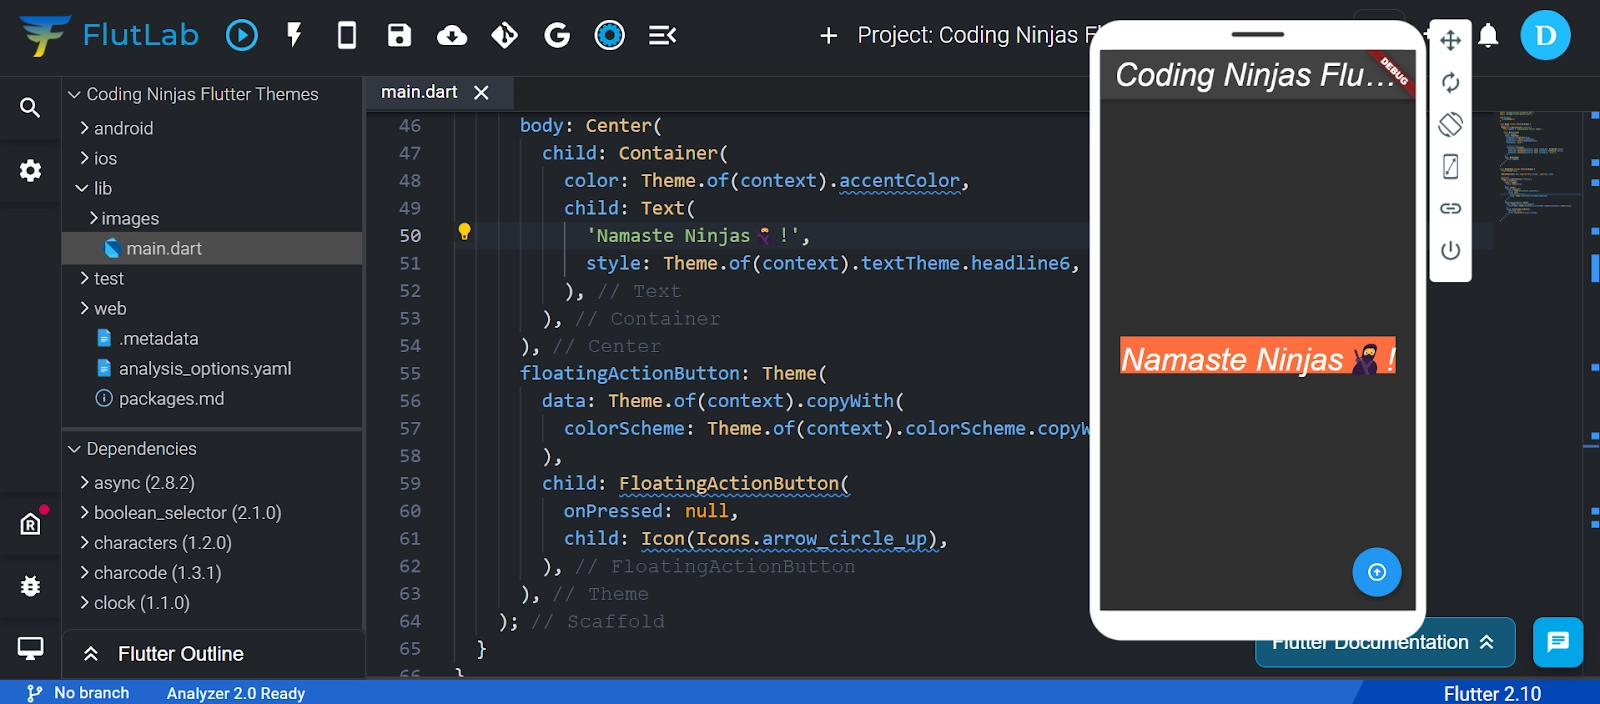
Complete code
You can go to the FlutLab website, where you will see something like this with the main.dart file open-
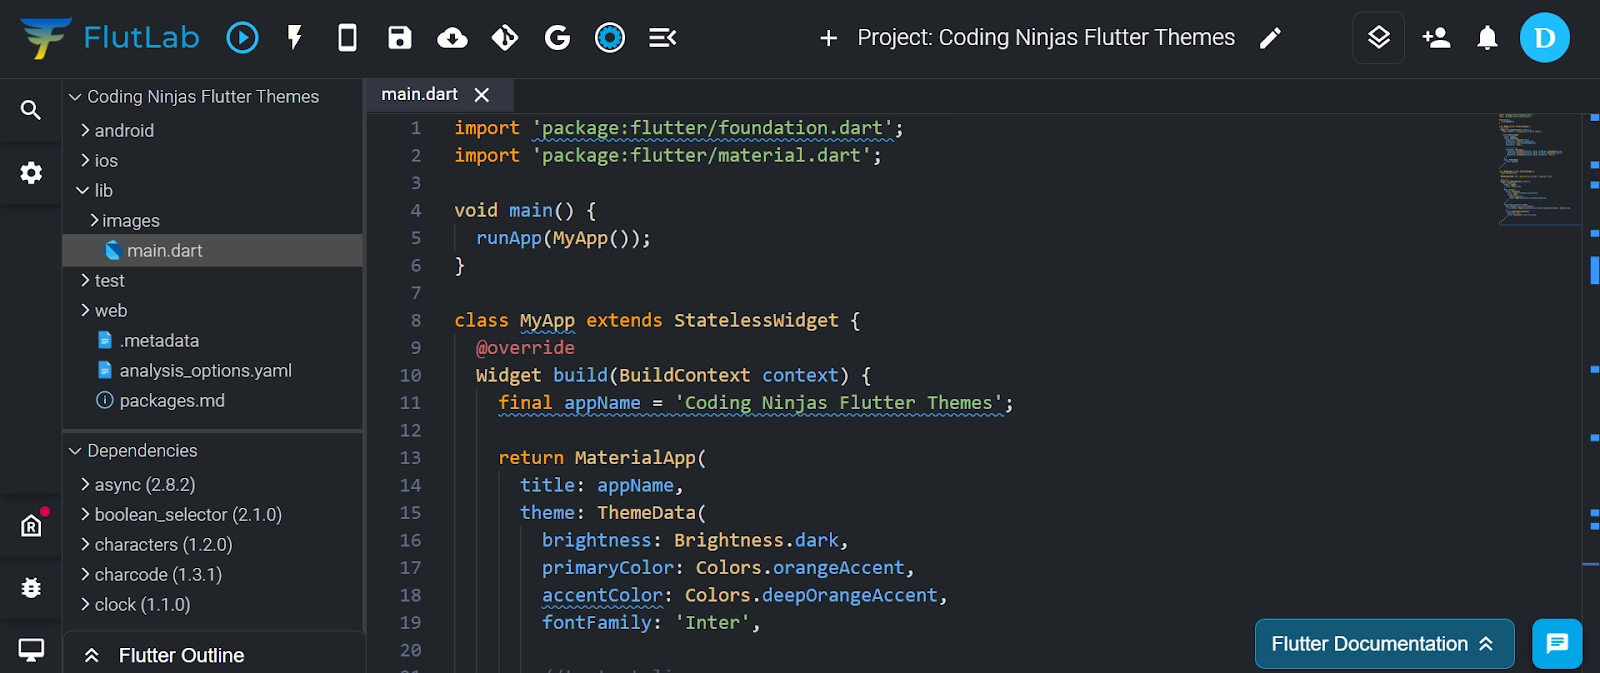
Now you can replace the main.dart file code with the following given code-
import 'package:flutter/foundation.dart';
import 'package:flutter/material.dart';

void main() {
runApp(MyApp());
}

class MyApp extends StatelessWidget {
@override
Widget build(BuildContext context) {
  final appName = 'Coding Ninjas Flutter Themes';

  return MaterialApp(
  title: appName,
  theme: ThemeData(
    brightness: Brightness.dark,
    primaryColor: Colors.orangeAccent,
    accentColor: Colors.deepOrangeAccent,
    fontFamily: 'Inter',

    //text styling
    textTheme: TextTheme(
    headline1: TextStyle(fontSize: 72.0, fontWeight: FontWeight.bold),
    headline6: TextStyle(fontSize: 36.0, fontStyle: FontStyle.italic),
    bodyText2: TextStyle(fontSize: 14.0, fontFamily: 'Inter'),
    ),
  ),
  home: MyHomePage(
    title: appName,
  ),
  );
}
}

class MyHomePage extends StatelessWidget {
final String title;

MyHomePage({Key? key, required this.title}) : super(key: key);

@override
Widget build(BuildContext context) {
  return Scaffold(
  appBar: AppBar(
    title: Text(title),
  ),
  body: Center(
    child: Container(
    color: Theme.of(context).accentColor,
    child: Text(
      'Namaste Ninjas🥷!',
      style: Theme.of(context).textTheme.headline6,
    ),
    ),
  ),
  floatingActionButton: Theme(
    data: Theme.of(context).copyWith(
    colorScheme:
    Theme.of(context).colorScheme.copyWith(secondary: Colors.blue),
    ),
    child: FloatingActionButton(
    onPressed: null,
    child: Icon(Icons.arrow_circle_up),
    ),
  ),
  );
}
}
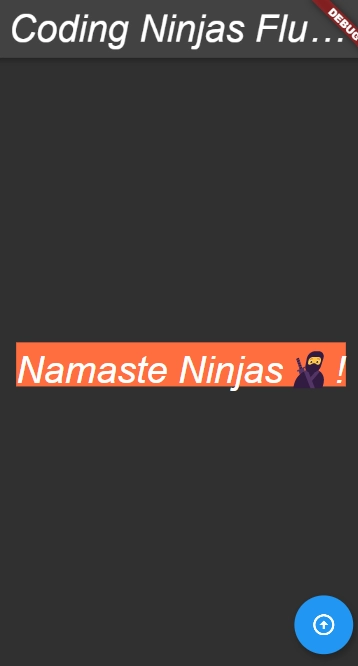
Output
Now you can run the program and the output of the above Flutter Themes code will be like -
Frequently Asked Questions
What is Flutter?
Flutter is a cross-platform development framework used to write code and can deploy on various platforms like android, iOS, and desktop.
What are the advantages of using Flutter?
A flutter is a potent tool. Following are a few advantages of using Flutter-
- Faster Development
- Live and Hot Reloading
- Good Community
- Minimal Code
- Documentation
- Cross-Platform Development
- UI Focused
- UI Focused
What are flutter themes?
The integral parts of the UI of any application are themes. We use themes to design the text and change the fonts and colours of an app to make it presentable.
What commands are used for setting up a project?
Firstly you have to set up your environment for Flutter.
Then you can run the following commands to create a new flutter app-
flutter create flutter_themes_example
Now you can navigate to the new project directory by running the command -
cd flutter_themes_example
How many versions are there of flutter themes by default?
There are two versions of flutter themes by default, and they are -
- light version (ThemeData.light())
- dark version (ThemeData.dark())
Conclusion
This blog covered the topic of Flutter Themes with prerequisites and properties. After that, we went through the steps of creating flutter themes and if you would like to learn more, check out our articles on Flutter Checkbox and Flutter Stateful and Stateless Widgets.
Refer to our guided paths on Coding Ninjas Studio to learn more about DSA, Competitive Programming, JavaScript, System Design, etc. Enroll in our courses and refer to the mock test and problems available. Take a look at the interview experiences and interview bundle for placement preparations.
Do upvote our blog to help other ninjas grow.
Happy Learning Ninja! 🥷


 8+ registered

