Introduction
In general, forms are used to assemble information on any being. We’ve all seen how our schools, colleges, universities, or any other organisation necessitate the basic information about the students or anybody else associated with the organisation.
When it comes to the traditional forms, we fill them out with pen and paper, and the authorities then enter the information into their system to ensure its integrity.
However, in digital forms, we must provide some basic information about ourselves for them to know who we are. The data is saved at the backend without any user involvement in the same timeframe.

Source:- Twilio
So, have you ever wondered how the data is gathered on the backend when we enter our credentials?
This blog will cover some critical principles and show you how to create your first HTML form using the appropriate HTML form controls.
Let’s get started then:
Your first HTML form
WebForms in HTML is one of the primary methodologies to interact with the user. Forms let users enter the data, which is often transmitted to a web server for processing and storing or utilising it on the client-side to alter the interface in some way instantly. Client-side refers to actions that take place on the user's (the client's) computer.
The HTML of a web form comprises one or more form controls (also known as widgets) and specific extra components to organise the entire form — these are commonly referred to as HTML forms.
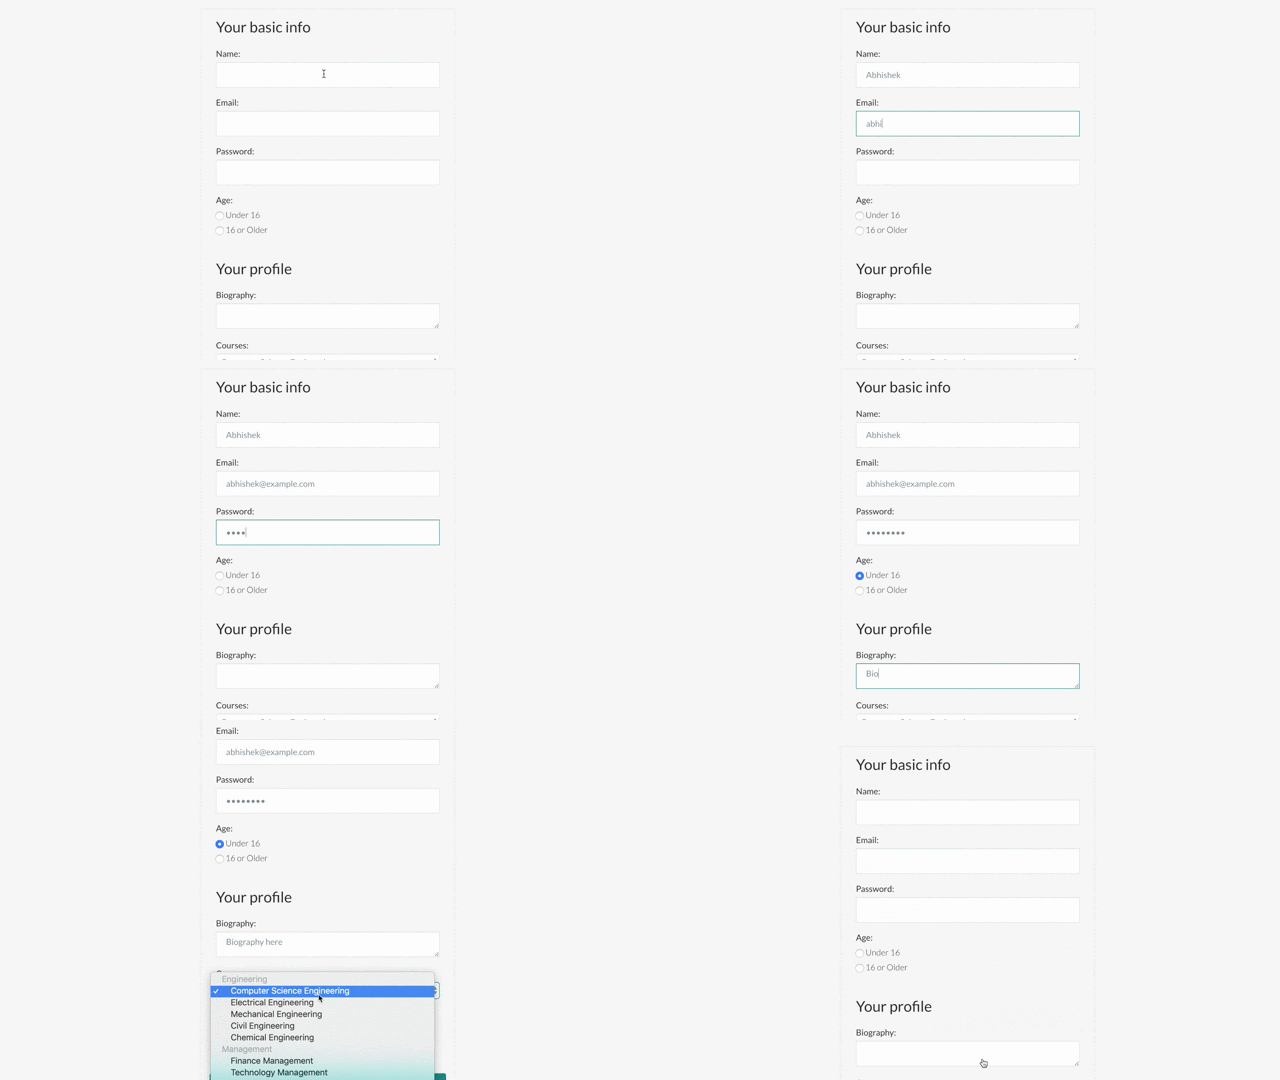
The controls can be single or multi-line text fields, dropdown boxes, buttons, checkboxes, or radio buttons and are generally constructed with the <input> element, though there are a few more to learn about as well.
The following is an overview of the HTML controls that you've most likely spotted on diverse landing pages:
Source:- freeCodeCamp
Note:- Before you begin coding, it's usually a good idea to take a step back and consider your form. Designing a quick mockup can assist you in defining the correct collection of data to ask your user to provide.
In this article, we’ll build a sophisticated form that will be easy to understand:
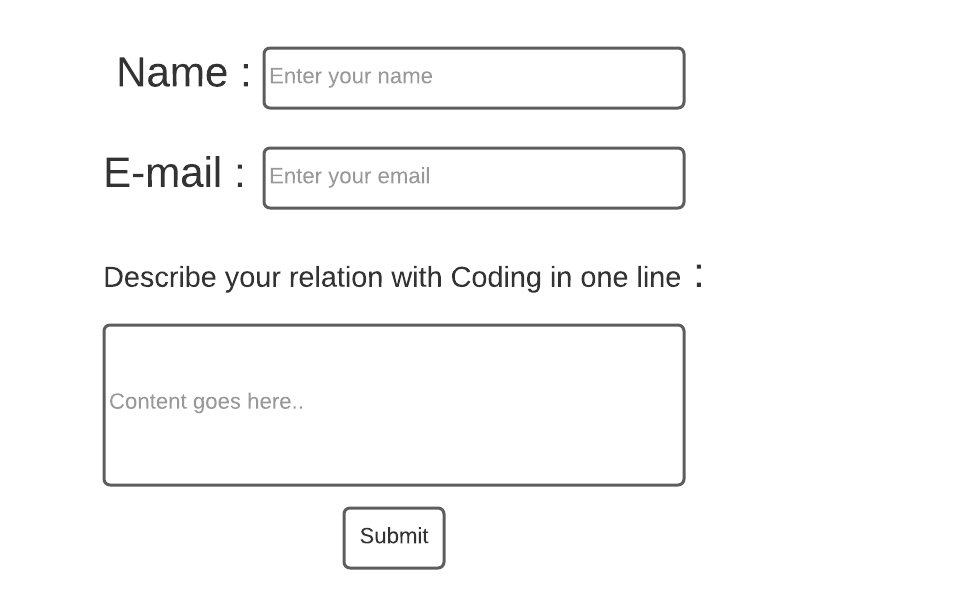
Our form will contain three text fields and one submit button. We request the user's name, email address, and the one-line description they wish to submit. When they press the button, their data is sent to a web server.
Okay, let's get started on putting the above form into action:
HTML elements that are utilised to create a form
We'll utilise the HTML elements <form>, <label>, <input>, <textarea>, and <button>.
- The <form> element
The <form> element is used to create the HTML form for user input.
Syntax:
|
<form> . form elements . </form> |
The <form> element serves as a container for input elements such as text fields, checkboxes, radio buttons, submit buttons, etc.
- The <input> element
The most common form element is the HTML <input> element. Depending on the type attribute, an <input> element can be presented in various ways.
Some types are:
S.no. |
Type |
Description |
1 |
<input type ="text"> | Display a single-line input field |
2 |
<input type ="radio"> | Displays a radio button ( for selecting one among all choices) |
3 |
<input type ="checkbox"> | Displays a checkbox button ( for selecting one or more among the given choices). |
4 |
<input type ="button"> | Shows a clickable button. |
5 |
<input type ="submit"> | Same as the button type yet used in HTML forms for submitting the entered data. |
- The <label> element
- The <label> tag specifies a label for a variety of form elements.
- The <label> element is essential for screen-reader users since the screen-reader reads the label when the user focuses on the input element.
- To connect the <label> with an <input> element, add an id attribute to the <input>. The <label> then requires a for attribute with the same value as the input's id.
-
The for attribute specifies which form element a label is bound to.
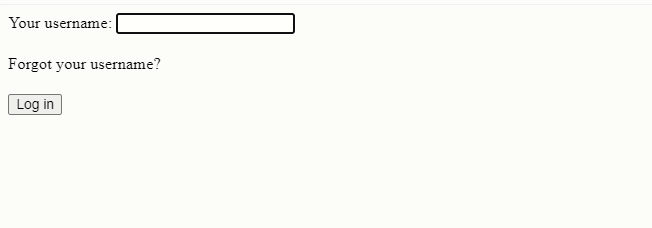
For example:
|
<label for="username">Your username:</label> <input id="username"><br><br> <!-- Multiple labels can be associated with the same form control: --> <label for="username">Forgot your username?</label><br><br> <button type="submit">Log in</button> |
Output:
|
The code above will only accept a single line of input from the user. Another element called <textarea> allows users to enter data in more than one line to input multiple lines.
- The <textarea> element
The <textarea> HTML element is a multi-line plain-text editing control that is helpful when you wish to let users write a large quantity of free-form text, such as a remark on a review or feedback form.
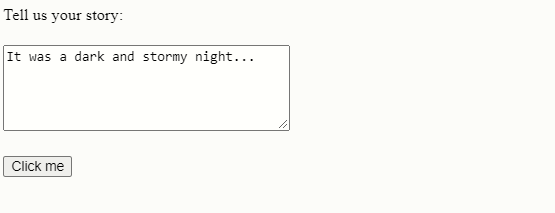
For example:
|
<label for="story">Tell us your story:</label><br><br> <textarea id="story" name="Story" rows="5" cols="33"> It was a dark and stormy night... </textarea><br><br> <button type="submit">Click me</button> |
Output:
|
The above example demonstrated the number of features of <textarea>:
- An id attribute that enables the <textarea> element to be linked with a <label> element for accessibility purposes.
- When the form is submitted, a name attribute is used to specify the name of the related data item that is sent to the server.
- The rows and cols attributes enable you to determine the precise size of the <textarea>. Because browser settings might differ, setting these is a good idea for consistency.
- Between the opening and closing tags, the default content is inserted. The value property is not supported by <textarea>.
- The <button> element
The HTML element <button> indicates a clickable button that can be used to submit forms or anywhere in a page for standard button functionality.
For example:
| <button name="button"> Click me </button> |
Output:
|
So far, we’ve seen the necessary elements for building an HTML form, and now we are ready to make the above form:
By combining the stated elements, we can build the primary forms in HTML:
|
<!DOCTYPE html> <html> <body> <h2>HTML Forms</h2> <!-- The action attribute defines the location (URL) where the form's collected data should be sent when submitted. --> <form action="/action_page.php"> <label for="name">Name :</label> <input type="text" id="name" name="name"><br><br> <label for="mail">Email :</label> <input type="email" id="mail" name="mail_id"><br><br> <label for="relation">Describe your relation with Coding in one or two line</label><br><br> <textarea rows="10" cols="30" id="relation" name="Relation"></textarea><br><br> <button type="submit">Click me</button> </form> <p>If you click the "Submit" button, the form data will be sent to a page called "/action_page.php." </p> </body> </html> |
Output:
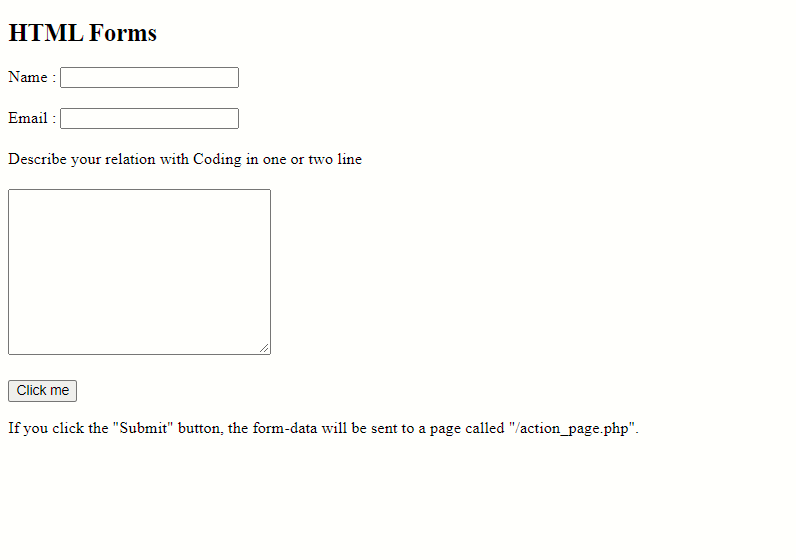 |
Taking the input from the user:
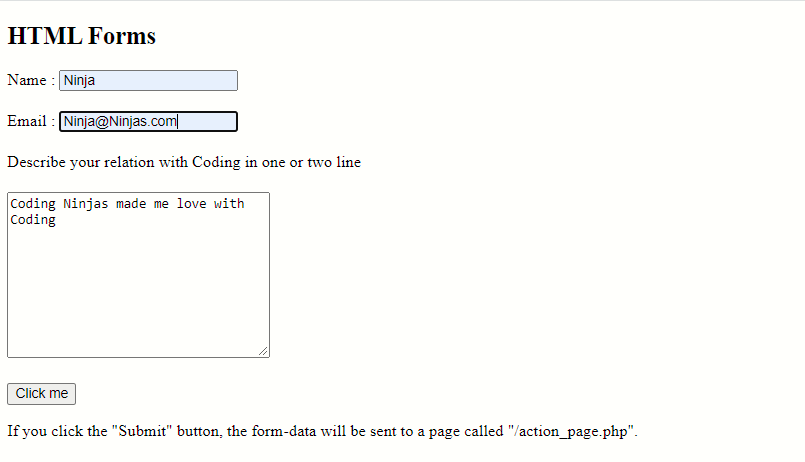 |
After clicking on the button:
 |
The data will be received on the server as a list of three key/value elements provided in the HTTP request by the script at the URL "/action page.php." It is up to you how this script handles the data. Each server-side language (PHP, Python, Ruby, Java, C#, and so on) has its form data processing method.


