


Introduction
Git is a global version-control system for managing changes in any set of files. Git commands play an important role in a developer's life. It was originally created to help programmers collaborate on source code during software creation.
Today, we will learn about the basics and working implementation of the following commands:
- git branch
- git checkout
- git merge
git branch & git checkout
In this section, we will discuss git branch and git checkout commands.
So how does the git branch help developers?
Imagine a situation where you and your fellow team members are working on a project. Now, you are in a position where your source code runs perfectly fine and passes all the test cases. The client comes to you and demands a new feature. You certainly don't want to mess with the code running perfectly fine until now, so you create a copy of the working directory and assign it to one of the developers in your team who will work on that feature that the client has demanded.
Git makes it super easy to achieve this using the git branch and the git checkout command. Let us see through a working example.
1. Create a new directory.
mkdir exploring-git-branch-commands
2. Enter into the directory.
cd exploring-git-branch-commands
3. Initialize the repository as a git repository so we can use the git commands.
git init


4. Create a README file
touch README.MD
5. Edit the README file (add some content).
vim README.MD
Enter into insert mode by pressing i, add some text, and exit from the insert mode by pressing Esc. Save the file and after that return to the command line by pressing:wq. (w = write, q = quit).
6. Check if the content is added.
cat README.MD
7. Check the current status of the repo.
git status
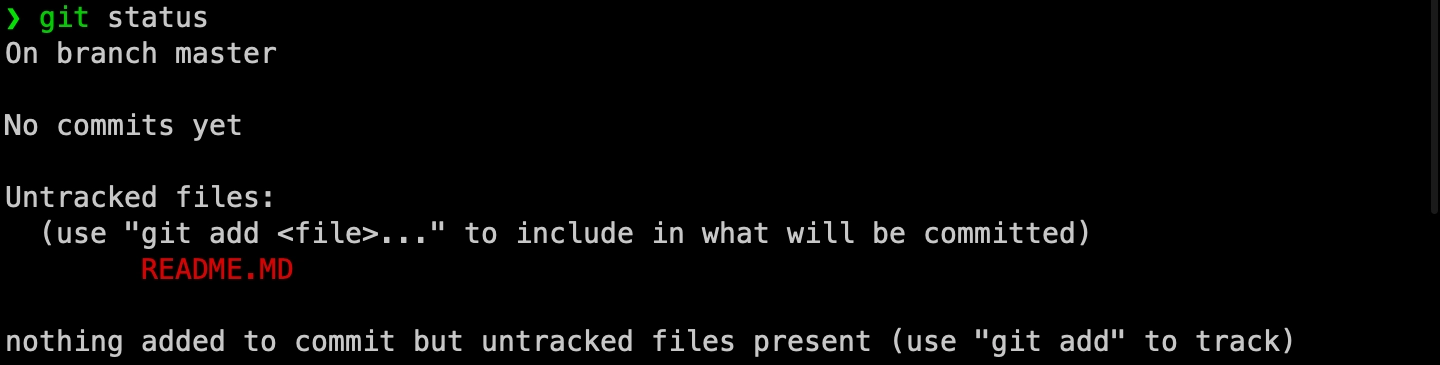
When starting a project, we are by default on the master branch. We don't have any commits, but we have one untracked file, "README.MD." So we need to add it to the staging area and then commit it.
8. add and commit
git add README.MDgit commit -m "added readme"
-m option enables developers to add a commit message.

9. Check the new commit.


10. Check all the branches associated with the repo.
git branch

git branch command list all the branches. * denotes that the current branch is master. In simple terms, a branch is some version of your project.
11. Let us create a new branch to add a new feature to our project.
git checkout -b <branch_name>

The git checkout command is generally used to switch between different branches. The -b flag creates a new branch if it already does not exist. We can use the git branch command to list all the branches.


12. The new branch's contents(files/folders) are the same as the branch from which it is created. In our case, the contents of the feature/new-feature branch initially are the same as the master branch. One can confirm this by using the ls command.
ls
You can use cat README.MDcommand to see the contents of the README file.
13. Let us add a new feature. Create a new file, edit that file and save (we already saw in the previous section when we created, edited, and saved the README file).

14. Stage the new-feature file and commit the changes.

15. Review the current version (feature/new-feature) of your project.
ls

This version(feature/new-feature) of our project has two files instead of one (master version).
16. Check the logs for commit history.
git log

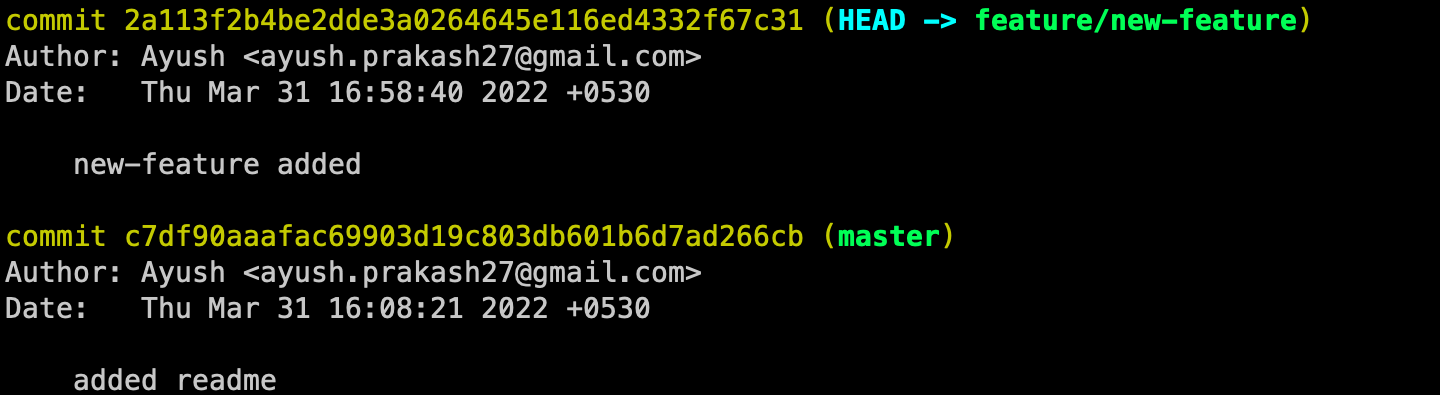
We have two commits, the new-feature added commit, which is evident as we just made it. The other commit added readme was made when we were working on the master branch, but we could see this commit since we checked out the feature/new-feature branch from the master.
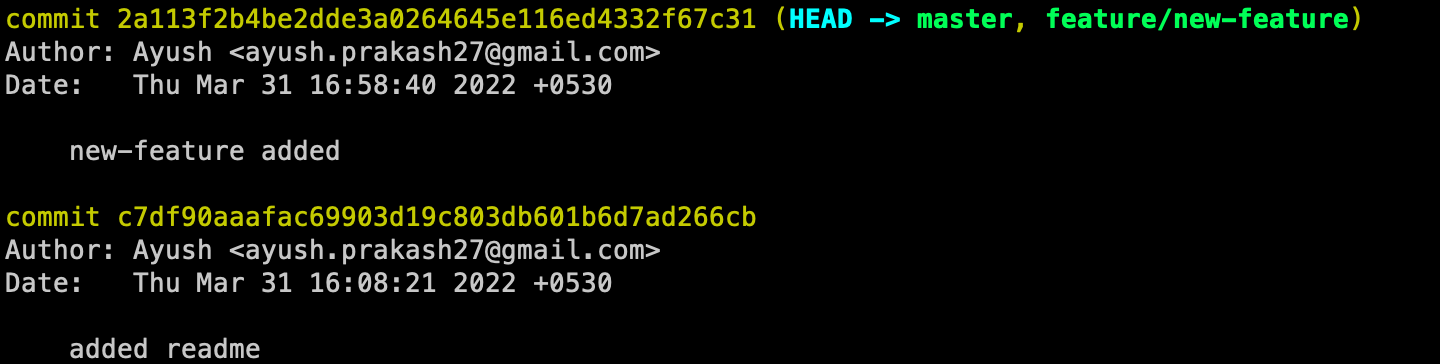
17. We can switch back and forth between branches. Let us go back to the master branch and review its content.
git checkout master
ls

Notice that this version of the project only has the README.MD file.
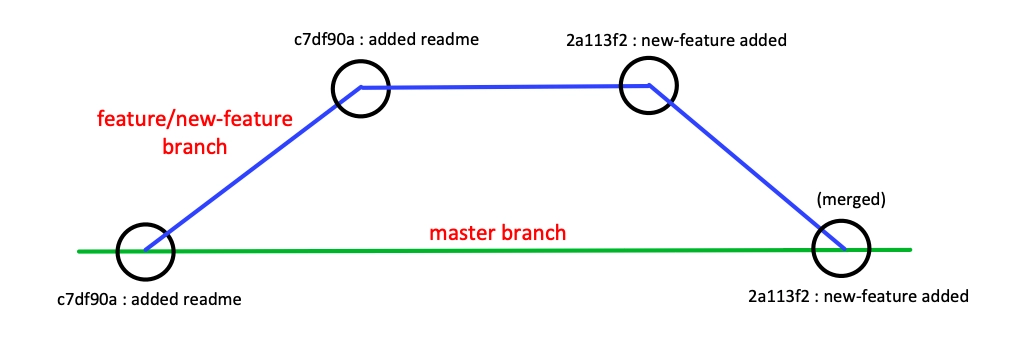
Therefore, we can say that git branch and git checkout commands help us create a snapshot of the source code (which is passing all the tests), and we can go back to that anytime we want. We can create a new branch for adding new features or experimenting, and we don't have to worry about breaking the earlier code.


 9+ registered

