


Introduction
Github is a source control platform that every developer uses while creating projects. It involves code and committing changes, it's a safe place where you can store your project files, you can revert to old versions of your project at any time if you need to, and you can fork into new projects. Most of the code is publicly available in many cases, enabling developers to investigate quickly, download, collaborate, use, improve, and remix that code. The container for the code of a specific project is called a repository.

Get started with GitHub
To get started with GitHub, we need to have a GitHub account. So here I am on Github, and if you don't have an account already, you will have to sign up and then go ahead.
Since I already have an account, I am just going to sign in. There are a couple of different ways now we're going to use GitHub.
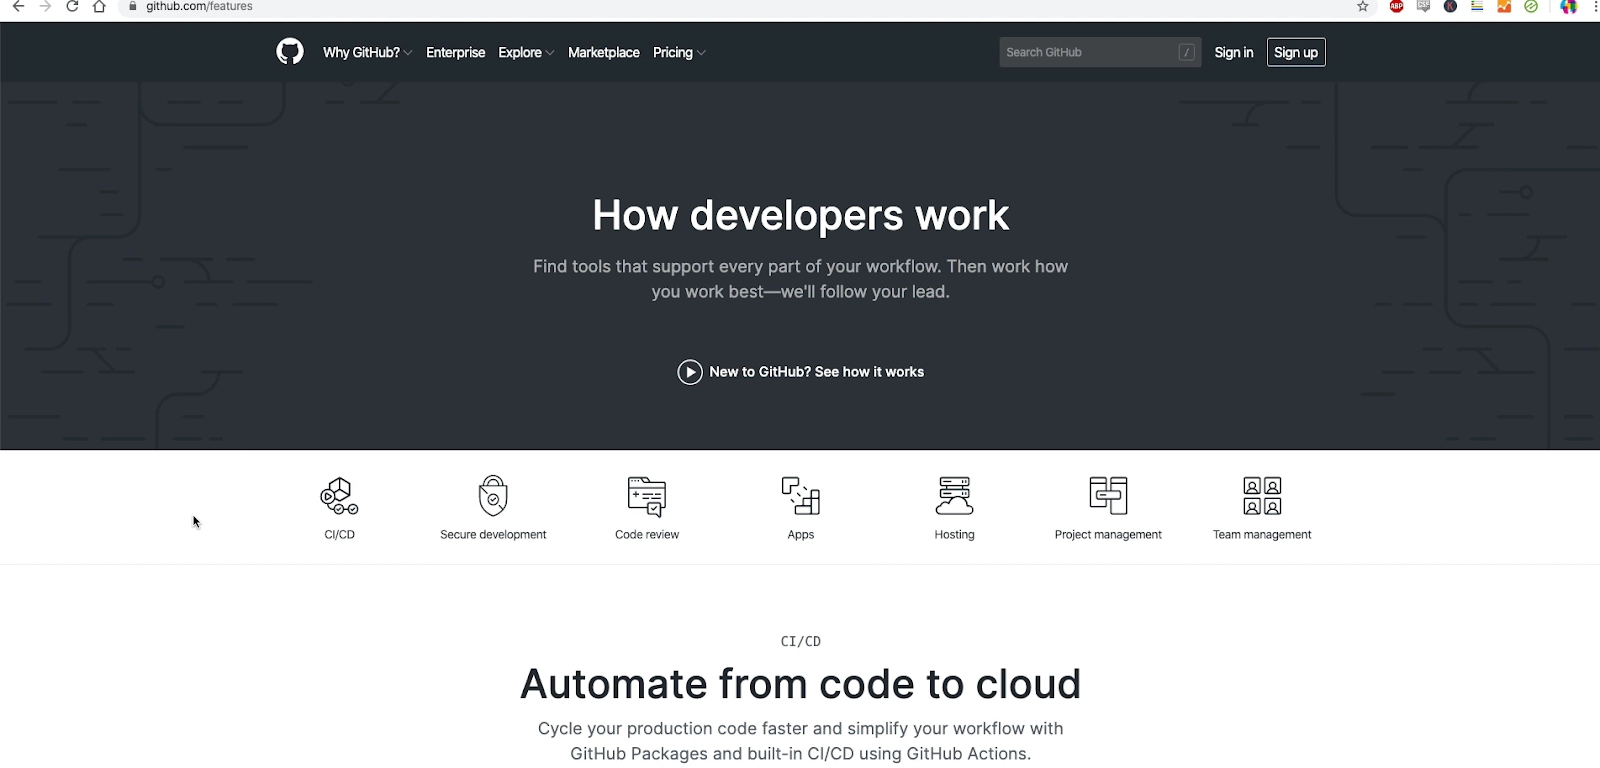
First of all, we're looking at the online version of GitHub right now that you can access in a browser at github.com.

But of course, we are also going to use the GitHub desktop version. We are going to download that as well, and that's how we can easily commit changes from our local files to the cloud, but once we get logged into GitHub, the first thing that we're going to do is over left.

The left is where all of our repositories will be listed, but if you want to create a new repository, you just need to click on this green button right here, so we'll just click on that to create a new repository.
We can call this repository whatever we like, so we'll just call this GitHub test. We can also give it a description. We can choose whether we want the repository to be public or private. It is always a good idea to have atleast one file with any repository so you can choose to initialize the repository with a README file, now go ahead and do that.
When you're ready, click on create the repository.

Once you have created a repository in GitHub, they will be listed, so any time you go to the home page you will be able to see all your repositories.
By clicking on the GitHub test repository, I can see all the information about this repository.
All of the files will be listed here, I'll be able to see the last time a commit was made to the repository (basically the last time it was updated), you can track issues, you can track requests, you can track almost all aspects of your project here in GitHub.

We have section Insights on when files are being modified and how much work is being done. We also have access to change some project settings, so if you click on the Settings section, you'll notice that you can add collaborators to a project, you can decide how branches are going to work, you can customize your notifications, and all sort of things.

Clone Repository
Go to the directory where you wish to have your repository folder (usually, your home) and then type the clone command for your repository.
To update your repository with the existing version, type git pull origin master.
If it is another branch than your master, then type - git pull origin your_branch_name
- Public Repository (Any Number, Free) - Anyone can see a public repository, but you will choose who can commit to it.
-
Private Repository (Paid Subscription) - You can only see a private repository by default. You have the option to choose who can see and commit to this repository by adding collaborators.

Now we're going to talk about the button known as fork in Git Hub?
A fork is basically a copy of the repository. When you fork and repository, it allows you to have your own copy on your system and then modify it however you like and experiment with changes without affecting the original project. So it's kind of like a branch, except you're copying the entire project into a brand new repository.
So, the way this would work is, let's say I had an application for an iOS app that was on my GitHub repo, and someone saw that app and noticed that they could improve it somehow by changing the background color. So they will fork my repository, commit their own features to their repository, and then create a pull request saying "Hey, I made a slight change to the repo: I improved the background color". Then, I can review that and accept it. So Forks are really useful for proposing changes to someone else's project or using someone else's project as a starting point.


 9+ registered

