


🧩Facebook Groups
Facebook is a website/app that allows users to create free profiles and connect with friends, work colleagues, and strangers online. It allows users to share pictures, music, comments, videos, and articles, as well as their opinions and thoughts, with as many people as they want.

A Facebook group is an online community of people who have similar interests. Developing an online community is an essential step for any expanding business. It enables you to connect with your target audience, gain insights to promote your business, and boost brand and consumer loyalty. So, create a Facebook Group if you want to promote your business online by creating an online community. Facebook provides both options: You can create and join a group to reach your target audience.
The Most Important Advantages of Facebook for Business:
-
A Facebook page provides low-cost brand exposure.
-
It's a straightforward way to communicate with current and prospective customers.
-
You can easily and effectively reach the target audience.
- It gives a mobile-optimized experience.
🧩Steps on How to Create a Facebook Group
Sign in to Facebook. If you don't have a Facebook account, you can create one using your email address.
Create a Facebook Group - Using a Phone/Tab
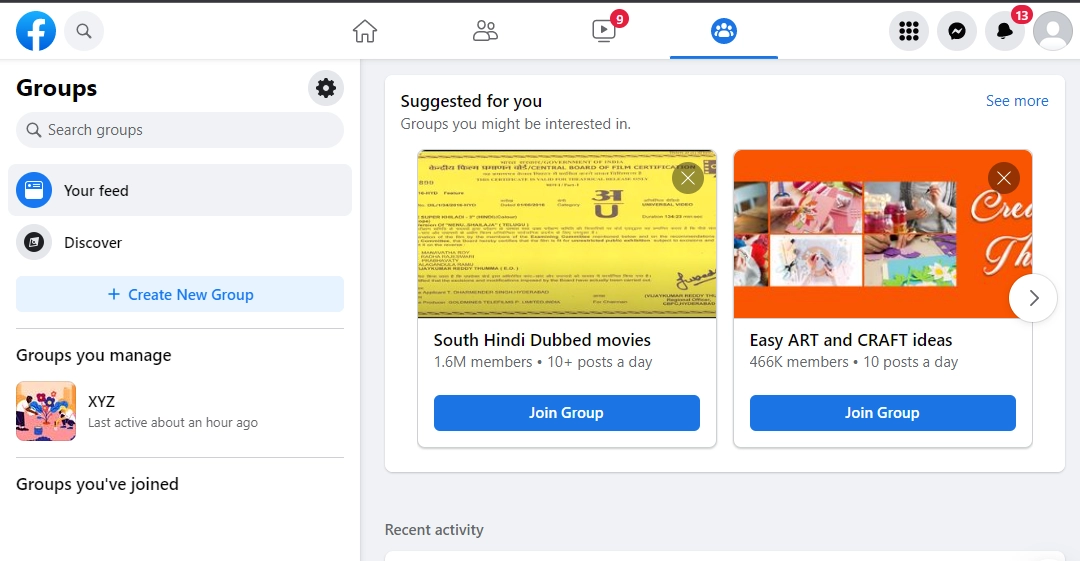
- When you log in to Facebook, go to the home page and click the people icon on the navbar next to the Bell Icon. The Groups page will open.

-
A page will appear, as shown in the image above. Click on the + icon.
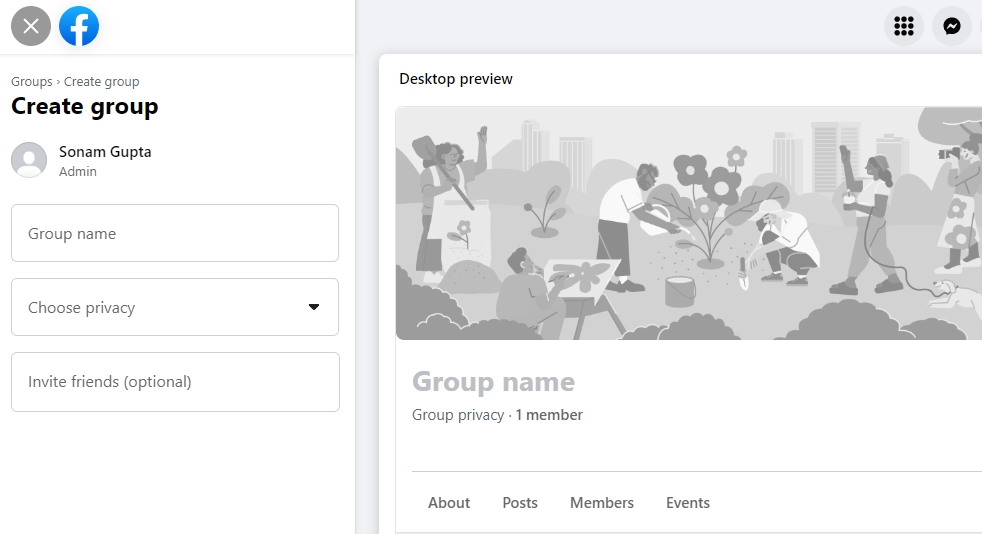
- It will request information from you, including your group name.
-
You can name your group, but it should be relevant and reflect your company's products, services, and goals. You can change the name of your group later also.
-
The next step is to choose the privacy setting for your Facebook Group from two options: public or private. Choosing a privacy setting is an important step to create a Facebook group because changing it later will be difficult. You won't be able to change the privacy setting once you have done so at this point.

3. Click Next and then click Create. You can add any image as a display picture of your group relevant to your cause.
4. It will display that your group has been created now you can invite members to join your group.
-
The next step is to include a photo that is consistent with your brand, theme, and goal for creating the group. Next, fill out the description box with more information about your group. Click the Done button.
-
If you want, you can make your first post now or later.
5. You can edit and manage groups by clicking on group settings and doing the necessary changes.
Create a Facebook Group - Using PC

When you log in to Facebook, go to the home page and click this icon on the navbar, which is located next to the Multimedia option. The Groups page will open.
Or you can click + Create New Group in the right panel.
Click on + Create New Group in the left panel, under groups, to create a Facebook group. You can name your group, but it should be relevant and reflect your company's products, services, and goals. You can change the name of your group later also.
The next step is to choose the privacy setting for your Facebook Group from two options: public or private. Choosing a privacy setting is an important step to create a Facebook group because changing it later will be difficult. You won't be able to change the privacy setting once you have done so at this point.
Invite your friends here if you want, or you can also add them after creating the group.

Your group is created now. It will display that your group has been created, and you can invite members to join your group. The next step is to include a photo consistent with your brand, theme, and goal for creating the group. Next, fill out the description box with more information about your group. Click the Done button. If you want, you can make your first post now or later.
You can edit and manage groups by clicking on group settings and doing the necessary changes as shown below.

Now that your Facebook group is ready, you can begin posting updates within it and allow members to do the same after verifying their posts.
You can also check out Facebook Interview Experience to learn about Facebook’s hiring process.


 9+ registered

