Do you think IIT Guwahati certified course can help you in your career?
Introduction
This is a tutorial for dummies and aliens. A Quiz app made using JavaScript is one of the most common projects done by any web developer. It helps you build a strong foundation in JavaScript, which will help you in your future projects.
Javascriptis a powerful language that makes everything possible. The beauty of the syntax makes all kinds of learners and developers understand the language with ease, and astounding pieces of technology are created. If you follow this blog religiously, you will be able to understand the concepts of JavaScript that will enable you to perform the undermentioned tasks like a pro:
Adding interactivity to your webpage with the click of a button
Changing the text on your web page as per the user interaction
Show and Hide certain elements to your web page with JavaScript
A tip before we dive in, in case you do not understand any code snippet, re-read the description written with the snippet. If that doesn’t help, look it up online. Being a great developer also means possessing the ability to find references that aid you in understanding the code and fix bugs within your code.
The preferred requirements for building this quiz are specified below. While these requirements are not mandatory, it is advised to use them for a better coding experience.
Browser:Google Chrome(make sure you have installed the latest version)
Editor: Visual Studio Code (VSC)
Extensions (for VSC): Live Server, CSSFormatter, HTML Snippets, Debugger for Chrome
In this format, users will be given one question for which they will have two options to choose from. Based on the user choice, the score will be incremented. The next question appears automatically upon selecting an option; however, previous and next buttons are available on the page for a better user experience.
This format will serve as a practice test for the user as they will be able to go back to the questions and select the options to get a cent percent score.
In addition to this, a submit and a restart button is introduced, the functionality of which is exactly what their name suggests. Before beginning with building any webpage, you need to have a clear picture in your head about what exactly you will build.
It is essential to create a wireframe of the final output of your page to proceed in a structured manner and not leave out any details or functionalities while are coding.
I have created this wireframe using Figma. You can either use Figma or any other design tool available or you can even draw it on a piece of paper. The motive is to pen down every detail of your product/project.
If you are using VSC and have installed all the extensions mentioned in setup and requirements, create a new file and name it index.html. Now, type HTML and select the html:5 option, an HTML boilerplate will be created automatically.
Change the page's title from Document to JavaScript Quiz Format 1 or any other fun name you can think of. Also, create a “style.css” CSS file and “index.js” JavaScript file and link them.
Divide your wireframe into components in your mind and start writing some code in your index.html file.
A background container where your text and buttons will be visible.
A div container to store the score.
A div container to display the question.
A div container that contains the choices you want to provide to the user for selecting an answer to the question. (Combine 3 and 4 in one separate container)
A div container that contains all the control buttons: Restart, Prev, Next, and Submit.
Add relevant classes to all the div containers, which will help in styling them later, and relevant IDs, enabling you to add JavaScript interactivity later. Keep in mind that you should never be lazy in naming your classes and IDs.
It will be beneficial for you as well as the person who might read your code to understand exactly which component of your webpage is being mentioned.
Beginners can learn about the basic HTML tags from theHTML Tags For Beginnersblog
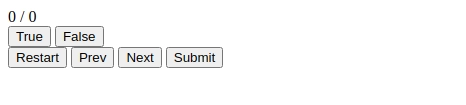
This is how your web page should look like at this point:
Output after writing HTML Code
We have now added everything we needed to our page. It is now time to style our page and make it look presentable.
The first step to a beautiful webpage is to make sure you are using the right typography. I have used one of my favorite Google Fonts – Poppins, and you can find this font here. For those using Google Fonts for the first time, you need to select the variations of the font you require on your webpage, and a selected family sidebar will pop up.
You can either use the <link></link> variation of the font and add it to your index.html file or use the @import variation and add it to your style.css file. I have used the @import variation, but you can feel free to experiment.
Select all elements using the universal selector and eliminate the auto margin and auto padding on the web page. Unless you explicitly have to use multiple fonts on your webpage, this is where you have to add in the font family for all the elements on your page.
Give the body a nice background gradient. By default, the gradient will be repeated in strips on your webpage; make sure you get rid of that using the no-repeat property. To fill your entire screen with the beautiful gradient you created, specify the height and width of your body as 100% of your viewport height and 100% of your viewport width, respectively.
For easy and quick vertical and horizontal alignment, use CSS Flexbox and change the display of the body to flex and specify central vertical and horizontal alignment.
The container which will contain the question, score, options, and buttons need to be made now. To ensure that your container doesn't blend with the background, give a nice light shade to it in contrast with the background.
To give a 3D effect, use the CSS box-shadow property. Specify the height and width relative to the viewport in "vh" and "vw" units, respectively.
We also want to make sure that the elements inside this container are perfectly aligned to the center, both horizontally and vertically. We will once again put CSS Flexbox to use. Here, we have used an additional flex-direction property to specify how our elements will be stacked. Rounder corners are preferred more than sharp edges, and hence, a nice border-radius is also given to our container.
The styling of the score counter will be pretty straightforward. The font size, weight, and font color have to be controlled. I have used colors in contrast with the background to give a nice blend of all the elements and used different colors for the total score and the user's score. You are free to experiment with colors and different styles on your own.
Now we will style the buttons on our page. Since these buttons are our primary call to action, we need to ensure that the readability is maximum. On a dark background, light text color is used, which is the same as that of the background.
Whenever we choose the color scheme for our web page, we need to make sure that all the colors are in contrast with one another so that everything looks connected as a part of one element.
Some box-shadow is also added to give a nice effect. I have changed the cursor type to a pointer to differentiate the clickable and non-clickable elements on my page. For more effect, I have also added a hover functionality, making the button in focus stand out from the rest of the buttons.
Want to know more about the CSS Display property, read about Explained: CSS Display Inline
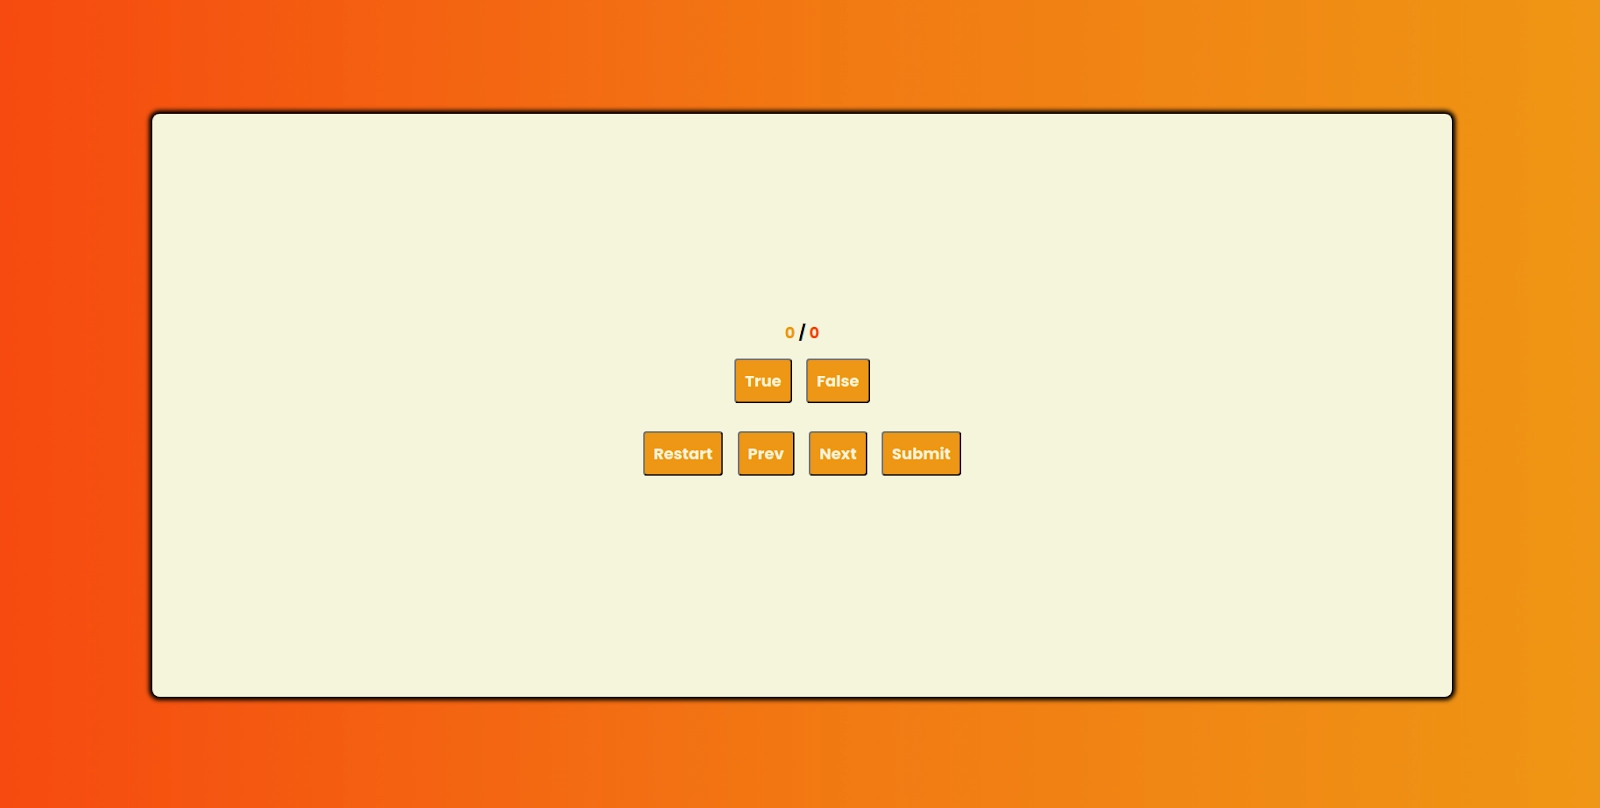
We have now completed styling our page. This is how our website looks now. Isn’t it pretty?
Output after adding CSS
We are moving on to the most fun part of this entire game, adding JavaScript! Before proceeding, make sure there is no error in your web page style, and you have added the “hide” class for sure. It is an extremely crucial element for the working of our quiz game.
Don't know JavaScript? Don't worry; we have got you covered. Check out the JavaScript Cheat Sheet.
The first step is to create variables that represent the elements in our document. These variables will be used to access the elements via the DOM model.
Next, we would be defining variables that will be used to maintain three important things for the interactivity on our webpage:
A counter for the current question. This will enable JavaScript to access the right question by incrementing or decrementing this counter based on the user’s interactivity with previous and next buttons.
A counter for the score. For every correct answer, the score will be incremented. However, when you have to introduce negative marking to your quiz, the score will be decremented for every incorrect answer.
An array of questions. This will contain our questions and the options for the same.
let currentQuestion = 0;
let score = 0;

let questions = [
   {
       question: "Is Coding Ninjas the best online learning platform?",
       answers: [
           {option: "For Sure!", answer: true},
           {option: "No, not at all.", answer: false},
       ]
   },
   {
       question: "What is better if you wish to achieve success?",
       answers: [
           {option: "Hard Work", answer: false},
           {option: "Smart Work", answer: true},
       ]
   },
   {

       question: "Complete the phrase: Time and ___ wait for none.",
       answers: [
           {option: "Batman", answer: false},
           {option: "Tide", answer: true},
       ]
   }
]
You can also try this code with Online Javascript Compiler
Create a function beginQuiz() that will get executed when the page loads and the script gets executed. We have also added a feature that will allow the page to jump to the next question once an option is selected from the list of answer options.
Create a function restart() that will reset the score, the current question index and remove the hide class from elements if added to them and call beginQuiz().
Create a function next() that will jump to the next question. Here the currentQuestion will be incremented, and the hidden class will be removed from the prev button. Based on the option the user selects, the score will be incremented.
Create a function prev() that will jump to the previous question. Here the currentQuestion will be decremented, and the hidden class will be removed from the next button. Based on the option the user selects, the score will be incremented.
Finally, create the submit button, which will hide all elements except the restart button and score. It will also add a congratulatory message to our page.
function submit() {
   prevBtn.classList.add("hide");
   nextBtn.classList.add("hide");
   submitBtn.classList.add("hide");
   trueBtn.classList.add("hide");
   falseBtn.classList.add("hide");
   questionText.innerHTML ="Congratulations on submitting the Quiz!"
}
You can also try this code with Online Javascript Compiler
Here wireframes for two more formats for JavaScript Quiz Apps are attached, which you have to try on your own. The concepts used will be similar to the ones you understood in this tutorial. Present the final output of your code on your social media handles and tag Coding Ninjas.
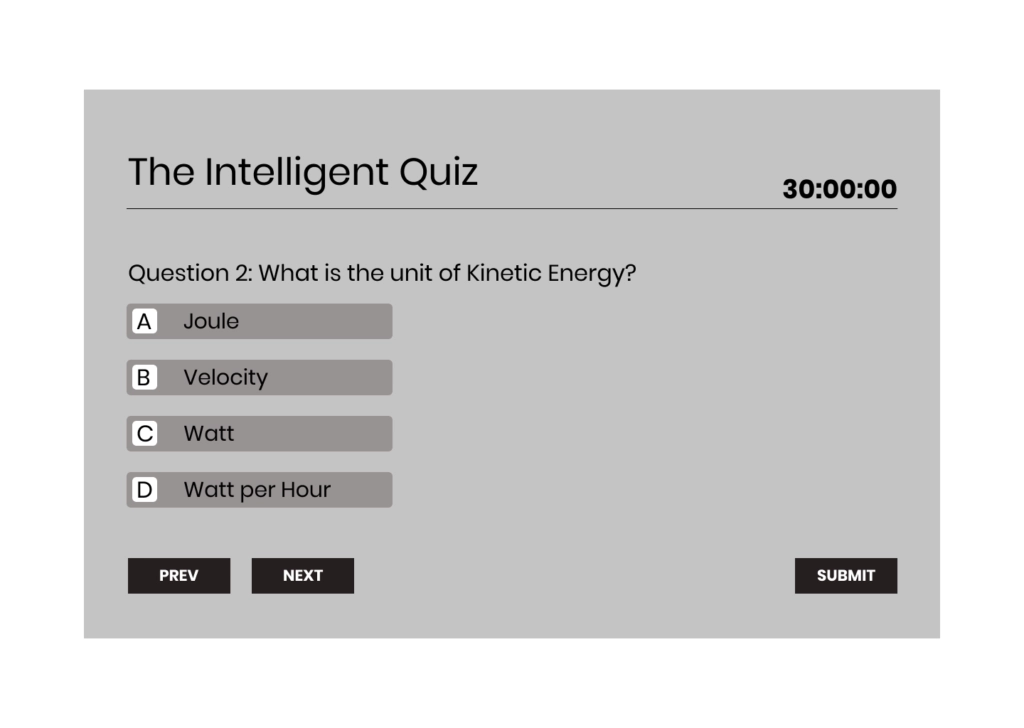
Format 2: MCQ Quiz
Wireframe for JavaScript Quiz Format 2
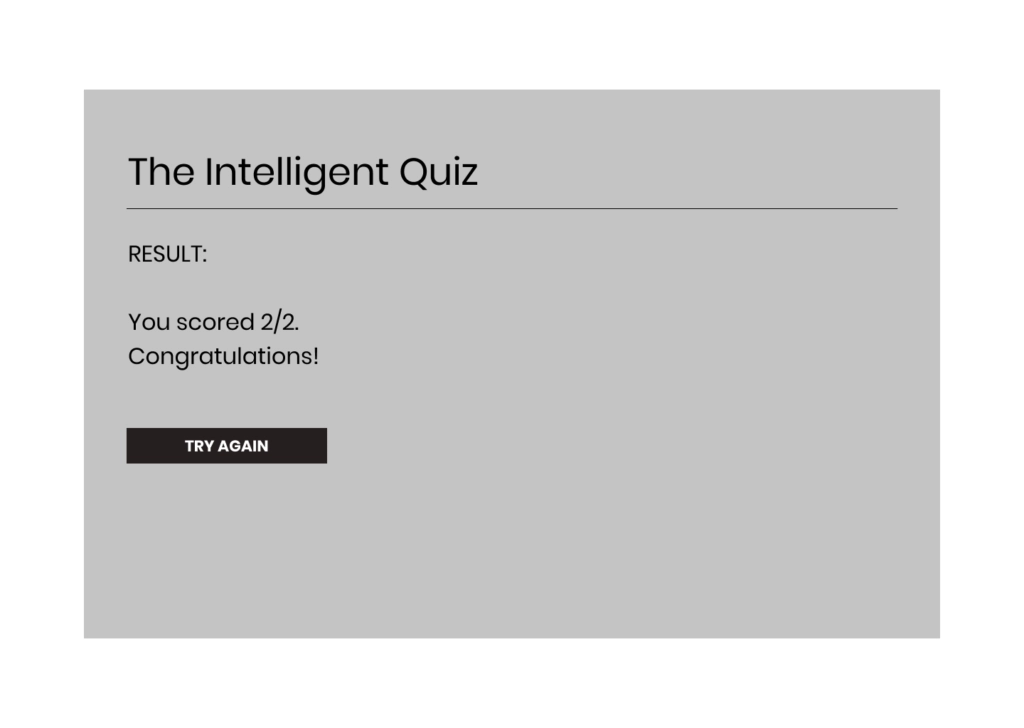
Wireframe for JavaScript Quiz Format 2: Result Page
Format 3: MCQ Quiz with Timer
Wireframe for JavaScript Quiz Format 3
Wireframe for JavaScript Quiz Format 3: Result Page
JavaScript is used for creating the frontend and the backend functionalities of a web application, mobile application, and even a desktop application.
Is JavaScript easy to learn?
Yes. If you truly wish to learn something, it will be extremely easy for you to grasp.
How do I start JavaScript?
To start with JavaScript, you can look for online resources such as Coding Ninjas, w3schools, sololearn and understand it on your own or you can take a mentor-led course by Coding Ninjas and understand each concept in depth.
Is JavaScript dead?
No, javascript is far from being dead. It is only being applied in more and more things with each passing day.
Is Python better than JavaScript?
Python is a different language than JavaScript having different features and functionalities. If you wish to compare both the languages for a particular use case, then you need to do extensive research on your own to say if one language is better than the other.
Is JavaScript front end or backend?
JavaScript is both a front end and a backend language.
Conclusion
In this blog, we saw how to make a basic Quiz app using JavaScript, along with the complete source code and screenshots. Additionally, some ideas for different types of JavaScript Quiz Apps are also given. Do try them out to strengthen your concepts in JavaScript.


 6+ registered

