Introduction
Today, we need to enter the Date and Time in Microsoft Excel frequently for Reservations, appointments etc. Entering the Dates every time becomes tedious and time-consuming. Microsoft Excel Provides a helpful feature where you can add the Date and Time easily and quickly.
In this article, we will learn how to enable and use Microsoft Date and Time picker.
How to add a Date picker in Microsoft Excel?
To add the Date Picker, we need to enable developer options.
Follow the steps below to enable developer options:
1. Go to Files on the top left corner
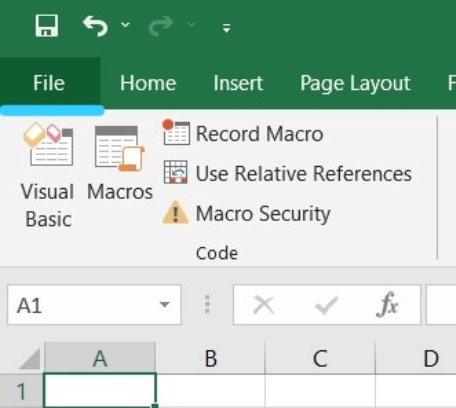
2. Now go to options in the bottom left corner

3. Go to customise ribbon
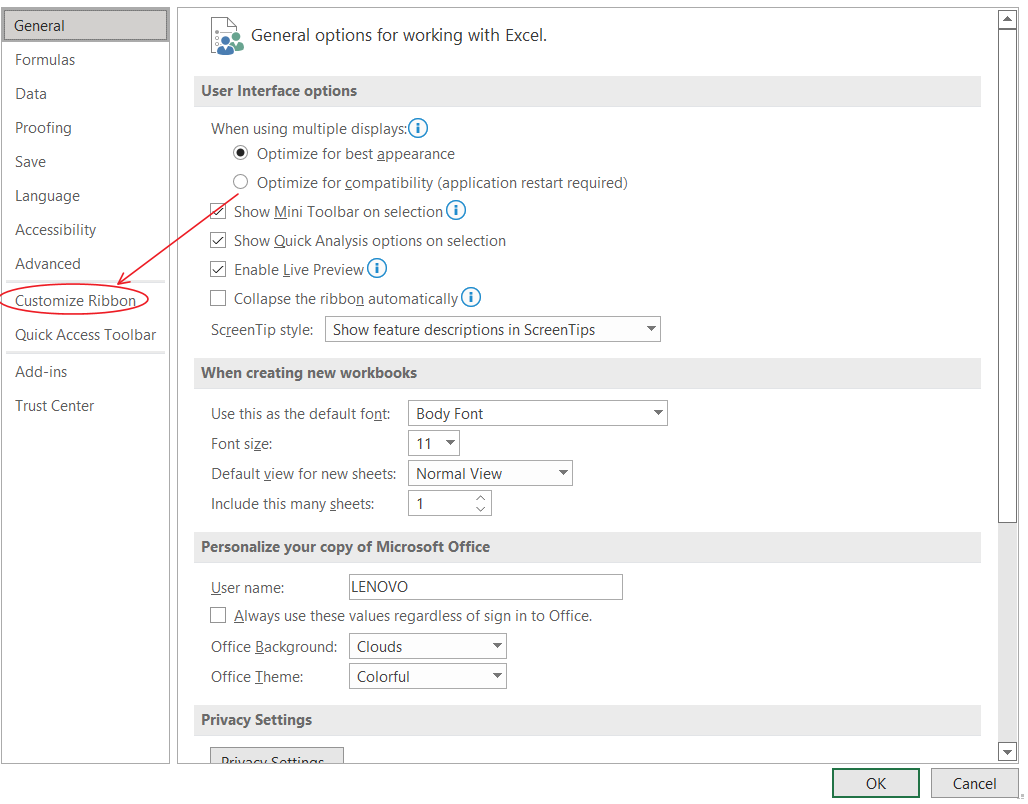
4. Mark the Developer Options and Click Ok
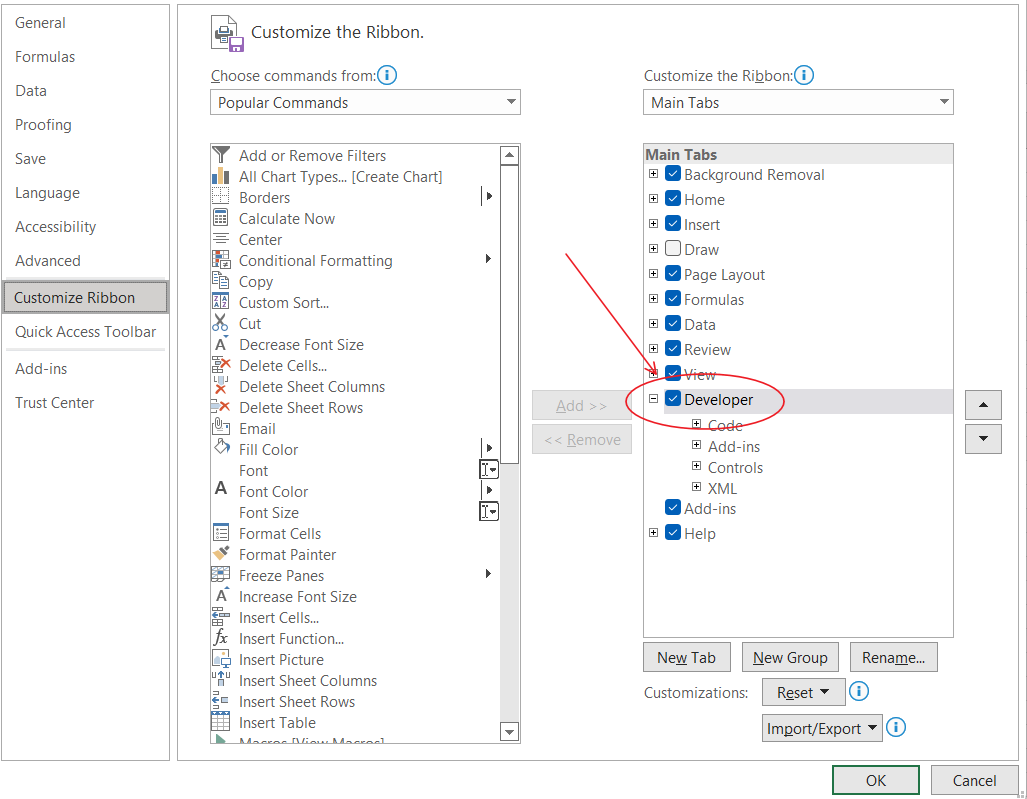
After this, there will be a Developer tab seen in Microsoft Excel.
Now we need to add the mini calendar in Excel.
5. Go to the Developer tab and then click on Add-ins, as shown in the below figure

6. Now go to Store and Search for DatePicker in the Search bar

7. Click on the Add, which appears on the right side of the Mini Calendar and Date Picker
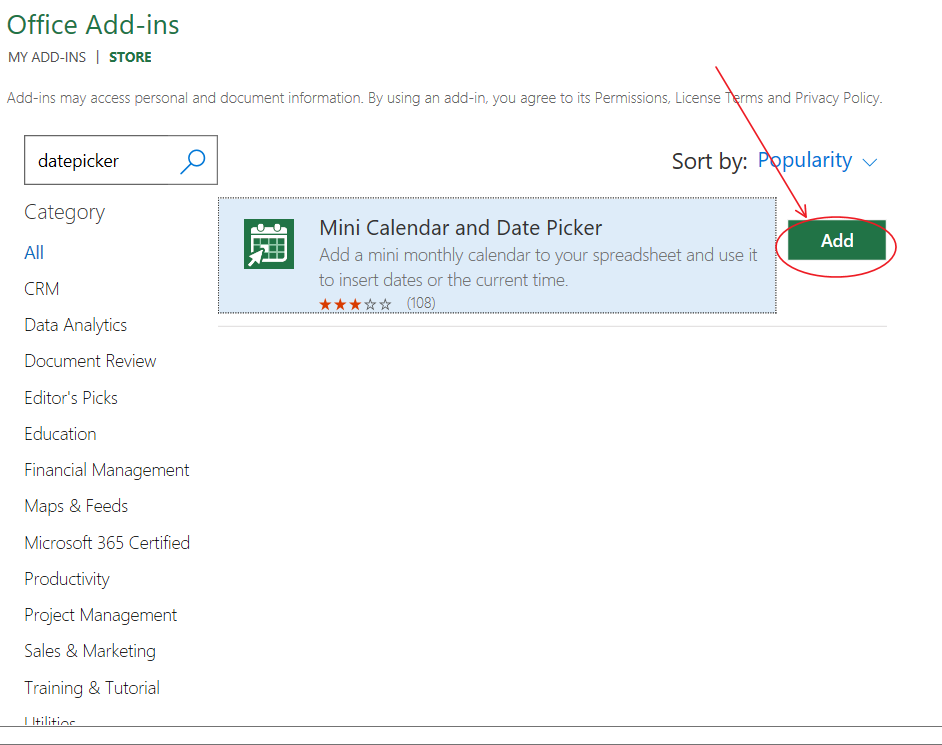
After adding the Date Picker, it appears in the sheet as shown below.
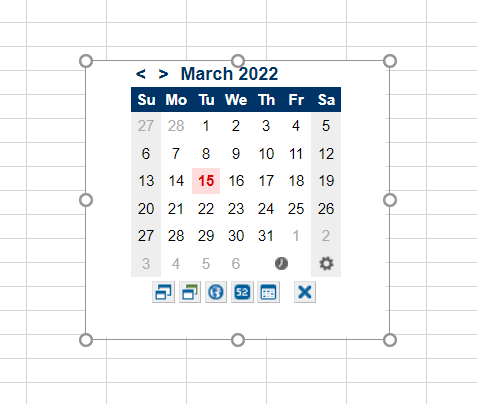
Date Picker Calendar
The red Date in the Date Picker represents the current Date.
8. Now, to add the Date using Datepicker, click on the cell where you want to add the Date. Then click on the Date in the DatePicker to add that Date in the current cell.
For example, to add 23-03-2022, see the figure below.
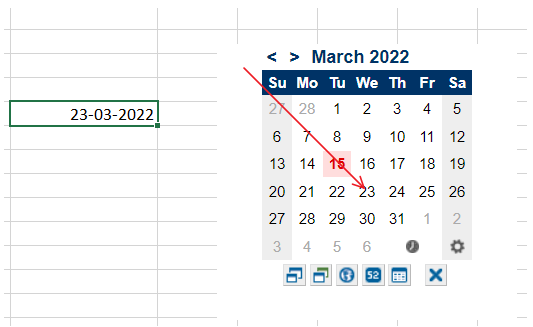
Adding Date in Excel
Similarly, we can add the current time by clicking on the Clock symbol on the Date and Time Picker.
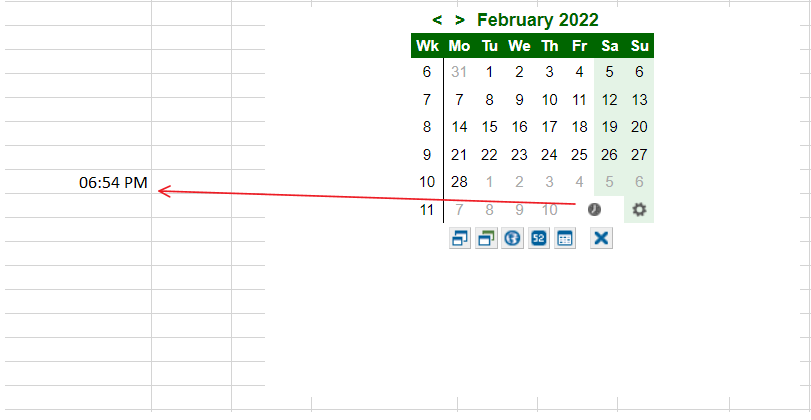
Adding Time in Excel
Changing the Month of the Calendar
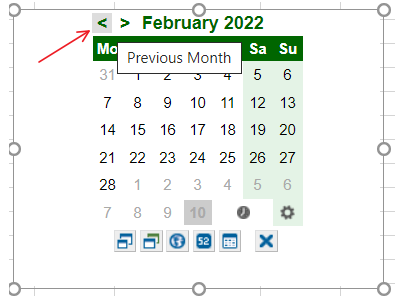
You can go to the previous month by clicking on the “<” arrow shown in the above image. Similarly, you can go to the next month by clicking on the “>” arrow.
Deleting the Date Picker
To delete the Date Picker click on the top right corner and then click on Delete.
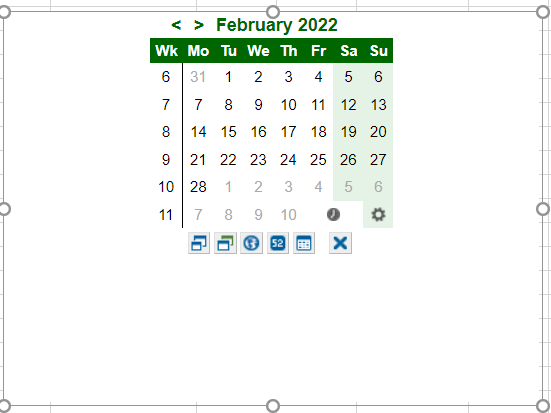
Click on the Top Right in the Date Picker
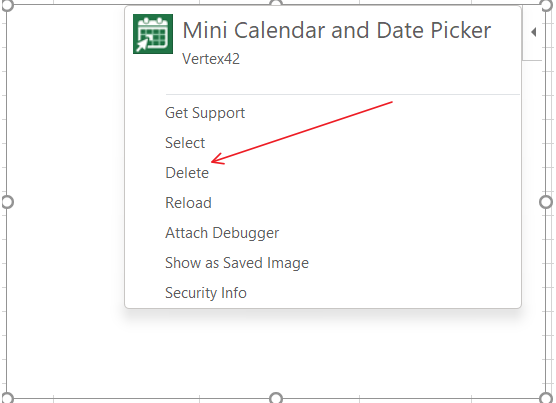
Click on the Delete Option.


