Do you think IIT Guwahati certified course can help you in your career?
Introduction
Hello Ninja! We heard that you were looking for a way to install Maven on your Ubuntu system. Don't worry! You will find all that you need in this article. In this section, we will discuss Maven’s installation on Ubuntu using two ways.
Maven
It is a command-line tool that is built on the Project Object Model (POM). It is used to make and manage projects in Java. You can obtain the dependencies required for the project with the aid of Maven. Since Maven is written in Java, we must install and configure Java for it to run.
Let us start by taking a look at some system needs.
Prerequisites
Before we start, you need to make sure that you have all these prerequisites:
A system with Ubuntu.
Internet connection.
Access to an account with Sudo privileges. Sudo privileges, allow you to temporarily escalate your current user account to obtain root rights.
Access to the terminal window.
Access to a text editor
If you have all these handy, you're good to go. Let's start to install Maven on Ubuntu using the APT. APT, or Advanced Package Tool, is a group of tools for installing, updating, removing, and managing software packages. To carry out its operations, APT uses repositories or special directories. They are used to keep collections of software packages. Now start with Install Maven on Ubuntu from the next topic.
Installing Maven with Apt
You can install Maven on Ubuntu in a quick and easy way through the apt command. For this, you must follow these steps.
Step-1: Update the system repositories
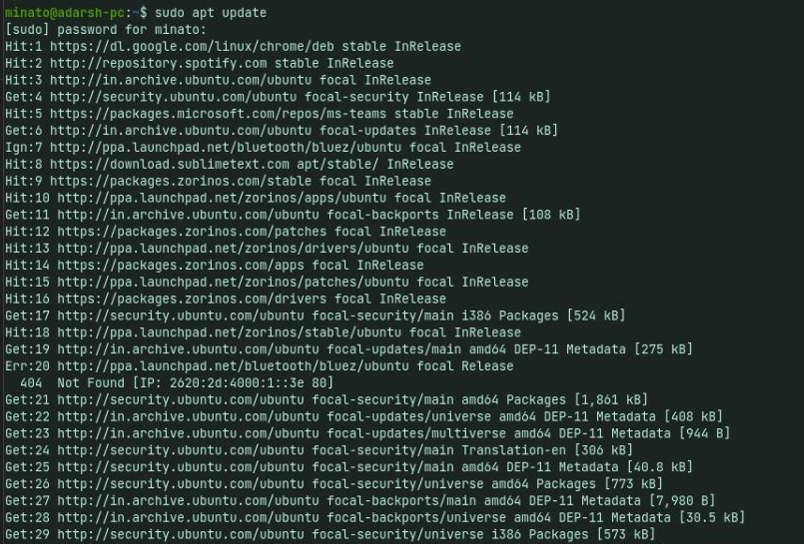
Open the terminal on Ubuntu and type the command that follows:
sudo apt update
After this command, your terminal screen will look like this:
Also, upgrade the system packages by
sudo apt upgrade
You will see something like this on the terminal:
Step- 2: Install Maven
Install Maven on Ubuntu from the official repository using the command that follows:
sudo apt install maven -y
After this command, the terminal screen will look something like this:
Step- 3: Verifying installation
Verify the installation by checking Maven's current version with the command that follows:
mvn -version
If the installation was a success, the output which is shown in the image below will be displayed:
And, you're done.
Let's move on and see how we can install Maven on Ubuntu with the use of the manual method. Although it is a bit hard, it offers more fluidity in which version to install.
Expert Linux users prefer the manual method to install Maven on Ubuntu. This method lets you download and install the most recent version.
Step- 1: Install Java
Make sure that Java is already installed on your system before moving ahead. If it's not, then use the command that follows to install it:
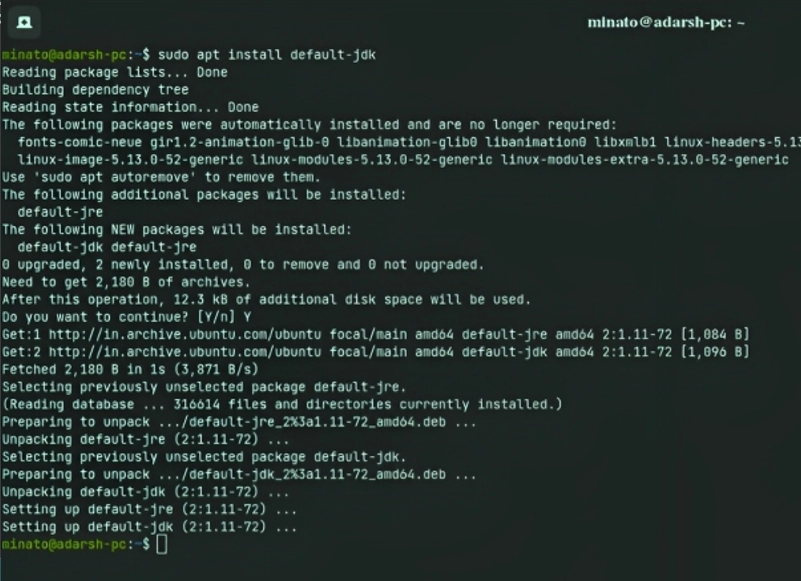
sudo apt install default-jdk -y
Java installation will start after this command, and your screen will appear something like this:
You can confirm the installation by checking the current version of Java by the use of this command:
java -version
Upon successful installation of java, the output screen after that command will look like this:
If you already have Java installed on your system, skip this step and move on to the next one.
Step- 2: Download and Install Apache Maven
Visit the download page for Maven. Now, select the version that you want to install. The "files" section contains the most recent version. You can find the older versions through the "archive" link in the "previous releases" section.
Once you choose which version to install, copy its link and install it in the /tmp directory using the command that follows:
Once you are done with the download, you will need to extract the downloaded file into the /opt directory using this command:
sudo tar xf /tmp/apache-maven-*.tar.gz -C /opt
Make a symbolic link called maven. It will point to the Maven installation directory. You can do it by using the command that follows:
sudo ln -s /opt/apache-maven-3.8.6 /opt/maven
After using the above-mentioned commands, you will see this on your terminal window:
Step- 3: Set up environment variables.
The next step will involve configuring the environment variables. We will do it by generating the "maven.sh" Maven script file in the "/etc.profile.d" directory. For the same purpose, we will employ the nano text editor.
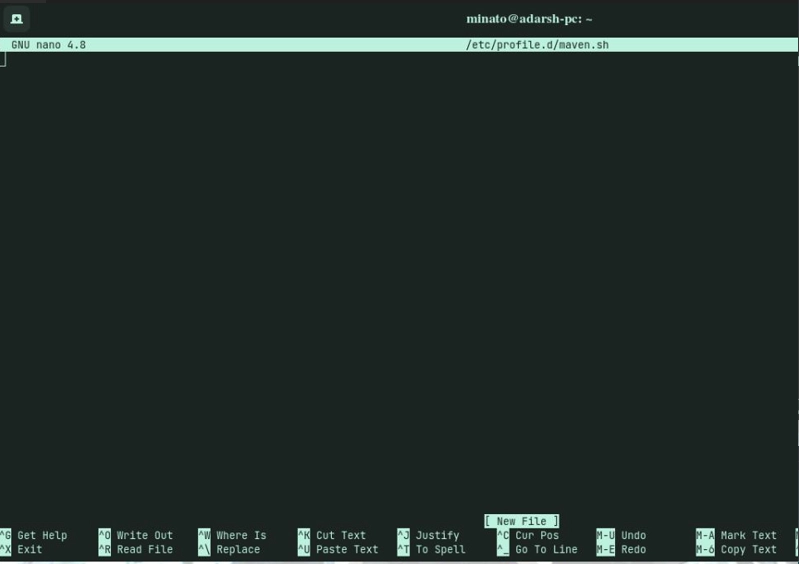
sudo nano /etc/profile.d/maven.sh
The text editor will open up and your screen will look like this:
Paste the code that follows into the "maven.sh" file:
After writing this script, Press Ctrl + X, followed by Y. Your screen should look like the image that follows
Press enter to save the changes to maven.sh.
To make the created Apache Maven script executable, we will use the chmod command:
sudo chmod +x /etc/profile.d/maven.sh
After that, use the "source" command to load the environment variables as follows:
source /etc/profile.d/maven.sh
The output of the above two commands will look like this:
Step- 4: Verifying Installation
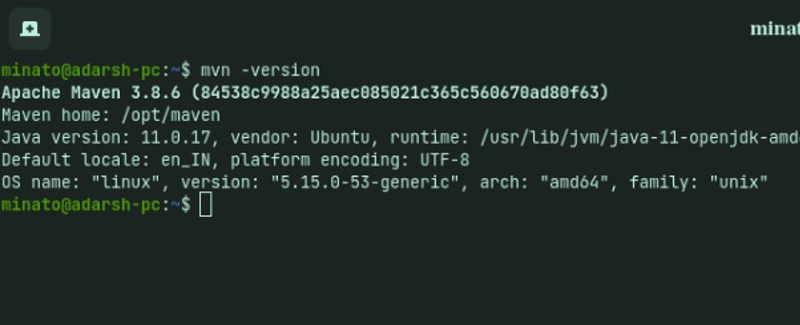
To verify the installation, check the current version of Maven by
mvn -version
If the installation was successful, you will get this output on your screen:
Voila! Now you now have maven installed on your system.
As we have covered the topic Install Maven on Ubuntu you might be able to Install Maven on Ubuntu. If you still face any problems please comment so that we can help you out.
Frequently Asked Questions
What is Maven?
Maven is a project management tool developed by the Apache Software Foundation. It provides an entire build cycle framework.
What are the aspects managed by Maven?
Documentation, builds, SCMs, releases, distribution, mailing lists, dependencies, and reporting are the aspects that Maven manages.
What are the minimum required elements for the Project Oriented Model?
Project root, modelVersion, groupID, artifactID, and version are the bare essentials for a Project Oriented Model.
What is POM?
POM, or project object model, is a fundamental component of how Maven functions. The pom file in the current directory is checked for information about the project while carrying out a Maven objective or task.
What is a Maven repository?
The Maven repository is where all the relevant project artifacts, jars, libraries, and plugins are stored and conveniently accessible to Maven.
Conclusion
We have discussed two ways to install Maven on Ubuntu in this article. You can either use "apt" or the manual installation process. You can select whichever method suits you the best.
We hope this article helps you on your journey. Here are some additional articles for your consideration:


 8+ registered

