


Introduction
Maven is an effective project management tool built on POM (project object model). It is used for project building, dependencies, and documentation. Projects written in C#, Scala, Ruby, etc., are built using Maven, a Java tool.
This blog will show how to install Maven on Windows in detail. Let's start going!

Installation of Maven on Windows
Maven can be run on Windows, Linux, and MAC Operating Systems. Here, we will learn how to install Maven on Windows.
The steps below must be followed to install Maven on Windows:
1. Get Maven and extract it in your specific folder.
2. Add the environment variables JAVA_HOME and MAVEN_HOME.
3. Include the maven path in an environment variable.
4. Verify the Maven.
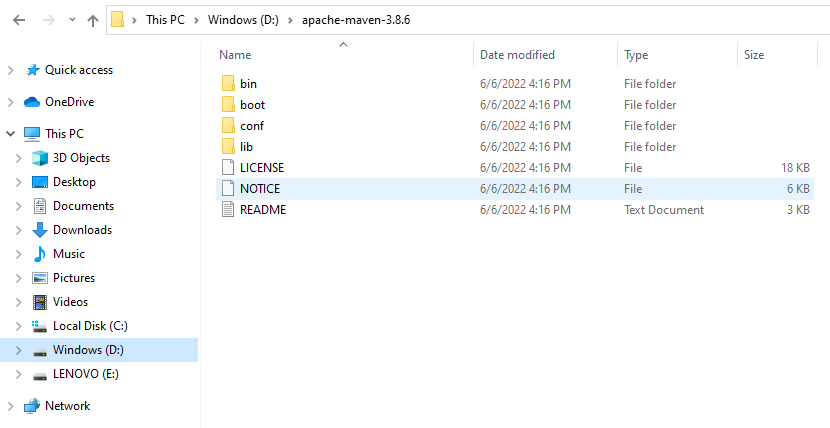
Downloading Maven on Windows
Maven can be downloaded by visiting the Apache Maven website to download the most recent version of Maven, and then choose the Maven zip file, such as apache-maven-3.8.6-bin.zip, to install Maven on Windows.
Next, we unzip it and place it in the folder where Maven will reside.
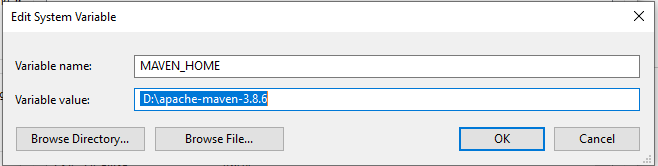
Adding Maven Home to the Environment Variable
Using system properties, we add the MAVEN_HOME variables to the Windows environment and point to our Maven folder.
Right-click on ThisPC -> properties -> Advanced System Settings -> Environment variables -> press the new button. For example, D:\apache-maven-3.8.6. It is shown given below in an image.
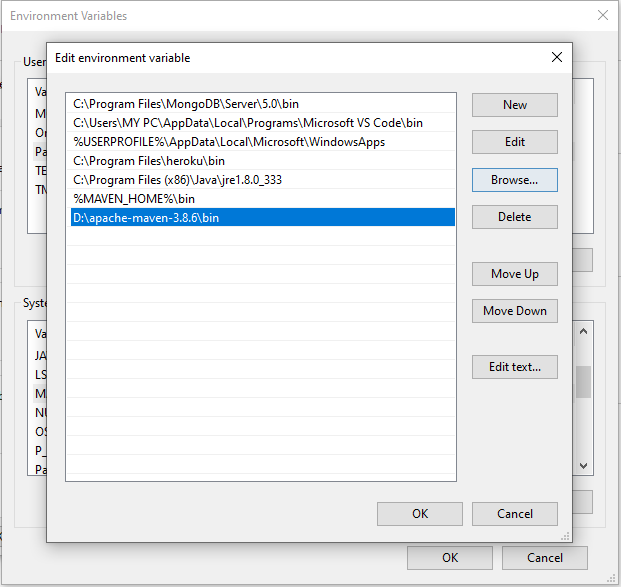
Adding Maven Path to the Environment Path
Open a new tab. Set the Maven's path if the path isn't already set. Edit the path and add the maven path if it has already been set.
Maven's path must begin with %maven home%/bin. For instance, D:apache-maven-3.8.6\bin.
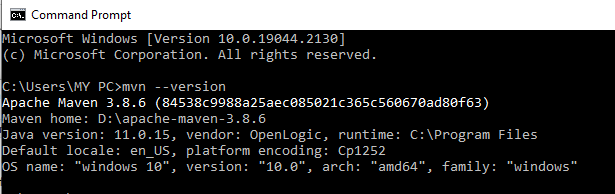
Verifying the Maven
Open the command line prompt and type the following command to see whether Maven is installed or not:
mvn –version
It will now show the maven version with the MAVEN_HOME.
Finally, you have successfully installed Maven on your system.
Must Read Apache Server


 9+ registered

