Do you think IIT Guwahati certified course can help you in your career?
Introduction
Web2py is a free, open-source web framework that is written in Python and programmable in Python. web2py is a full-stack framework, which means it includes all of the components required to create fully functional web applications.
Web2py is intended to assist a web developer in adhering to good software engineering practices, such as the Model View Controller (MVC) pattern. web2py decouples data representation (the model) from data presentation (the view), as well as application logic and workflow (the controller).
Web2py provides libraries to assist developers in designing, implementing and testing each of these three components separately, as well as making them work together.
Although there are many web application frameworks, web2py has some standout qualities.
Web2py as Teaching Tool
The following main reasons were the driving forces behind the creation of web2py as a teaching tool:
Server-side web development is simple for users to learn without sacrificing functionality.
Web2py has no installation or configuration requirements, doesn't depend on anything (aside from the source code distribution, which needs Python 2.7 or 3.5+ and their standard library modules), and exposes the majority of its functionality via a Web interface, including an Integrated Development Environment with Debugger and database interface.
Because it uses a top-down approach to design- that is, its API was created before it was implemented—web2py has been stable from the start.
Web2py has never broken backward compatibility even as new features have been added, and it won't break compatibility when new features are added in the future.
Wiki Page
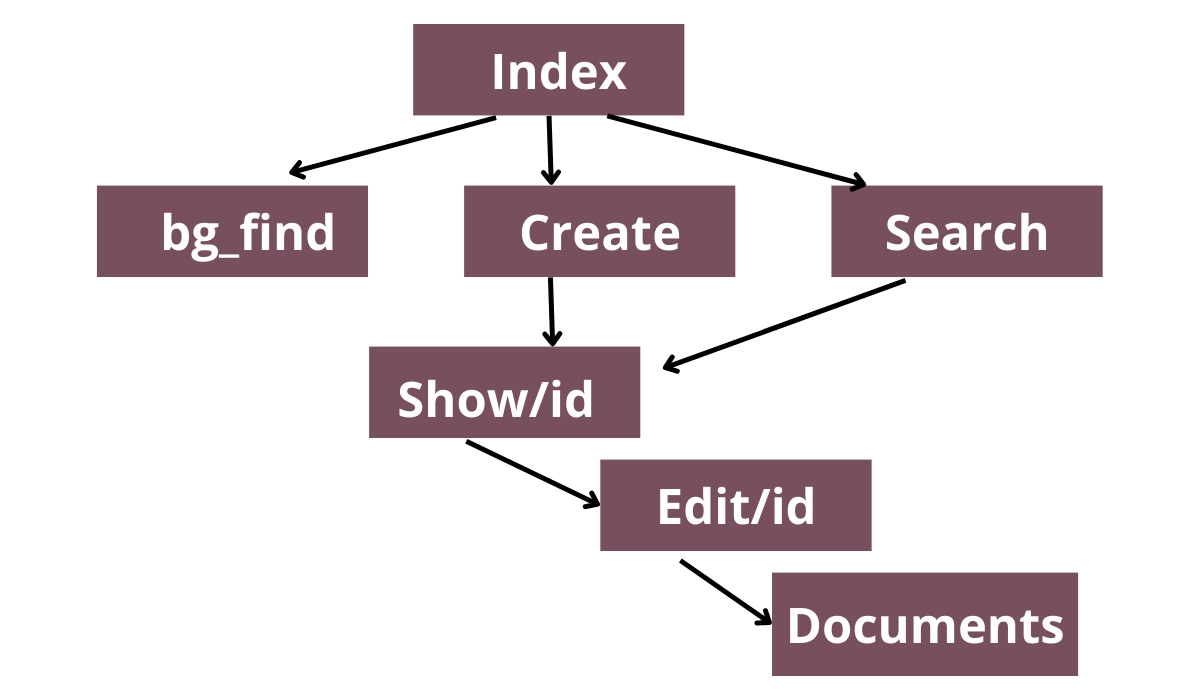
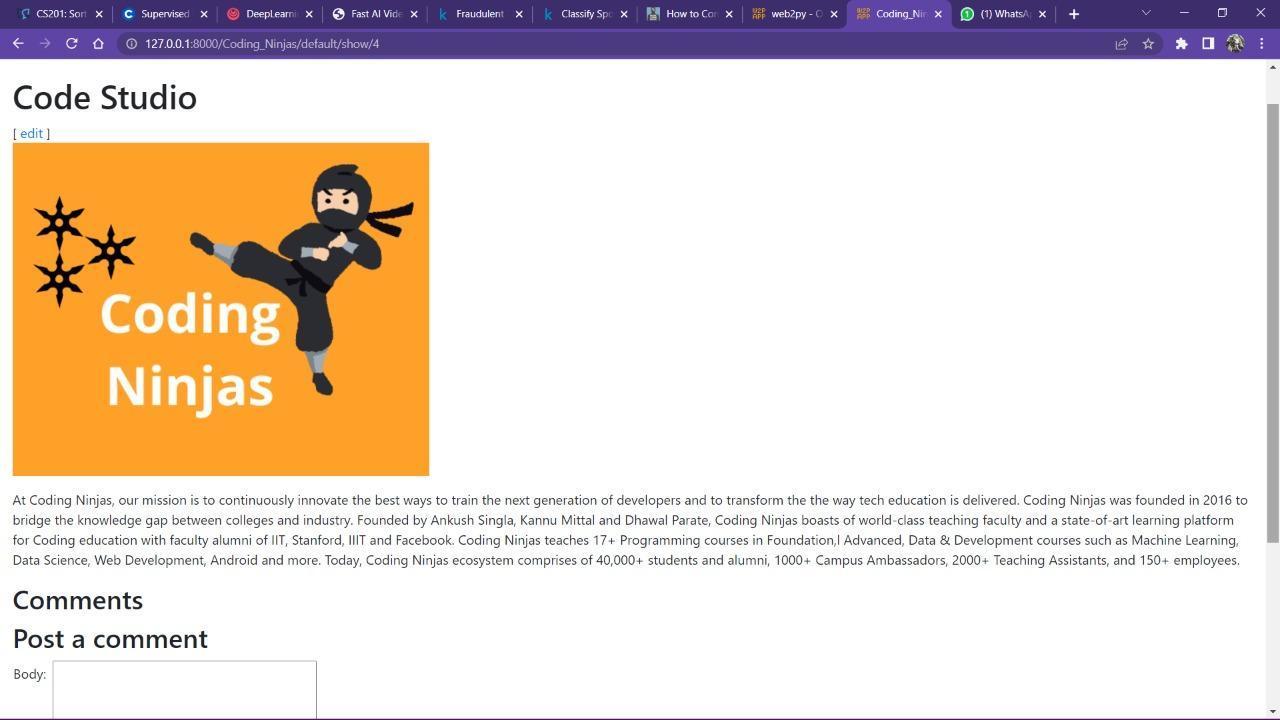
Here, we create a specific wiki from scratch using only low-level APIs. The user can create, update, and search pages (by title). Additionally, the visitor can add comments, documents (as attachments to the pages), and links to such documents. We follow the Markmin syntax for our wiki syntax as a convention. An RSS feed for the sites, an XML-RPC handler, and an Ajax search page will be implemented. The actions we must take and the connections we want to make are shown in the diagram below.
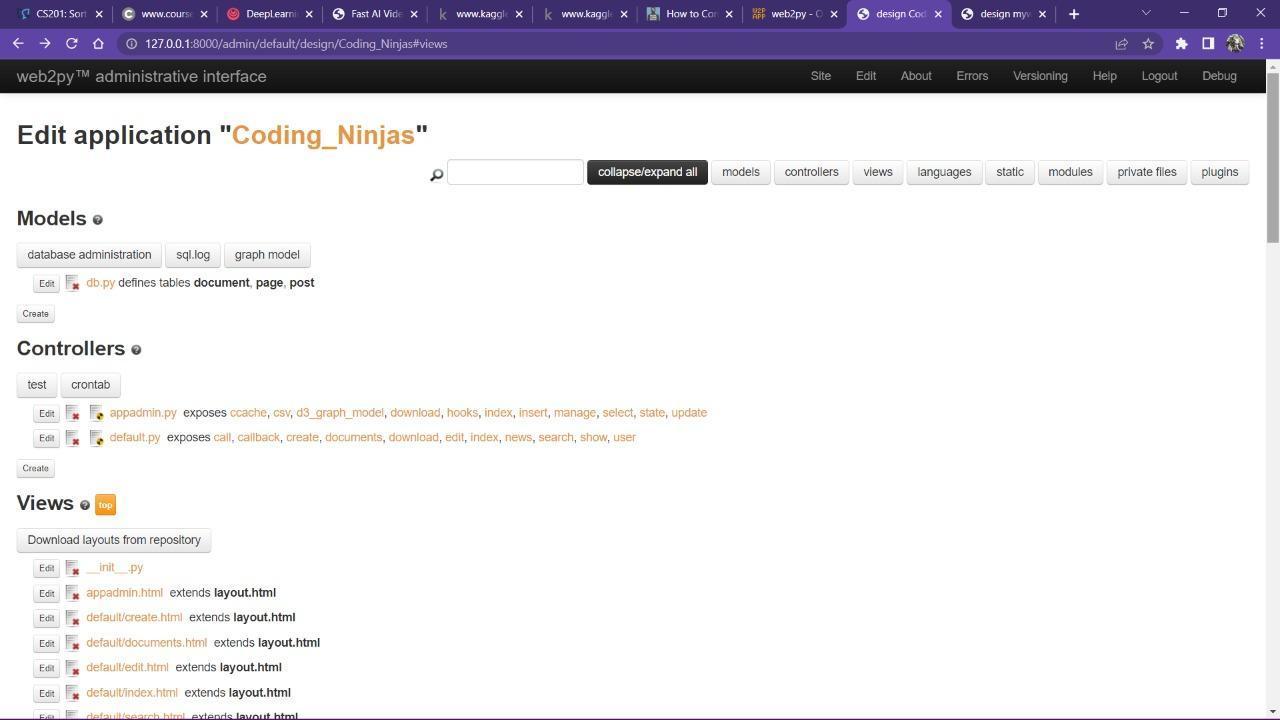
We will start by establishing a new framework application called "Coding_Ninjas."
This is the front page for the wiki page, and the files inside it have all the source code:
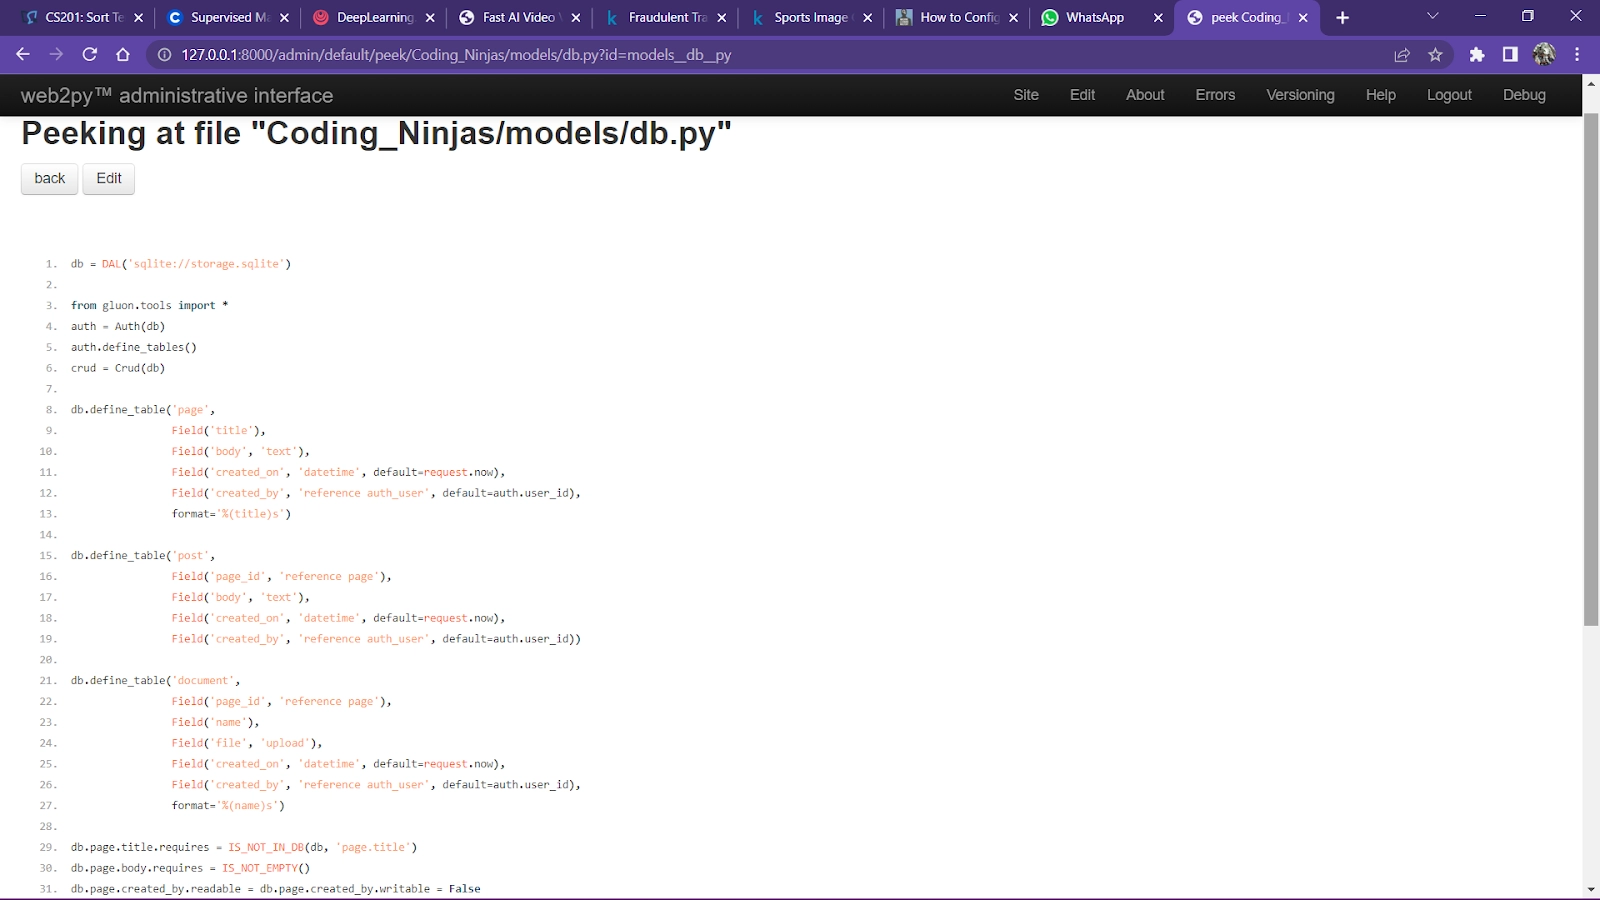
Page, comment, and document tables must be present in the model. Both comments and the referenced document should be on the same page. A file field of the upload type, similar to the previous image application, is present in a document.
The entire model is provided below.
Model
Page, comment, and document are the three tables that make up the model. Both comments and the referenced document should be on the same page. A file field of the upload type, just like in the previous image application, is present in a document.
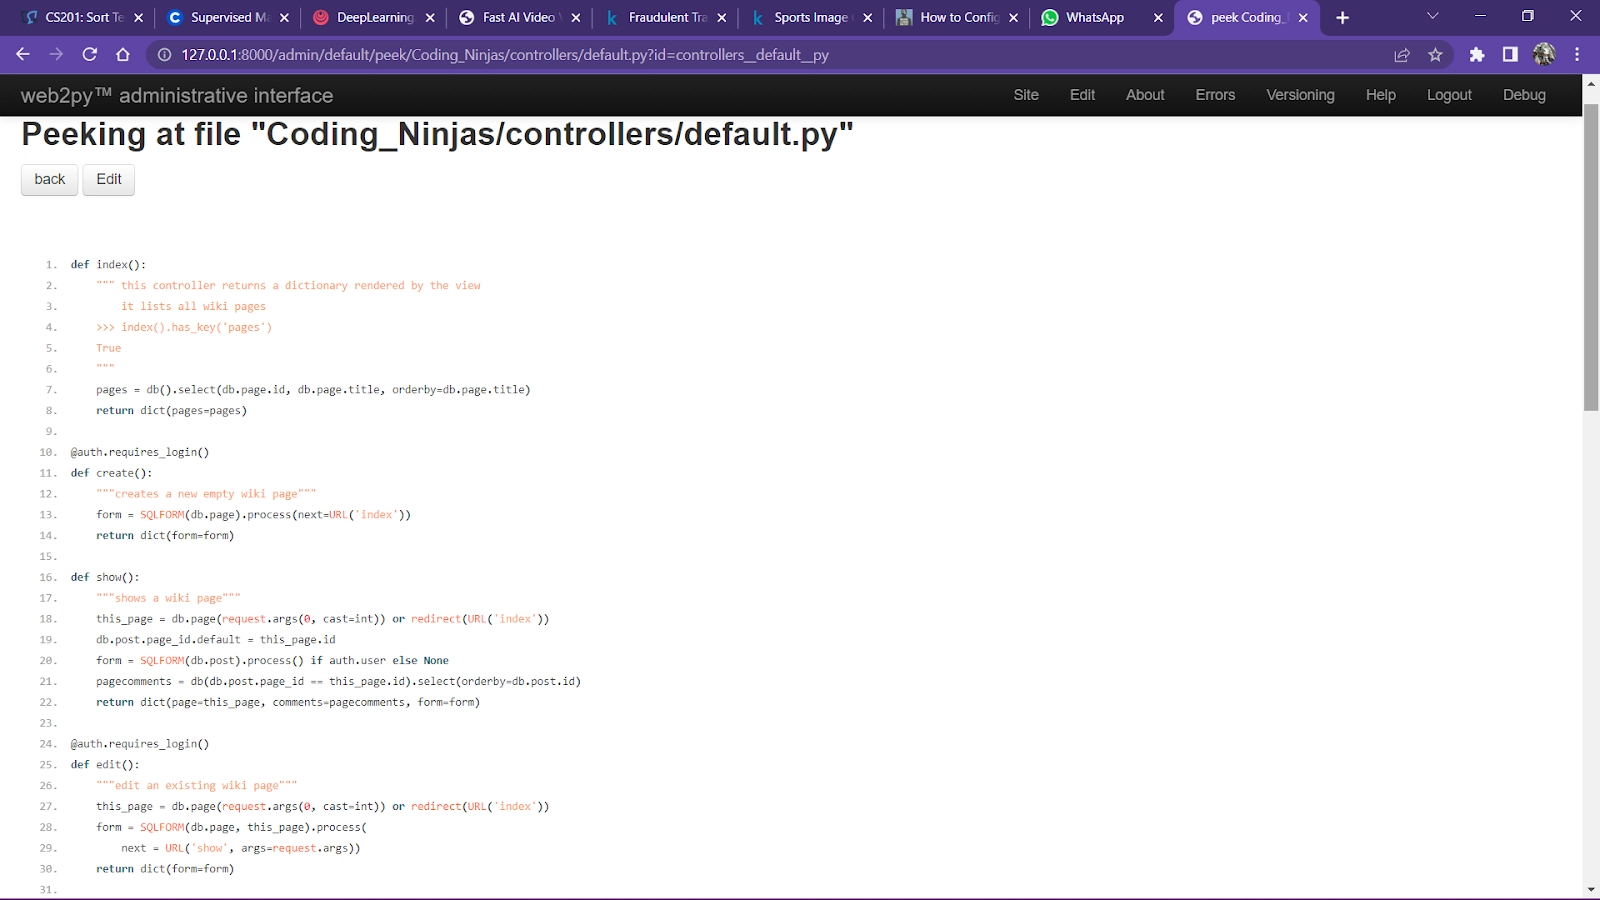
The following actions were added to the default.py controller in the controller.
Index: List of all wiki pages.
Create: A new wiki page to be added.
Show: A wiki page and any comments on it, as well as add new comments.
Edit: Modify a current page.
Document: Manage the documents that are attached to a page.
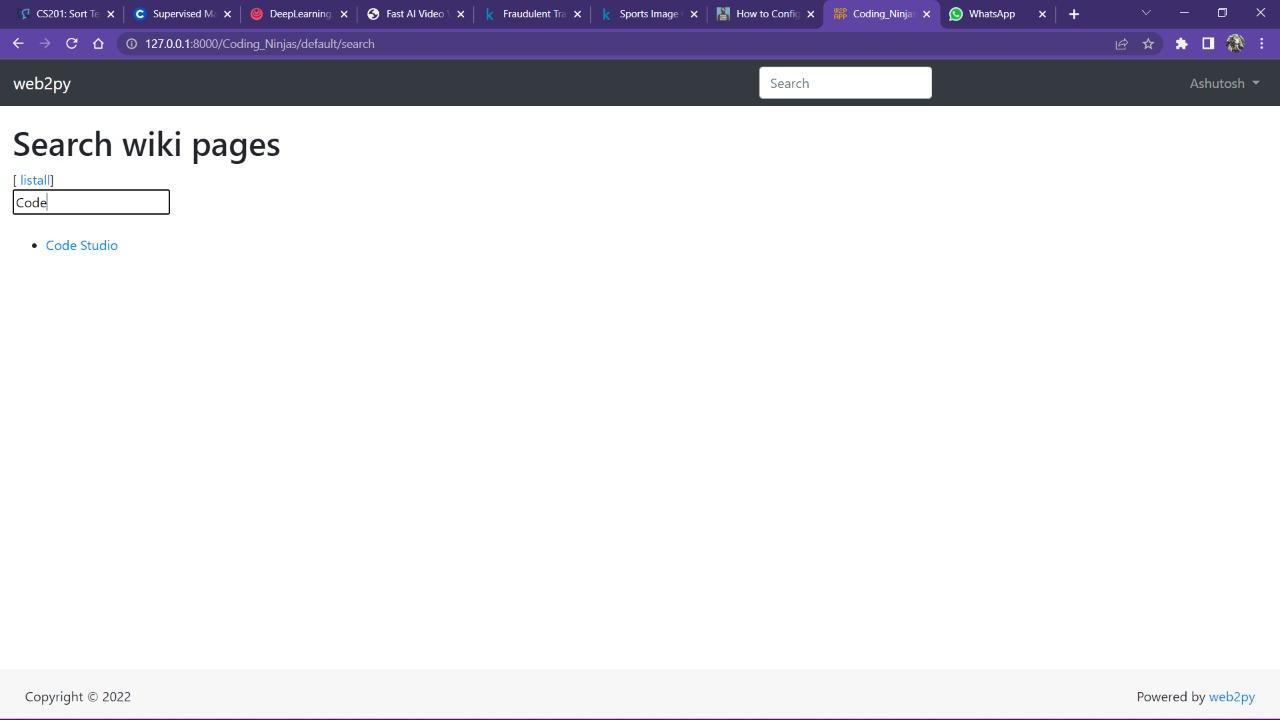
Search: Display a search box and, as the user inputs, have an Ajax callback to return any titles that match.
Callback: Ajax's callback function gives back the HTML inserted into the search results page as the user types.
def index():
""" This controller provides a dictionary, which is what the view that lists all wiki pages has produced.
 >>> index().has_key('pages')
True
"""
page = db().select(db.page.id, db.page.title, orderby=db.page.title)
return dict(pages=pages)

@auth.requires_login()
def create():
 """ Build a new empty wiki page."""
  form = SQLFORM(db.page).process(next=URL('index'))
  return dict(form=form)

def show():
 """ Display a wiki page"""

	this_page= db.page(request.args(0, cast=int)) or redirect(URL('index'))
	db.post.page_id.default = this_page.id
	form = SQLFORM(db.post).process() if auth.user else None
	page comments = db(db.post.page_id == this_page.id).select(orderby=db.post.id)
	return dict(page=this_page, comments=pagecomments, form=form)

@auth.requires_login()
def edit():
 	""" Edit an current wiki page"""

    this_page = db.page(request.args(0, cast=int)) or redirect(URL('index'))
	form = SQLFORM(db.page, this_page).process(
	next = URL('show', args=request.args))
	return dict(form=form)

@auth.requires_login()
def documents():
	""" Browser, edit every file associated with that page."""

	page = db.page(request.args(0, cast=int)) or redirect(URL('index'))
	db.document.page_id.default = page.id
	grid = SQLFORM.grid(db.document.page_id == page.id, args=[page.id])
	return dict(page=page, grid=grid)
	def user():
	return dict(form=auth())

def download():
	""" Allows document downloads"""

	return response.download(request, db)

def search():
	""" An ajax wiki search page"""

	return dict(form=FORM(INPUT(_id='keyword',_name='keyword',_onkeyup="ajax('callback', ['keyword'], 'target');")),
	target_div=DIV(_id='target'))

def callback():
	""" An ajax callback that returns a list of links to wiki pages in the form of an <ul>."""

	query = db.page.title.contains(request.vars.keyword)
	pages = db(query).select(orderby=db.page.title)
	links = [A(p.title, _href=URL('show', args=p.id)) for p in pages]
	return UL(*links)

def news():
	""" Creates an RSS feed from wiki pages."""

	response.generic_patterns = ['.rss']
	pages = db().select(db.page.ALL, orderby=db.page.title)
	return dict(title='mywiki RSS feed',
	link='http://127.0.0.1:8000/mywiki/default/index',
	description='mywiki news',created_on=request.now,
	items=[dict(title=row.title,
	link=URL('show', args=row.id, scheme=True, host=True, extension=False),
		description=MARKMIN(row.body).xml(),
		created_on=row.created_on) for row in pages])
	service = Service()

@service.xmlrpc
def find_by(keyword):
	""" For XML-RPC, finds pages that include the term."""

	return db(db.page.title.contains(keyword)).select().as_list()
def call():
	""" Exposes all logged-in services, including XML-RPC."""

return service()
You can also try this code with Online Python Compiler
So, this is how one can create a simple wiki page in Web2py.
Frequently Asked Questions
Do web applications work well with Python?
Python offers various tools and frameworks, making it a strong choice for creating web applications.
Describe the web2py framework.
Web2py, written in Python and programmable in Python, is described as a free, open-source online framework for agile development that involves database-driven web applications.
Should one learn web2py?
Web2py is a top-notch framework, yes. The simplicity of usage, from installation to learning to code to distribution to deployment, is a key objective of web2py.
How to run web2py?
Web2py doesn't need to be installed. Start by running the corresponding web2py.py file after unzipping the downloaded zip file for your particular operating system.
Is web2py an open-source project?
Web2py is a free, open-source web framework for developing secure database-driven web applications in an agile manner.
Conclusion
In this article, we have learned about how to make a simple wiki page in web2py and in which framework it runs, and model, controller, and view in detail. To know more in detail about web2py and the simple wiki page in web2py, you can take a look at the following official articles.


 9+ registered

