Introduction
The HTML Id attribute links a specific unique id with an HTML element. The id attribute is explicitly used for defining a part uniquely. Since the attributes are unique, the elements are used to point to a specific property on the style sheets and even are used by Javascript to access and manipulate the data using the particular id attribute.
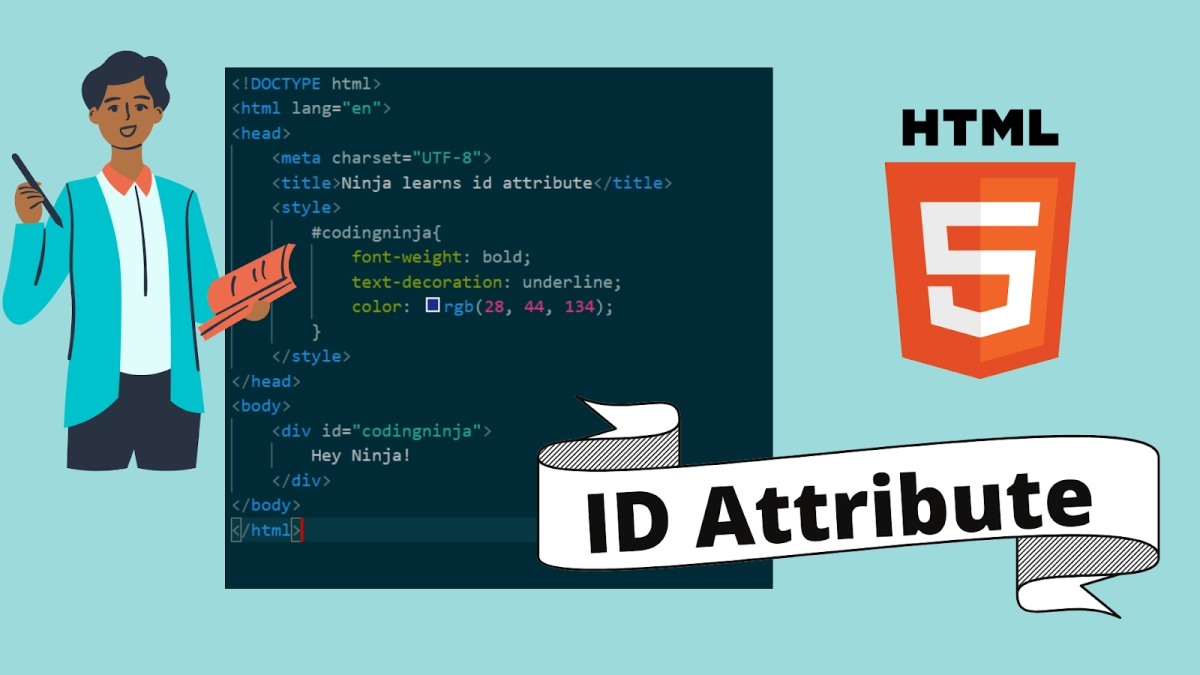
Let’s understand more about the id attribute by looking into the uses and the different elements we can style and create using it.

Properties of the Id attribute
The id attribute, as we specified, is used to link an element to specify a unique style or even add some functionality using Javascript. There can be various other reasons we use the HTML ID attribute. We have made a list of these uses, with detailed examples for each of those.
- The ID attribute allows us to specify an element with a unique identity.
- The ID attribute values are case-sensitive.
- The ID values must have at least one character
- The ID values must not contain any white spaces.
The syntax for ID attribute in HTML is:
| <html_element id="value"> |
Using the ID Attribute with CSS
In the example, we have used the id attribute to add styles to the particular elements.
We have used internal CSS to illustrate the use of the id #codingninja attribute. To use the id attribute in CSS, the syntax is:
| #id_value {property:value; ...} |
Observe the below example to understand the working of the id attribute better.
|
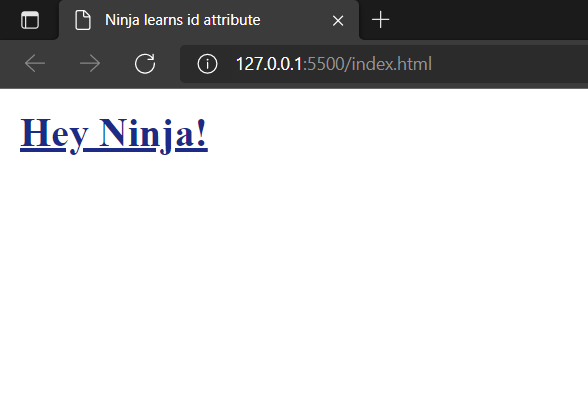
<!DOCTYPE html> <html lang="en"> <head> <meta charset="UTF-8"> <title>Ninja learns id attribute</title> <style> #codingninja{ font-weight: bold; text-decoration: underline; color: rgb(28, 44, 134); } </style> </head> <body> <div id="codingninja"> Hey Ninja! </div> </body> </html> |
OUTPUT
Using the ID attribute with Javascript
We know that HTML and CSS are used for providing a stylish structure to the webpage. The functionality of a webpage is defined using Javascript. The id attribute is used with Javascript to provide the functionality to certain elements. We have specific select predefined javascript methods which are used to fetch the id elements. The syntax of the primary Javascript method which conveys the id attribute is as follows:
|
<script> document.getElementById("id").{operation} = "value"; </script> |
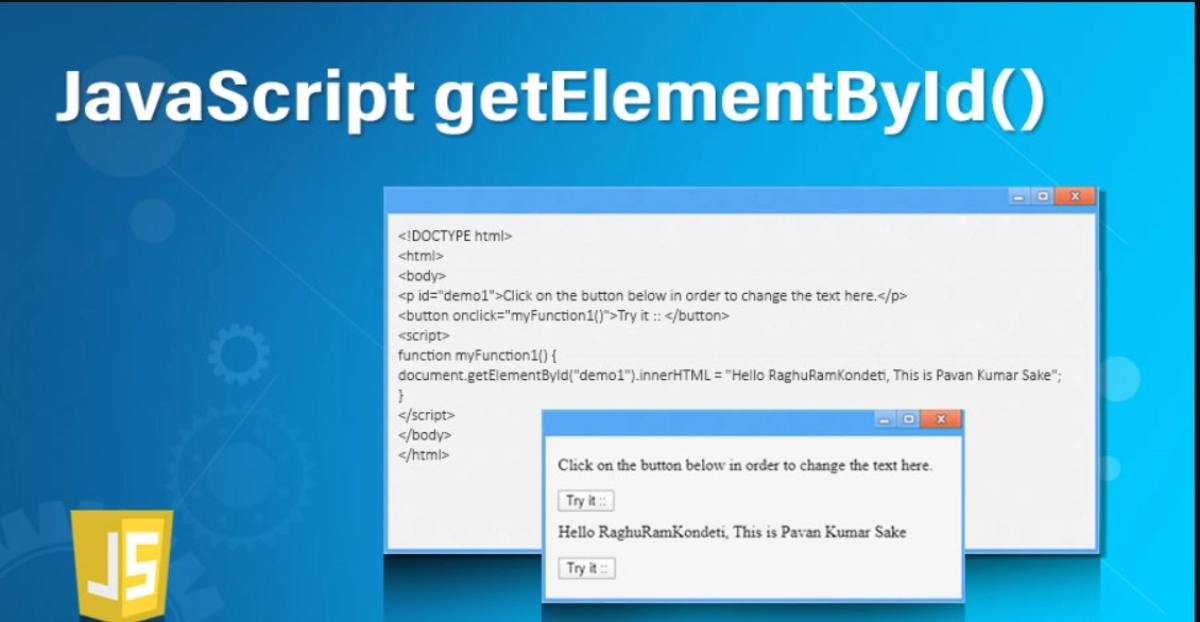
Let’s understand the working of the document.getElementByID using an example,
|
<!DOCTYPE html> <html lang="en"> <head> <meta charset="UTF-8"> <title>Ninja learns id attribute</title> </head> <body> <h2 id="codingninja"> Coding Ninja </h2> <button onclick="function1()"> Click me to see the magic </button> </body> <script> function function1() { document.getElementById("codingninja").innerHTML = "Happy Learning Ninja ✨"; } </script> </html> |
OUTPUT


In the above example, when we press the button, the onclick event is targeted using the codingninja heading attribute, which changes the text.
We have seen elaborate examples for both of the standard use cases of HTML id attribute, styling using CSS, and adding functionality to the website using Javascript.
Using the ID Attribute to create Bookmarks
In HTML, if a webpage or a topic is long enough to take pages, to make the content easily accessible, we have the option of using the HTML bookmarks. Even in this article, the content is easily accessible for you to read by providing the hyperlinks of the headings using the id attribute on the table of contents.
Observe by pointing to each topic you can access that easily and take you directly to the heading you want to read.
ID attribute allows you to have a unique reference to a particular element. We use this property of the id attribute and make links on the href attribute to create an HTML Bookmark. Let’s understand this by an example,
|
<!DOCTYPE html> <html lang="en"> <head> <meta charset="UTF-8"> <title>Ninja learns bookmarks </title> </head> <html> <body> <p> <a href="#TD3">Ninja wants a Jump to Topic 3</a> </p> <!--link the ID in href--> <p> <a href="#TD7">Ninja wants a Jump to Topic 7</a> </p> <p> <a href="#TD10">Ninja wants a Jump to Topic 10</a> </p> <h2>Topic 1</h2> <p>Using the ID Attribute to create Bookmarks </p> <h2>Topic 2</h2> <p>Using the ID Attribute to create Bookmarks </p> <h2 id="TD3">Topic 3</h2> <p>Using the ID Attribute to create Bookmarks </p> <h2>Topic 4</h2> <p>Using the ID Attribute to create Bookmarks </p> <h2>Topic 5</h2> <p>Using the ID Attribute to create Bookmarks </p> <h2>Topic 6</h2> <p>Using the ID Attribute to create Bookmarks </p> <h2 id ="TD7">Topic 7</h2> <p>Using the ID Attribute to create Bookmarks </p> <h2>Topic 8</h2> <p>Using the ID Attribute to create Bookmarks </p> <h2>Topic 9</h2> <p>Using the ID Attribute to create Bookmarks </p> <h2 id="TD10">Topic 10</h2> <p>Using the ID Attribute to create Bookmarks </p> </body> </html> |
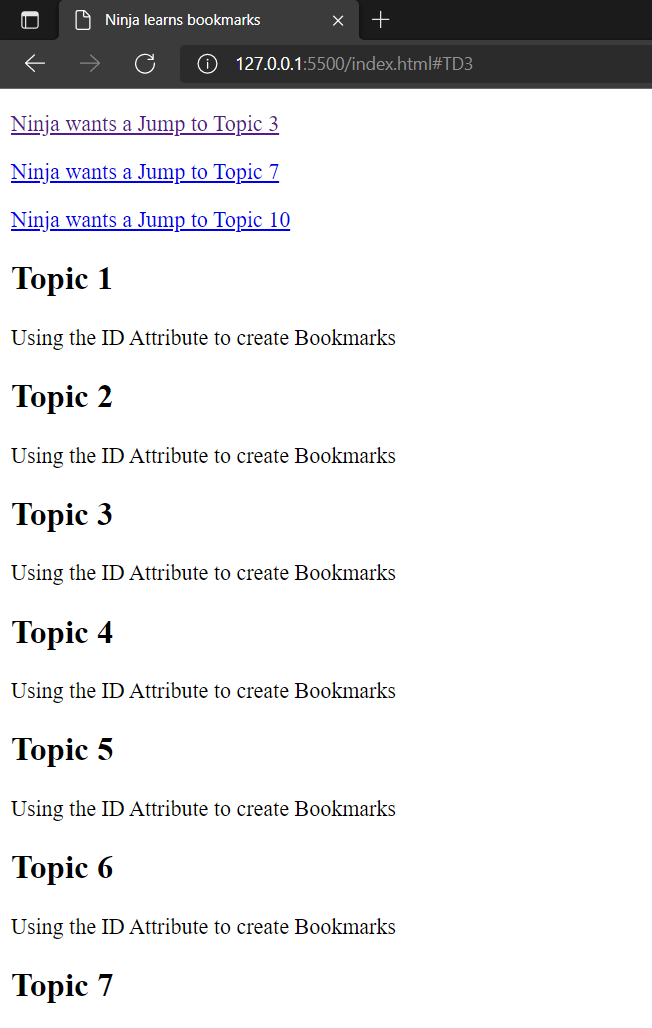
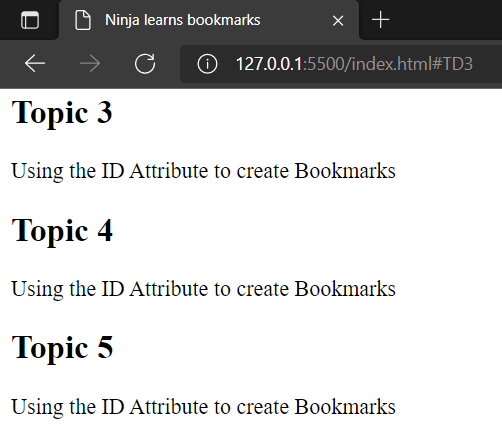
Observe when you click on the first link that points to Topic 3, you are automatically redirected to Topic 3’s content and you do not even have to scroll for the same.
We have discussed the uses for the id attribute with illustrative examples, but the next question that comes to mind is the difference between the Id attribute and the class attribute and how we would know which one should be used.


