Introduction To User Input
Forms in HTML are used to take the input from the user and then allow us to perform various operations on the data taken from the user.
In this blog, we will talk about various input tags of the HTML form that allows the user to take the input from the user. The list of some of the form element that is used to take the specified type of input are :
- Textfield
- Textarea
- Checkbox
- Radio button
Let us discuss the above input element one by one:
Textfield
This is an element of the form used to take the text input from the user, but the constraint is the text input should not exceed a particular range.
It also supports the Placeholder attribute, which means we can set the default text on the text field area on which we are working.
Code Snippet:
<!DOCTYPE html>
<html>
<body>
<h1>Coding Ninjas</h1>
<form >
 <label for="fname">First name:</label>
 <input type="text" placeholder="CODING NINJAS"><br><br>
</form>
</body>
</html>
Output: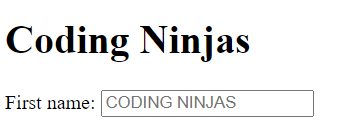
The above image shows that the CODING NINJAS is the default text until some text is entered.
Textarea
This is an element of the form used to take the input from the user in the form of text in which we can specify how many rows, column input we can take.
Here, we can specify the default text, which is user-editable.
Code Snippet:
<!DOCTYPE html>
<html>
<body>
<h1>The textarea element</h1>
<form >
<label >Review of CODING NINJAS:</label>
<textarea rows="4" cols="50">
Coding Ninjas
 </textarea>
 <br><br>
</form>
</body>
</html>
Output:
Checkbox
This is an element of the form that allows users to give multiple inputs predefined by the developer.
Let us look at the sample code for it.
Code Snippet:
<!DOCTYPE html>
<html>
<body>
<h1>Select Coding Ninjas Courses</h1>
<form >
 <input type="checkbox" value="WEB_DEVLOPMENT">
 <label for="vehicle1"> WEB_DEVLOPMENT</label><br>
 <input type="checkbox" value="DATA_STRUCTURES">
 <label for="vehicle2"> DATA-STRUCTURES</label><br>
 <input type="checkbox"value="DBMS">
 <label for="vehicle3"> DBMS</label><br><br>
</form>
</body>
</html>
Output: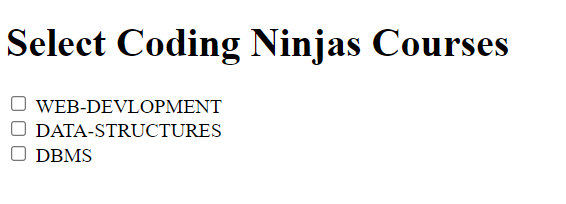
The above image shows that the user is allowed to take multiple courses offered by coding ninjas.
Radio Button
This element of the form of HTML permits the user to give the single input from the given option, which the web developer provides.
Here we use the name attribute to specify that the given input is of a single category.
Code Snippet:
<!DOCTYPE html>
<html>
<body>
<h1>Display Radio Buttons</h1>
<form>
 <p>Please select your age for checking the validity for Coding Ninjas:</p>
 <input type="radio" name="age" value="30">
 <label for="age1">0 - 30</label><br>
 <input type="radio" name="age" value="60">
 <label for="age2">31 - 60</label><br>
 <input type="radio" name="age" value="100">
 <label for="age3">61 - 100</label><br><br>
</form>
</body>
</html>
Output:
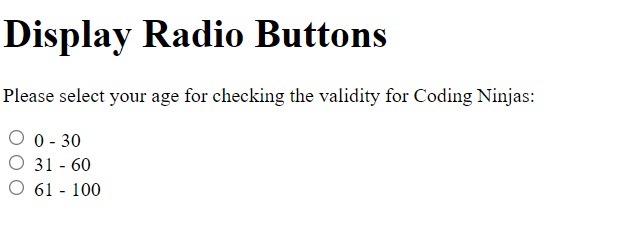
In the above image, we can clearly say that the user in the form permits only a specific type of input.
Introduction to computer code elements
In this part of our blog, we will discuss the element used to display the code on the website with proper indentation. We will also discuss how to implement it using the sample code.
Let us discuss some vital computer code tag in HTML:
Code Tag
The developer uses the code tag when the developer wants to display the code on the website.
Syntax:
<!DOCTYPE html>
<html>
<body>
<h2>Coding Ninjas programming code:</h2>
<code>
#include<stdio.h>
<br>
int main() {
<br>
printf("Hello Geeks");<br>
}
</code>
</body>
</html>
Output: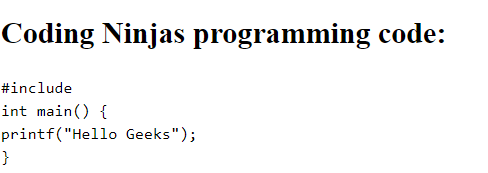
Pre Tag
The pre tag introduces a proper line break for the code user wants to display on the website.
It is used outside the code tag here; we don’t require br tag to add line breaks.
Code Snippet:
<!DOCTYPE html>
<html>
<body>
<h2>Coding Ninjas programming code:</h2>
<pre>
<code>
#include<stdio.h>
int main() {
printf("Hello Geeks");
}
<pre>
</code>
</body>
</html>
Output: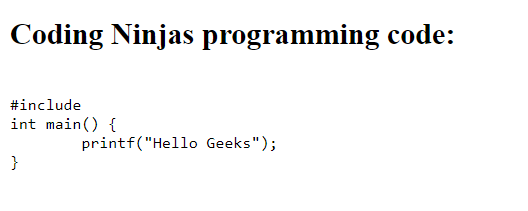
From the above image, we can conclude that we use a code inside the pre tag to add proper indentation to our code.
Kbd Tag
Whenever a user wants to display the keyboard buttons on the website developed by the developer, we use the kbd tag to display the keyboard button.
Let us understand with the help of an example.
Code Snippet:
<!DOCTYPE html>
<html>
<body>
<p>We can save the document by pressing <kbd>Ctrl + S</kbd></p>
</body>
</html>
Output:


