Example
In this example, we will see how we can add an ImageView to an android application using either the design method or the code method.
Design Method to add an ImageView
When ImageView is used in an activity, it indicates that an image resource is required. As a result, it's pointless to pass an Image file to the ImageView class. It can be done by either using an image file already existent in Android Studio or by creating our own image file. Android Studio has a large number of drawable resources that are commonly used in Android app layouts. Let's have a look at how to add a drawable resource to the ImageView class step by step:
To begin, open the activity_main.xml file where the image will be placed.

Toggle the activity_main.xml file to the design view.
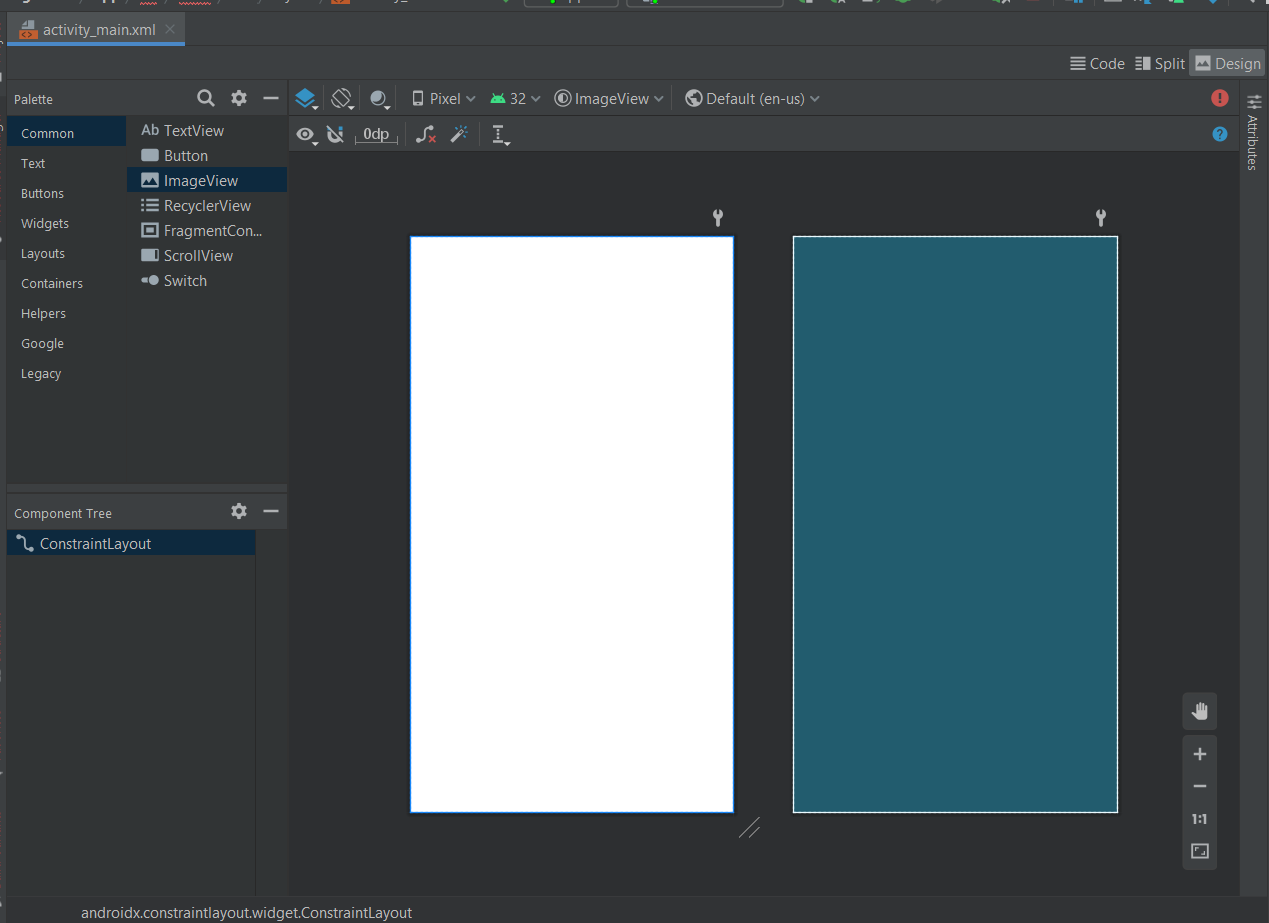
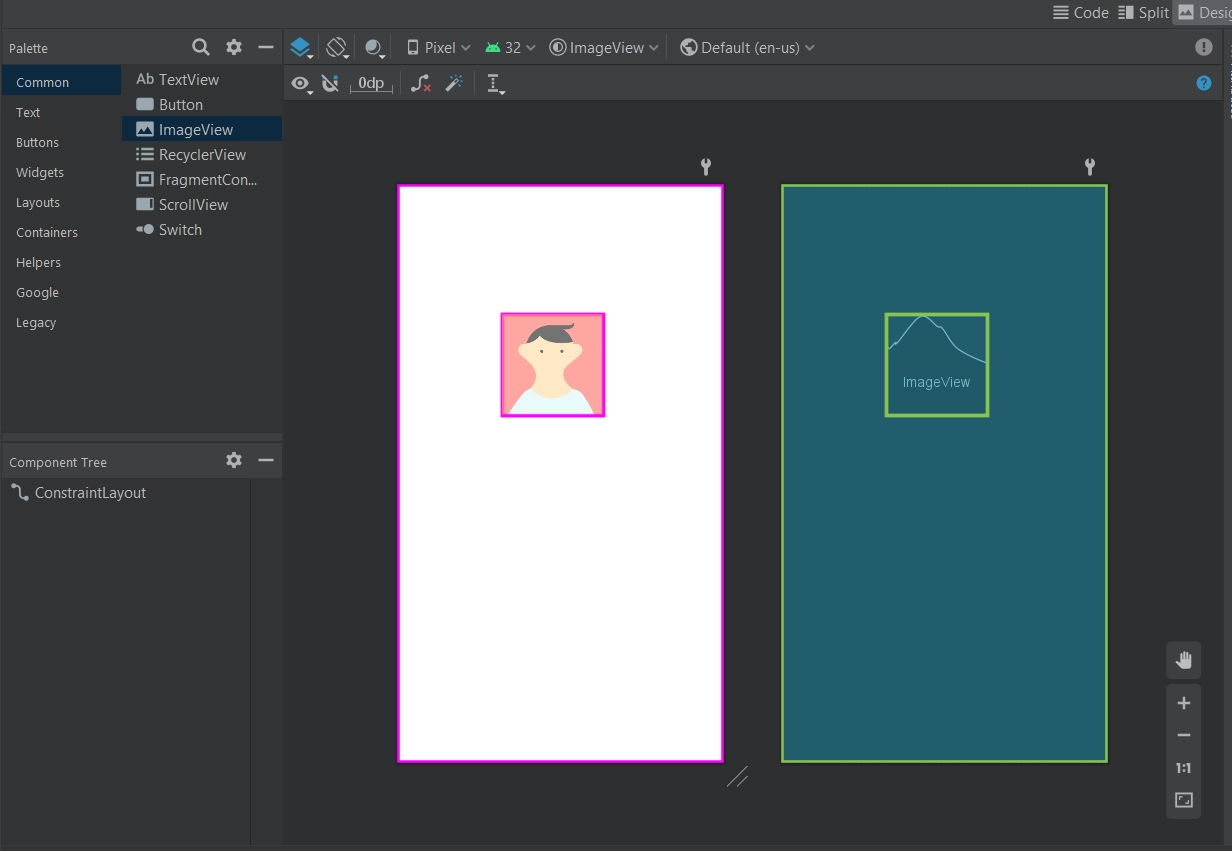
Drag the ImageView widget to the application's activity area, and a pop-up window will appear, allowing you to choose any resource from a list of drawable resources.

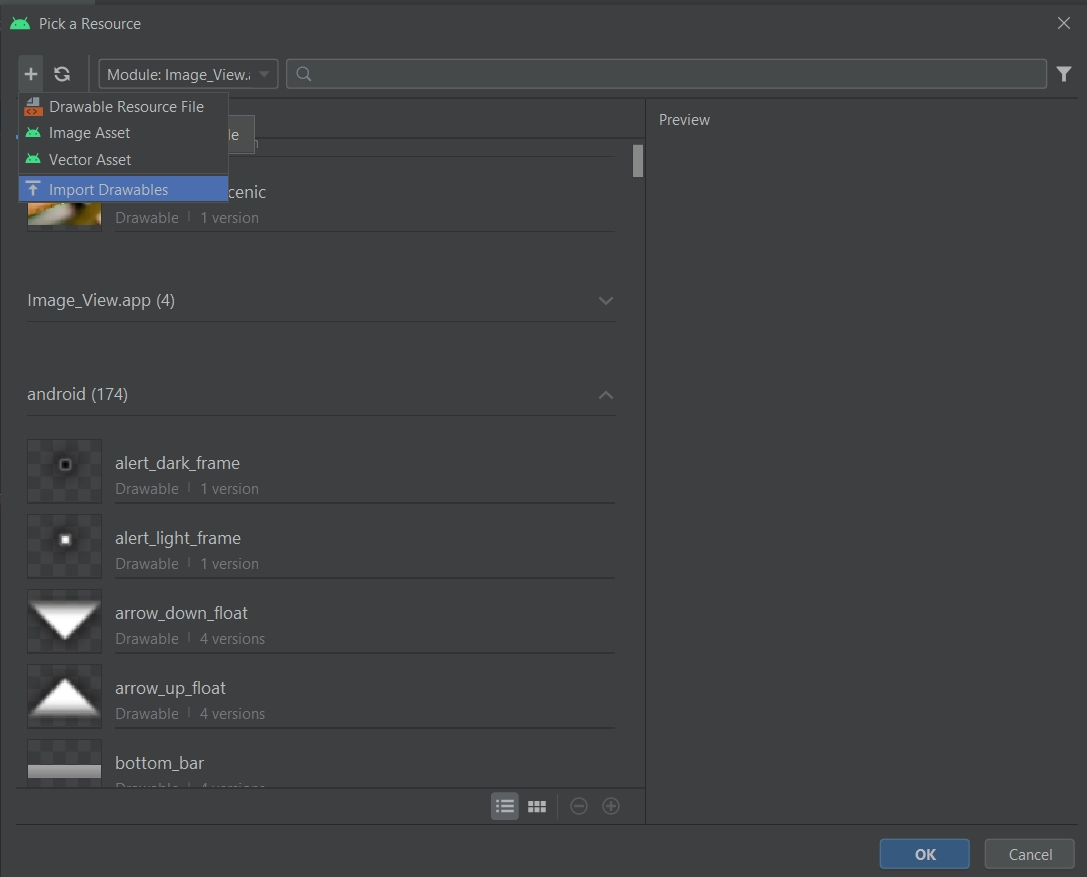
To add an image file that isn't part of the Android Studio drawable resources, Select the "Import Drawables" option under the "Resource Manager" tab on the leftmost panel.
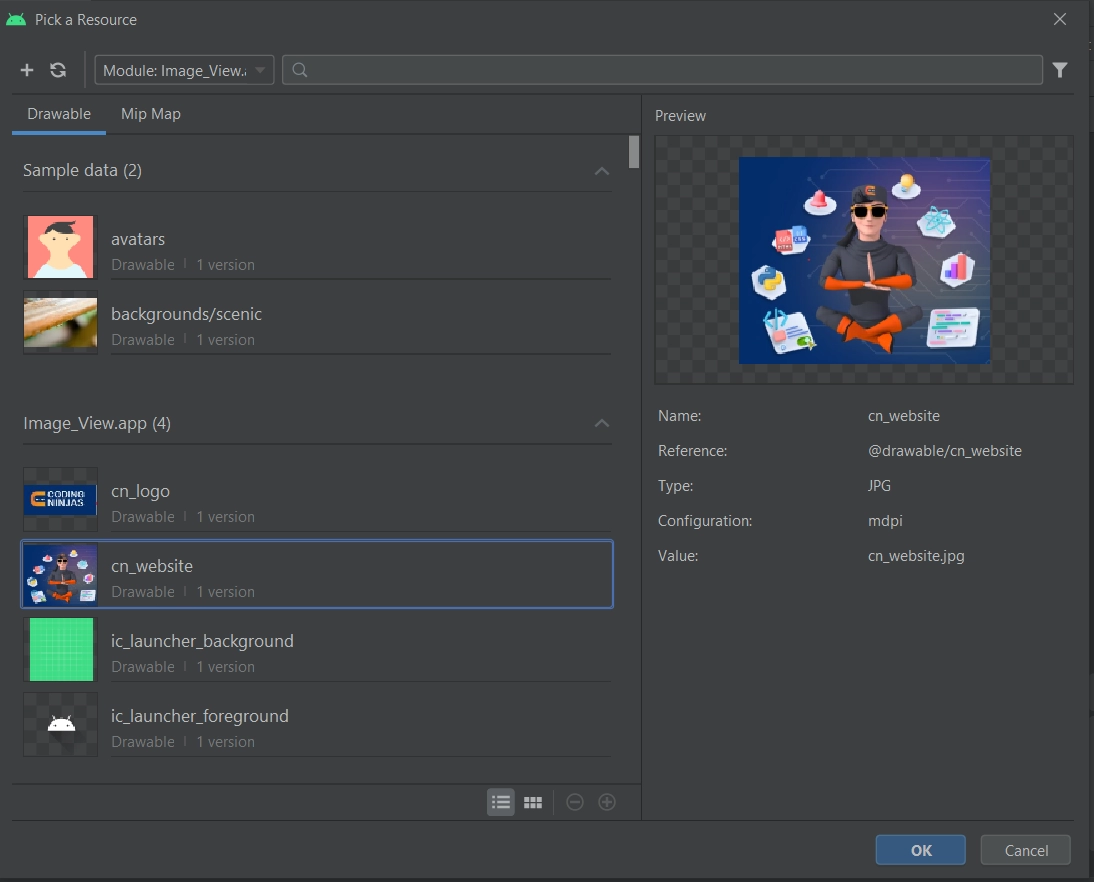
Select the image file's location on your computer and click "OK." Then, according to your needs, set the "Qualifier type" and "value" of the image file and click "Next" then "Import."


Now, you can drag the ImageView class in the application's activity area and choose your imported file from the pop-up window.
Implementation of Imageview
Now that we have learned what an ImageView widget is. Let's learn how to code it in a program by building a basic Android application that uses ImageView Widget. In this example, we will be using one ImageView widget.
First, we need to create a new project in Android Studio by selecting the empty activity option. In this activity_main.xml file, we have added code for adding one ImageView widget. The code for the same would look something like this:
activity_main.xml:
<?xml version="1.0" encoding="utf-8"?>
<androidx.constraintlayout.widget.ConstraintLayout xmlns:android="http://schemas.android.com/apk/res/android"
xmlns:app="http://schemas.android.com/apk/res-auto"
xmlns:tools="http://schemas.android.com/tools"
android:layout_width="match_parent"
android:layout_height="match_parent"
tools:context=".MainActivity">
<ImageView
        android:id="@+id/imageView5"
        android:layout_width="0dp"
        android:layout_height="361dp"
        android:layout_marginStart="14dp"
        android:layout_marginTop="153dp"
        android:layout_marginEnd="14dp"
        app:layout_constraintEnd_toEndOf="parent"
        app:layout_constraintStart_toStartOf="parent"
        app:layout_constraintTop_toTopOf="parent"
        app:srcCompat="@drawable/cn_website" />
</androidx.constraintlayout.widget.ConstraintLayout>
Now, go to the MainActivity.kt file. The code for the same would look something like this:
MainActivity.kt:
import androidx.appcompat.app.AppCompatActivity
import android.os.Bundle

class MainActivity : AppCompatActivity() {
    override fun onCreate(savedInstanceState: Bundle?)
    {
        super.onCreate(savedInstanceState)
            setContentView(R.layout.activity_main)
    }
}
Output:
Following is the output you will get upon following the design/code method explained above. The output will be the same in both cases as they are just two methods of achieving the same output.

Also See, Image Sampling
FAQs
1. What is android.graphics.drawable.Drawable?
Answer: It's a catch-all term for everything that can be drawn on Android.
2. What is android:maxWidth used for?
Answer: The max-width property specifies an element's maximum width. If the widget exceeds the maximum width, it will automatically adjust its height.
3. How can we specify the height of an ImageView widget?
Answer: The height of an ImageView widget can be specified using the android:height property.
Key Takeaways
In this article, we have extensively discussed the ImageView widget in Android and its implementation in Android Studio. We discussed how ImageView could be created and registered in an android application.
Also see, Attributes in DBMS and Usb debugging
We hope that this blog has helped you enhance your knowledge regarding the ImageView widget. All the widgets are enclosed inside a UI layout and if you would like to learn more about layouts, check out our article onAndroid UI layouts. And to learn in-depth about android development, check out our Android Development course on the Coding Ninjas website. Do upvote our blog to help other ninjas grow. Happy Coding!


 9+ registered

