Table of contents
1.
Introduction
2.
Images in HTML
3.
Various Attributes in Image Tag
4.
Formats supported in all Browsers
5.
Adding Links in HTML
6.
Various Attributes in HyperLink Tag
7.
Absolute and Relative URLs
8.
Frequently Asked Questions
9.
Key Takeaways 
Last Updated: Mar 27, 2024

Images and Linking In HTML

Author Raksha Jain
0 upvote
Career growth poll
Do you think IIT Guwahati certified course can help you in your career?

Introduction

Let’s discuss Images and Linking, how to add images and links in our HTML file, and how to modify them by changing values of various associated attributes.

Both Images and links help in beautifying our website, hence enhancing the UI of our website. Visit any website, and we find tons of images and links used. Let’s learn about them one by one. 

Images in HTML

For adding images in our website developed using HTML, we can use <img> tag.

This tag helps embed or technically link our web page with the respective image.

We can embed both a gif or a static image. Formats of images like ‘.png,’ ‘.jpg’ are also supported.

The image tag ‘<img>’ does not have any closing tag.

Various Attributes in Image Tag

  • src Attribute

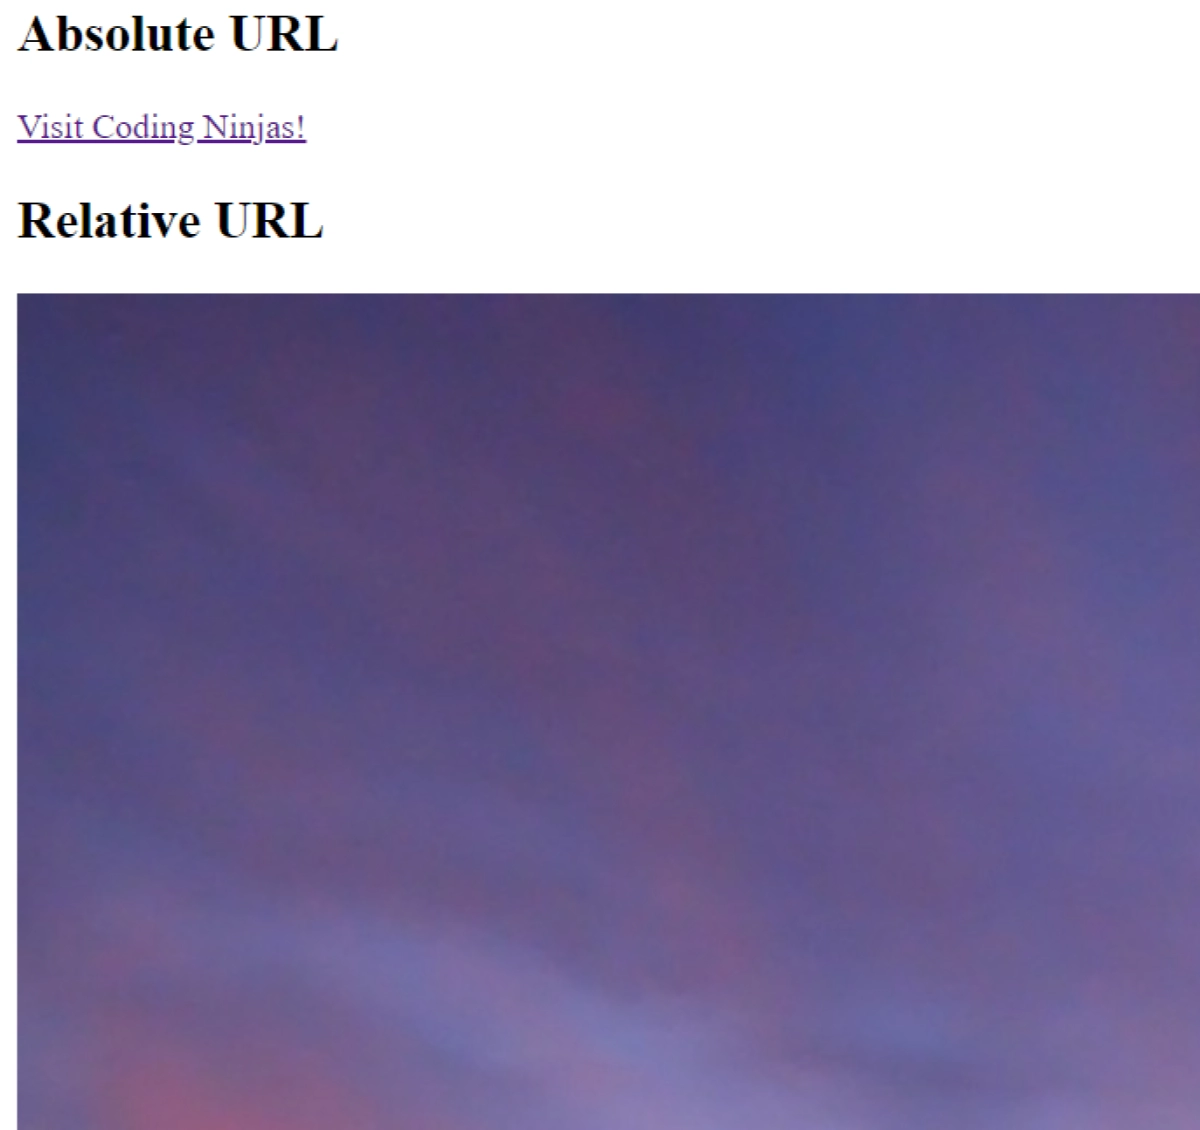
This is the main and most important attribute of the image tag. It specifies the path (URL) to the image.

<img src = “image_name.jpg”>

Here, img_name.jpg is a random image name.

When the webpage loads, the browser gets the image from the web server and inserts it into the webpage. 

  • alt Attribute

It helps add an alternate text for an image. 

The value of alt attribute should describe the image - 

<img src = “image_name.jpg” alt = “Image description”>

Here, img_name.jpg is a random image name

This attribute is important as in case the path of our image is broken( or not supported by our browser/slow connection) and the user cannot view it- the web page on loading would show a broken link icon which breaks the aesthetic appeal of our pages. The text written in ‘alt attribute’ helps describe the image that was supposed to be displayed in this case.

<!DOCTYPE html>

<html>

<body>

<img src="https://pixy.org/src/21/219269.jpg" alt="Background Scenery">

</body>

</html>


Output:


  • style Attribute

The style attribute helps add various CSS properties to our image. It is also known as adding inline CSS to our files.

Example : 

We can add height and width to our files like

<img src = “image_name.jpg” alt = “Image description” style = “width:460; height:345">

Here, img_name.jpg is a random image name.

Alternatively, we also have height and width attributes and can use them to set height and width of our image. 

<img src = “image_name.jpg” alt = “Image description” width="460" height="345">

Here, img_name.jpg is a random image name.

Output:


Formats supported in all Browsers

Some of the common image formats support by common browsers (like Chrome, Edge, Firefox, Safari, Opera) are:

File Format File Extension
Animated Portable Network Graphics (APNG) .apng
Graphics Interchange Format(GIF) .gif
Microsoft Icon (ICO) .ico, .cur
Joint Photographic Expert Group Image (JPEG) ,jpg, .jpeg, .jfif, .pjpeg, .pjp
Portable Network Graphics (PNG) .png


Adding Links in HTML

Links help us jump from one webpage to another. For adding links in our website developed using HTML, we use <a> tag which defines a hyperlink.


Link tags do have a closing tag i.e <a> and </a>.

Various Attributes in HyperLink Tag

  • href Attribute

It indicates the link’s destination. The link text mentioned in the href is visible to the user, and clicking in it, redirects the user to the specified URL address. 

By default,

  • Unvisited links will appear in the browsers as underlined and blue
  • Visited links will appear in the browsers as underlined and purple
  • Active links will appear in the browsers as underlined and red

<!DOCTYPE html>

<html>

<head>

<meta charset="utf-8">

<title>Links</title>

</head>

<body>

<h1>UnVisited Link</h1>

<a href="https://www.google.com/" >Visit Google!</a> 


<h1>Visited Link</h1>

<a href="https://www.codingninjas.com/" >Visit Coding Ninjas!</a> 


<h1>Active Link</h1>

<a href="https://www.codingninjas.com/placement-prep" >Visit Coding Ninjas Placement Prep!</a> 

</body>

</html>


Output:


We can also create a link to send an email, i.e., clicking on that link would redirect to the user’s email program. 

This is done via using mailto: inside the href attribute.


<a href="mailto:someone@example.com">Send email</a>

Here, someone@example.com is any random email id.
 

  • Target Attribute

On clicking any link, it redirects us to the linked page and displays it in the current browser. This is the default property of the <a> tag.

However, we can specify where to open the linked page via the target attribute.

It can have the following values:

  • _self: This is the default property, i.e., opens the linked page in the same tab/window where it was clicked.
  • _blank: It opens the linked page in a new window/tab.
  • _parent: It opens the linked page in the parent frame.
  • _top: It opens the linked page in the full body of the window.

Example: 

<a href="https://www.codingninjas.com/" target="_blank">Coding Ninjas</a> 


Output:


  • title Attribute

It specifies the extra information about the link. This information appears as a tooltip text when our mouse hovers over the link.

<!DOCTYPE html>

<html>

<head>

<meta charset="utf-8">

<title>Links</title>

</head>

<body>

<a href="https://www.codingninjas.com/" target = "_blank">Visit Coding Ninjas!</a> 

</body>

</html>


Output:

Note: Coding Ninjas Website opens in a new tab.

Absolute and Relative URLs

ABSOLUTE URL - is the full web address (i.e. the one that includes the ” http://www “ part as well) of the other webpage inside href attribute. 

RELATIVE URL - is the web address of another page within the same website that does not include the ” http://www “ part.

For getting detailed information about what is meant by a URL, the different kinds of URLs and how to add URLs in HTML, you can refer to this blog.

<!DOCTYPE html>

<html>

<head>

<meta charset="utf-8">

<title>Links</title>

</head>

<body>

<h2>Absolute URL</h2>

<a href="https://www.codingninjas.com/" target = "_blank">Visit Coding Ninjas!</a> 

<h2>Relative URL</h2>

<img src="image.jpg" alt="Background Scenery">

</body>

</html>


Output:

Note: But here the absolute url would be file:///C:/Users/user_name/Desktop/images.html

Also Read - Image Sampling

Frequently Asked Questions

Q1. What is the UI of a website?

Ans. The user interface (UI) is the “surface” of any application or website which represents the entire visual makeup of the software.


Q2. What is HTML?

Ans: HTML(HyperText Markup Language) is the standard markup language for creating Web pages. It describes the structure of a Web page.  


Q3. Which browsers support images and Linking In HTML?

Ans. The browsers which support Images and Linking in HTML are: 

→ Google Chrome

→ Firefox

→ Safari

→ Opera

→ Internet Explorer 

Key Takeaways 

In this blog, we learned about Images and Linking in HTML.

  • The most important attribute of image tag is the src attribute. It specifies the path (URL) to the image.
  • Other attributes of image tag include alt, style, width, height, etc.
  • We use <img> tag for adding an image and <a> tag for adding a link.

So, Images and Linking in HTML is extremely easy and plays an important role in enhancing the appearance of the website.


Check out more blogs on various concepts on HTML like Style Attribute in HTMLBlock and Inline elements in HTML to read more about these topics in detail. And if you liked this blog, share it with your friends!

Live masterclass