Run Code from a Module
The example given below teaches you how to run code from a module.
1. Open the Visual Basic Editor.
2. Click Insert, Module.
3. Create a procedure (macro) called Cyan.
Sub Cyan()

End Sub
4. The "Sub" will change the background color of your worksheet to Cyan. To achieve this, add the following code line.
Cells.Interior.ColorIndex = 28
5. Click Macros.
6. Select Cyan and click Run.
Result:

Swap Values
This example teaches you how to swap two values in Excel VBA.
Two values on your worksheet.

Place a command button on your worksheet and add the following code lines:
- Dim temp As Double
- temp = Range("A1").Value
- Range("A1").Value = Range("B1").Value
- Range("B1").Value = temp
Click the command button two times.
Result:


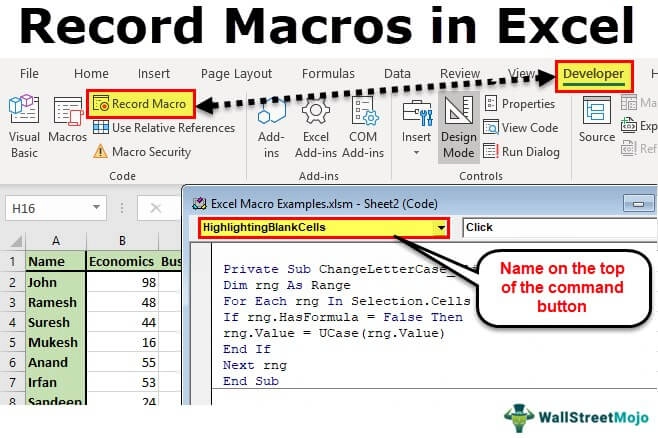
Macro Recorder
The Macro Recorder is a very useful tool in Excel that records every task you perform with Excel VBA. All you have to do is record a specific task once, which you won't repeatedly do. Next, you can execute the task repeatedly with the click of a button. The Macro Recorder is also a great help when you don't know how to program a specific task in an Excel sheet and generate a macro. Simply open the Visual Basic Editor(VBE) after recording the task to see how it can be programmed instead of doing it again manually.
Pic by WallStreetmojo.com
FormulaR1C1
This example below illustrates the difference between A1, R1C1, and R[1]C[1] styles in Excel VBA.
1. Place a "command button" on your spreadsheet/worksheet and add the following code Range("D4").Formula = "=B3*10" in line (A1 style):
Result:

2. Add the following code Range("D4").FormulaR1C1 = "=R3C2*10" in line (R1C1 style):

Explanation: Cell D4 references cell B3, i.e., row 3 and column 2. This is an absolute reference ($ symbol in front of the row number and column letter).
3. Now, add the following code Range("D4").FormulaR1C1 = "=R[-1]C[-2]*10" in line (R[1]C[1] style):
Result:
![R[1]C[1] Style](https://files.codingninjas.in/article_images/introduction-to-macro-14-1649669872.jpg)
4. Why are we learning about this?
As the Macro Recorder uses the FormulaR1C1 property. The "Macro Recorder" button creates the following code lines if you enter the formula (=B3*10) into cell D4.

Use Relative References
By default, Excel can record macros in absolute mode. It will place the recorded steps exactly in the cells where it was recorded. However, sometimes it is useful to record macros in relative mode. The program below will teach you how to record a macro in absolute mode; let's see how to do this.
Recording in Absolute Mode
Execute the following steps to record a macro in absolute mode.
1. Click "Record Macro."
2. Next is to select cell B3. Type Sales and then press enter.
3. Type Production and then press enter.
4. Type Logistics and then press enter.
The result of the above steps is shown below:

5. Next is to click "Stop Recording."
6. Empty the Range("B3:B5").
7. Select any cell on the sheet in Excel and run the recorded macro.

A macro recorded in absolute mode will always produce the same result.
Add a Macro to the Toolbar
It is used if you access a macro frequently, so you can add it to the Quick Access Toolbar. This is the way you can quickly access your macro anytime. The first thing is that we record an empty macro.
1. Then, on the Developer tab, click "Record Macro."
2. Then name the macro like MyName. Choose the location of storing the macro in the Personal Macro Workbook. The macro created will be available in all your files.

3. Click OK.
4. Click Stop Recording.

5. Open the Visual Basic Editor.
6. Create the macro using the same code and procedure mentioned above.
This macro places your name(mentioned) in the Active Cell.
7. Then, close the Visual Basic Editor(VBE).
8. Now, we can add this created macro to the "Quick Access Toolbar." Now, click the down arrow and click "More Commands," as shown in the picture below.

9. Under Choose commands, select Macros.
10. Select the macro and click Add.
11. You can modify the button added to the Quick Access Toolbar by clicking Modify. For example, choose a smiley.

12. Click the OK button twice.
13. Now, you can now execute the created macro. For example, select cell E2 and click on the smiley button; it will be added to the "Quick Access Toolbar."
14. When you close the Excel, it will ask you to save the changes you made to the "Personal Macro Workbook." Click the Save button to store this created macro in a hidden workbook that will open automatically when Excel starts.

Enable Macros
You have to change your macro security settings in the "Trust Center" to enable macros in the Excel sheet when the message bar appears. The following steps are:
1. Now, when the message bar appears, click "Enable Content" to enable macros.
2. How will you change your macro security settings? To change your macro security settings, on the Developer tab, click "Macro Security."
Then the Trust Center opens.
1. The first option disables all macros.
2. The second option in the dialog box will ask you to enable a macro. If you download many Excel files from the internet, always use this security level. Don't click Enable Content (see the first screenshot on this page) if you don't trust the owner of the Excel file.
3. The third option in the dialog box only allows macros with a digital signature to run and asks you to enable others.
4. The fourth option in the dialog box will enable all macros. Always use this security level if you are a beginner; with this security level, you don't have to enable macros all the time and only type your macros at the moment.

Protect Macro
Nowadays, protection is a must to do a thing for every important stuff. Like this, you can protect worksheets and workbooks using a password and protect a macro in Excel from being executed.
For this, first of all, place a command button on your spreadsheet and add the following code lines written below:
1. Create a macro that you want to password-protect.
Code: Range("A1").Value = "This is secret code"
2. Next is to click Tools, VBAProject Properties.
3. Now, on the Protection tab, check "Lock project for viewing" and enter a password twice, just like you do while creating your accounts for safety.
4. Then click OK.
5. The next step is to save, close, and reopen the Excel file or worksheet.
The following dialog box will appear:

You can still execute the code by clicking on the command button but you cannot view or edit the code anymore (unless you know the password). The password for the downloadable Excel file is "easy".
6. If you want to password-protect the macro from being viewed, add the following code lines given below:
Dim password As Variant
password = Application.InputBox("Enter Password", "Password Protected")

Select Case password
    Case Is = False
        'do nothing
    Case Is = "easy"
        Range("A1").Value = "This is secret code"
    Case Else
        MsgBox "Incorrect Password"
End Select

Explanation of this code: If the user clicks Cancel, this method returns False, and nothing happens as macro uses the InputBox method. The secret code will be executed only when the user knows the password ("easy" again). If the entered password is shown as incorrect, a MsgBox is displayed. Note that the user cannot look at the password in the Visual Basic Editor because the project is protected from being viewed.
Note that the user cannot take a look at the password in the Visual Basic Editor because the project is protected from being viewed.
Frequently Asked Questions
What do you mean by a macro?
A macro is a set of actions or set of instructions that you can run as many times as you want. After you've created a macro, Excel will execute those instructions step by step.
How can we open a Visual Basic Editor in Excel?
The easiest way to open the Visual Basic editor is to use the keyboard shortcut – ALT + F11. It will open a separate window for the Visual Basic editor as soon as it is done.
How macros are helpful in a spreadsheet? Explain.
Macros help us save time on the repetitive tasks involved in manipulating the data that are required to be done frequently.
Conclusion
This blog has mainly covered the different functions we can apply on a macro in an excel sheet. For example, how to create a macro, How we can swap the two values, How to add a macro to a toolbar, How to record a task using a macro record, How to protect a macro and many more.
If you want to know about Excel before learning the details, check out this article.
Happy Learning!!!


 8+ registered

