Syntax of Javascript splice()
Following is the syntax of the javascript splice method.
Javascript
splice(startIndex, remove_count, item1, item2,..., itemN)

You can also try this code with Online Javascript Compiler
Parameters of Javascript splice()
The parameter used in the syntax of the javascript splice method is:
startIndex
- It is a necessary parameter.
- It is the index from where we are requesting the changes to happen.
- If startIndex < 0, start + array.length is utilized.
- If startIndex < -array.length or start is not specified, start’s value is used as 0.
- If startIndex >= array.length, no element is removed, but the procedure acts as an adding function, adding as many elements as specified.
remove_count
- It is an optional parameter.
- It indicates the number of elements to be removed.
- All of the elements of the array will be deleted if remove_count is larger than the number of elements present in the array.
items_list
- It is an optional parameter.
- These elements are going to be added at the start index.
- If no elements are specified, then the splice() will use startIndex and remove_count to identify the specified number of elements and the specified index. It will then simply remove the specified number of elements from the array starting from the specified index.
Return Value of Javascript splice()
- An array containing the elements that have been removed.
- If only one element is removed, a one-element array is returned.
- If no elements are removed, the array is returned empty.
Examples of the Javascript Splice() Method
Following are some examples of usage of the javascript splice() method.
Using Splice() to Remove and Insert Elements
1. Removing 0 elements before an index and inserting other elements.
In this example, we are removing 0 elements and inserting an element at the 2nd position.
Code:
Javascript
const myDogs = ["pug", "husky", "poodle", "bulldog", "hound"]
const removed = myDogs.splice(2, 0, "labrador");
console.log(removed);
console.log(myDogs);
You can also try this code with Online Javascript Compiler
Output:
[]
['pug', 'husky', 'labrador', 'poodle', 'bulldog', 'hound']
2. Removing an element and inserting other elements.
After learning how to insert an element. Let’s see how to simultaneously remove and insert elements using javascript splice methods.
Code:
Javascript
const myDogs = ["pug", "husky", "poodle", "bulldog", "hound"];
const removed = myDogs.splice(2, 1, "labrador");
console.log(removed);
console.log(myDogs);
You can also try this code with Online Javascript Compiler
Output:
['poodle']
['pug', 'husky', 'labrador', 'bulldog', 'hound']
3. Removing two elements from an index.
Let’s take an example of removing two elements from index 2.
Code:
Javascript
const myDogs = ["pug", "husky", "poodle", "bulldog", "hound"];
const removed = myDogs.splice(2, 2);
console.log(removed);
console.log(myDogs);
You can also try this code with Online Javascript Compiler
Output:
['poodle', 'bulldog']
['pug', 'husky', 'hound']
4. Removing an element from the index -k.
We will now take an example of removing an element from the index -2.
Code:
Javascript
const myDogs = ["pug", "husky", "poodle", "hound"];
const removed = myDogs.splice(-2, 1);
console.log(removed);
console.log(myDogs);
You can also try this code with Online Javascript Compiler
Output:
['poodle']
['pug', 'husky', 'hound']
Since the index is negative, index + arr.length is used as the index. Thus the new_index is 2. So poodle is removed.
5. Removing all elements starting from an index.
Now, let’s see how to use the javascript splice method to remove all elements starting from index 2.
Code:
Javascript
const myDogs = ["pug", "husky", "poodle", "hound"];
const removed = myDogs.splice(2);
console.log(removed);
console.log(myDogs);
You can also try this code with Online Javascript Compiler
Output:
['poodle', 'hound']
['pug', 'husky']
Using Splice() on a Sparse Array
The javascript splice() method can also be used to preserve the array's sparseness. In JavaScript, the splice() method can be used to modify a sparse array by adding, removing, or replacing elements. The method preserves the sparseness of the array by not filling empty elements with undefined when removing elements, and not creating dense arrays when inserting elements.
Code:
Javascript
const sparray = [10, , 30, 40, , 60];
console.log(sparray.splice(1, 2));
console.log(sparray);
You can also try this code with Online Javascript Compiler
Output:
[< empty item>, 30]
[10, 40, < empty item>, 60]
The code initializes a sparse array sparray. splice() is then used to remove two elements starting from index 1, preserving the sparseness of the array. The removed elements [undefined, 30] are logged first, and the updated sparray is logged next.
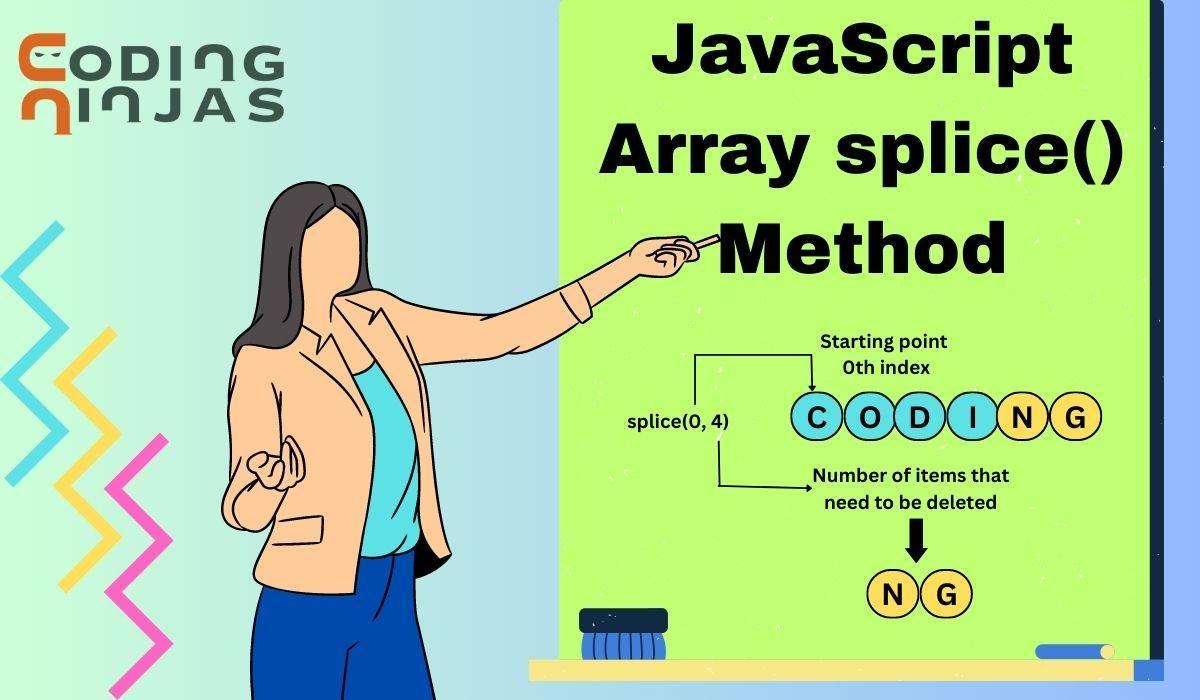
How to Use JavaScript Array Splice?
JavaScript's splice() modifies an array by adding, removing, or replacing elements. You can use it by providing two inputs to it. the first input indicates the array's starting index you want to change, and the second input shows the number of elements to remove from the start.
Javascript
const nums = [1, 2, 3, 4, 5];
nums.splice(2, 2);
//This removes the second element from nums
// result : nums = [1,2,5];
You can also try this code with Online Javascript Compiler
You can also add new elements after the removal point. For example,
Javascript
const nums = [1, 2, 3, 4, 5];
nums.splice(2, 3, 'a', 'b')
//This removes three elements starting from index 2 and inserts 'a' and 'b' in their place.
// result : nums = [1,2,'a','b',5];
You can also try this code with Online Javascript Compiler
Omitting the second parameter removes elements from the specified index to the end of the array. splice() alters the original array, so be cautious.
Advantages of the Javascript Splice Method
The following are the advantages of using the Javascript splice() method.
- Javascript splice() methods allow us to modify the array by inserting or removing elements in the array.
- We can add or remove any elements at any place. Thus providing us with the flexibility to modify any part of the array.
- Javascript splice() methods allow us to remove multiple elements at once.
- The Javascript splice() method also provides us with a way to return the array of removed elements.
Disadvantages of the Javascript Splice Method
The following are the disadvantages of using the Javascript splice() method.
- The Javascript splice() method can be complex to use, especially when you need to add or remove multiple elements at different positions in the array.
- The Javascript splice() method modifies the original array, which can cause unexpected behaviour if you are not careful.
- The Javascript splice() method can be slow for large arrays, especially if you need to remove or add a large number of elements.
- The Javascript splice() method only work on array indices that are numeric. If your array has non-numeric keys, you may need to use other methods to modify it.
Frequently Asked Questions
What is splice in JavaScript?
The splice() method alters an array by removing or replacing existing elements and inserting new ones. The splice() method requires two arguments: the starting index to change the array from and the number of elements to eliminate. Extra parameters can also be specified to indicate which items should be added in place of the removed parts.
Is splice () and slice () same in JavaScript?
JavaScript has two distinct functions, namely 'splice()' and 'slice()', each serving different purposes. The 'splice()' function alters an array by adding, removing, or replacing elements. On the contrary, the 'slice()' function generates a fresh array comprising a copied section of an existing array.
What is array splice (-1,1) in JavaScript?
When using the splice() method in JavaScript, you can use negative starting index values to count entries from the end of the array rather than the beginning. By passing a negative number as the start parameter to splice(), you provide an index relative to the array's end. For example, -1 denotes the final element and so on.
What is the difference between splice and shift in JavaScript?
"Splice" adds or removes elements from an array at a specified index. It can both remove elements and insert new ones in their place. On the other hand, "shift" is used to remove the first element from an array and shift all remaining elements to lower indices. It permanently removes the first element and updates the array length accordingly.
What is the return value of the splice() method?
The splice() method returns an array containing the removed elements. If no elements are removed, the method returns an empty array. The returned array may contain one or more elements, depending on the number of elements removed by the splice() method.
Conclusion
This article briefly discussed the javascript splice() method. We saw its syntax, parameter and various examples. We also discussed the advantages and disadvantages of the javascript splice() methods.
We hope this article has helped you understand the javascript splice() methods and all about it.
Recommended Articles -
If you wish to test your competency in coding, check out the mock test series and take part in the contests hosted on Coding Ninjas Studio!
Happy Learning!


 8+ registered

