Examples
Here we will be showing some examples step by step to let you know about the use cases of the Javascript Event Delegation.
Sample HTML Code
<!DOCTYPE html>
<html lang="en">
<head>
    <meta charset="UTF-8">
    <meta http-equiv="X-UA-Compatible" content="IE=edge">
    <meta name="viewport" content="width=device-width, initial-scale=1.0">
    <title>Document</title>
</head>
<body>
    <div id="parent">
        <div>Child1</div>
        <div>Child2</div>
        <div>Child3</div>
        <div>Child4</div>
        <div>Child5</div>
    </div>
    <script src="event_delegation.js"></script>
</body>
</html>
The above code will form a structure something like this,

We will show you how event delegation in JavaScript is so important by showing you different examples.
Example1(By Adding Event Listener to Every Similar Element)
We will add an event listener to every similar element in this example.
Code
const parent_selector = document.getElementById("parent");

const childs = document.querySelectorAll("#parent > div")

for(let i = 0; i < childs.length ; i++) {

    childs[i].addEventListener('click' , () => {
        console.log("Child clicked");
    })
}

You can also try this code with Online Javascript Compiler
Output

Explanation
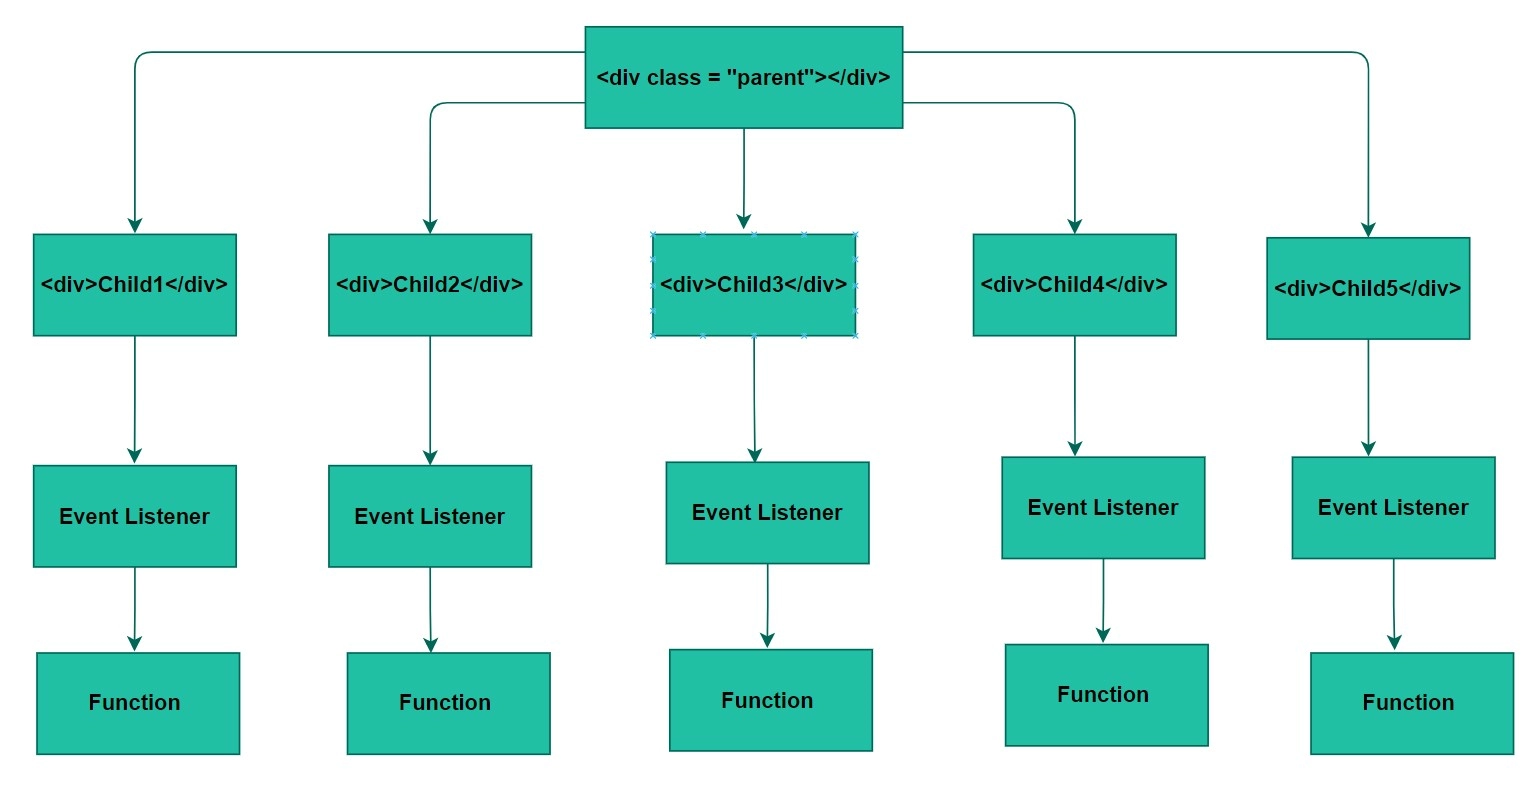
In the above example, we add an event listener to each child <div> element.
It looks like something below image,

Example2(Creating a Single Function for Every Child Element)
In the above example, we added an event listener, which was associated with every child element. Here, instead of creating the event function every time, we keep it the same for all children. The result will be the same.
Let’s see the implementation.
Code
const parent_selector = document.getElementById("parent");

const childs = document.querySelectorAll("#parent > .child")

// keep the event function same for all the child
const func = () => {
    console.log("Child clicked");
}

// add the event listener for all the child elements
for(let i = 1; i <= childs.length ; i++) {
    childs[i - 1].addEventListener('click' , func);
}

You can also try this code with Online Javascript Compiler
Output

Explanation
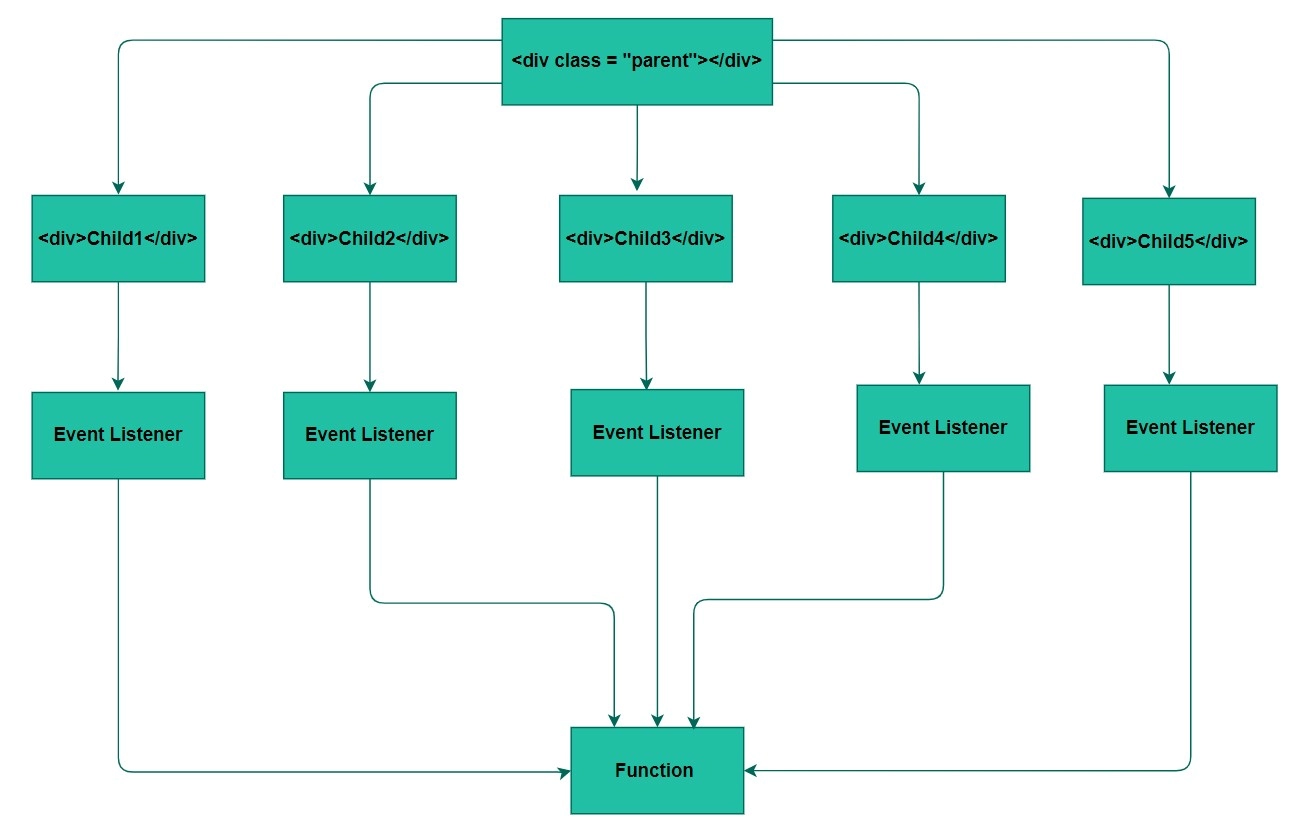
We have kept the event function the same for all the child <div> elements in the above example. The implementation is the same. Instead of creating too many event functions, we can only reference a single function.
It looks like something below the image.

Example3(Adding the Event Listener to the Parent Element)
Here in this example, instead of adding an event listener to each child <div> element, we will add the event listener to the parent <div> element. The result will be the same as the previous example.
Code
const parent_selector = document.getElementById("parent");

const childs = document.querySelectorAll("#parent > .child")

const func = () => {
    console.log("Child clicked");
}

// adding the event listener to the parent element
parent_selector.addEventListener('click' , func);

You can also try this code with Online Javascript Compiler
Output

Explanation
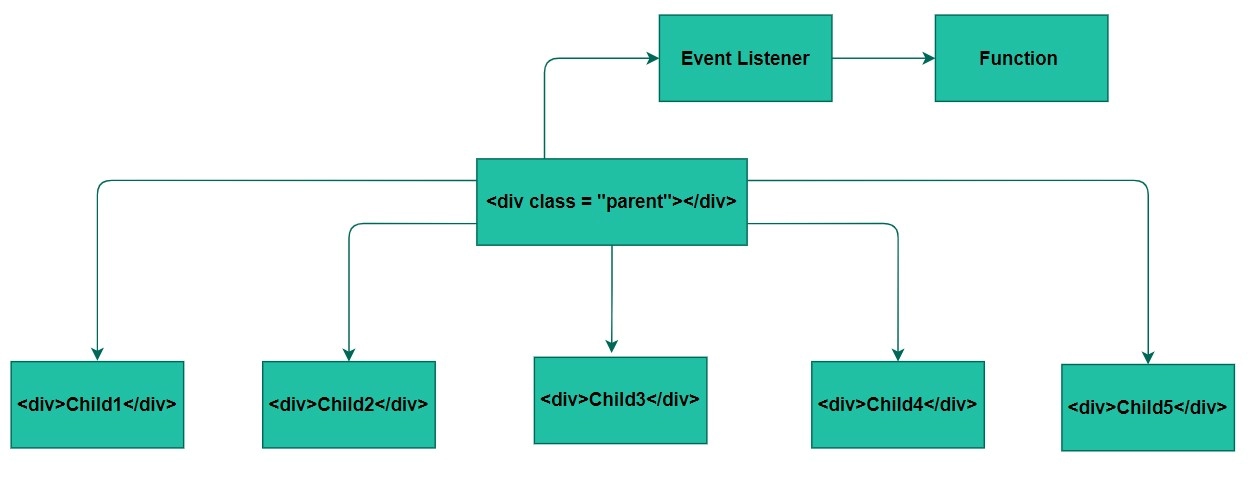
In the above example, instead of adding the event listener to all the child <div> elements, we have added an event listener to the parent <div> element.
The structure will look like something below image,

Example4(Adding the Event Delegation)
There was a single event listener and a single event function in the above example. The program's performance is improved, but there is still a problem that exists. We have added the event listener at the parent element. For this reason, we have lost access to the individual child <div> elements.
To resolve this issue, we will use the technique named Event Delegation.
Here we will be passing the event to the function. The event has a special property, namely, .target, which will be used to get access to every child <div> element. Then we will be using the .nodeName property of the .target, which will be used to identify a particular node. The result will be the same.
Let’s see the implementation.
Code
const parent_selector = document.getElementById("parent");

// For the selection of the particular child here inside the function func e.target.nodeName is used
// .nodeName is used for selecting a particular type of Node
const func = (e) => {
    if(e.target.nodeName === 'DIV') {
        console.log("Child clicked");
    }
}

// adding the event listener to the parent element
parent_selector.addEventListener('click' , func);

You can also try this code with Online Javascript Compiler
Output

Practice it by yourself with the help of an online javascript compiler.
Explanation
The idea is the same as the previous example. Just for identifying every child <div> element, we have added the .target property of the event, and to identify the specific element, we have used the .nodeName property of the .target.
Also see, Queryselectorall
Frequently Asked Questions
What is event delegation in JavaScript?
The Javascript event delegation is a pattern to handle the events efficiently.
What is an event listener function in JavaScript?
The JavaScript event listener function is a procedure that waits for an event to occur.
What is the .target property of an event in JavaScript?
The .target property of an event refers to an element on which the event was fired.
What is the .nodeName property in JavaScript?
The .nodeName property in JavaScript is used to find out the specific node and returns the node's name as a string.
Conclusion
In this article, we have extensively discussed the JavaScript Event Delegation.
We started with the basic introduction. Then we discussed the Definition of Event Delegation in JavaScript. We then showed you some examples to let you know about the importance of the JavaScript Event Delegation to handle the event efficiently.
We hope that this blog has helped you enhance your knowledge regarding the JavaScript Event Delegation and if you would like to learn more, check out our articles on An Introduction to Javascript, Using Functions in JavaScript, 20 Projects with JavaScript Code Example and Importance of JavaScript to Web Programming. Do upvote our blog to help other ninjas grow.
Head over to our practice platform Coding Ninjas Studio to practice top problems, attempt mock tests, read interview experiences, follow our guided paths, and crack product based companies Interview Bundle.
Happy Reading!


