Implementation
The first step in implementing the FloatLayout in Kivy is importing it.
from kivy.uix.floatlayout import FloatLayout

You can also try this code with Online Python Compiler
Basic Approach
After importing FloatLayout from Kivy you can follow a Basic Approach given below:
- import kivy
- import kivyApp
- import button
- import Floatlayout
- Set minimum version(optional)
- create App class
- return Layout/widget/Class(as per requirement)
-
Run an instance of the class
Now we will look at a sample python application code using Kivy to demonstrate the working of the approach mentioned above for Float Layout. The code creates a button having a specific width and height of the layout placed at a particular position.
Program
# Example Python application to demonstrate the
# working of FloatLayout in Kivy

import kivy

# base Class of your Application inherits from the App class.
from kivy.app import App

# creates the button in kivy
from kivy.uix.button import Button

# module consists of the floatlayout
from kivy.uix.floatlayout import FloatLayout

# To change the kivy default settings
# we use config
from kivy.config import Config


# you can use 0 / 1 or True / False
Config.set('graphics', 'resizable', True)

# creating the App class
class MyApp(App):

    def build(self):

        # creating Floatlayout
        Fl = FloatLayout()

        # creating the button
        # a button with 30 % width and 20 %
        # height of the layout and
        # positioned at (300, 200)
        btn = Button(text ='Hello world',
                    size_hint =(.3, .2), #(1, 1)by default if not    mentioned
                    pos =(300, 200))

        # adding widget (button)
        Fl.add_widget(btn)

        # returns the layout
        return Fl

# runs the App
if __name__ == "__main__":
    MyApp().run()
You can also try this code with Online Python Compiler
Output
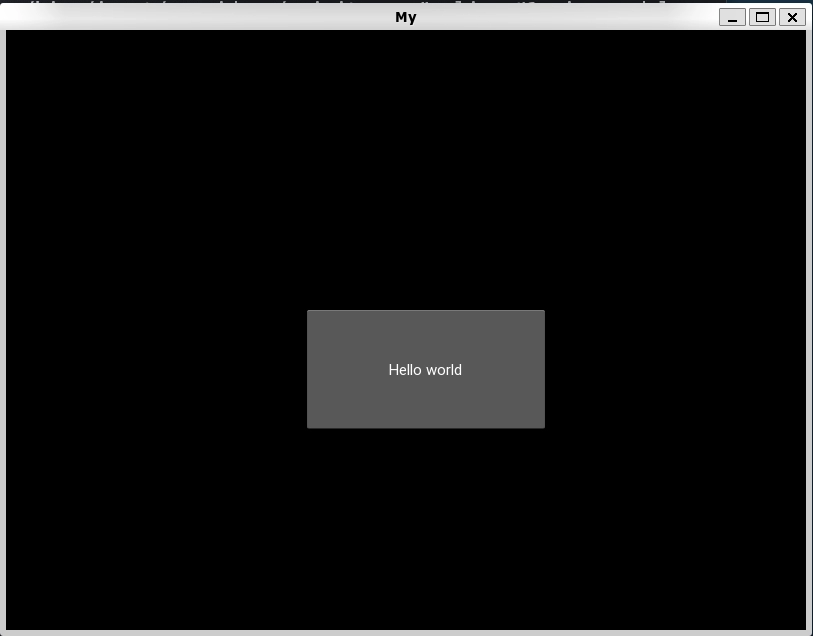
Now, if you change the size of the window, the button changes its position and size relatively.
Dynamic Approach
You can improve the above code by adding the placement for the buttons. That is known as Dynamic Placements.
Kivy provides two methods for creating dynamic placements.
-
pos_hint: provides a hint of position
We can define upto 6 keys meaning it takes arguments in the form of a dictionary.
Example: pos_hint = {"x":1, "y":1, "left":1, "right":1, "top":1, "bottom":1}
-
size_hint: provides hint of size
It contains two arguments, width and height
There are a few things to note:
- The FloatLayout honors the pos_hint and the size_hint properties of its children.
- You can only use values between 0 and1 for both pos_hint and size_hint. Where 0 is 0% and 1 is 100%.
- Kivy's coordinate system works from the bottom left. That is key information while placing our objects, meaning (0, 0) is the bottom left.
Below is a sample implementation of dynamic placing using Kivy Python.
Program
# Example Python application to demonstrate
# implementation of Dynamic placement in FloatLayout in Kivy
import kivy
from kivy.app import App
# creates the button in kivy
# if not imported shows the error
from kivy.uix.button import Button
# module consists of the floatlayout
# to work with FloatLayout, first
# we'll import it
from kivy.uix.floatlayout import FloatLayout
# For changing the kivy default settings
from kivy.config import Config
#
you can use 0 or 1 / True or False for off and on
Config.set('graphics', 'resizable', True)
# creating the App class
class MyApp(App):
def build(self):
# creating Floatlayout
Fl = FloatLayout()
# creating button
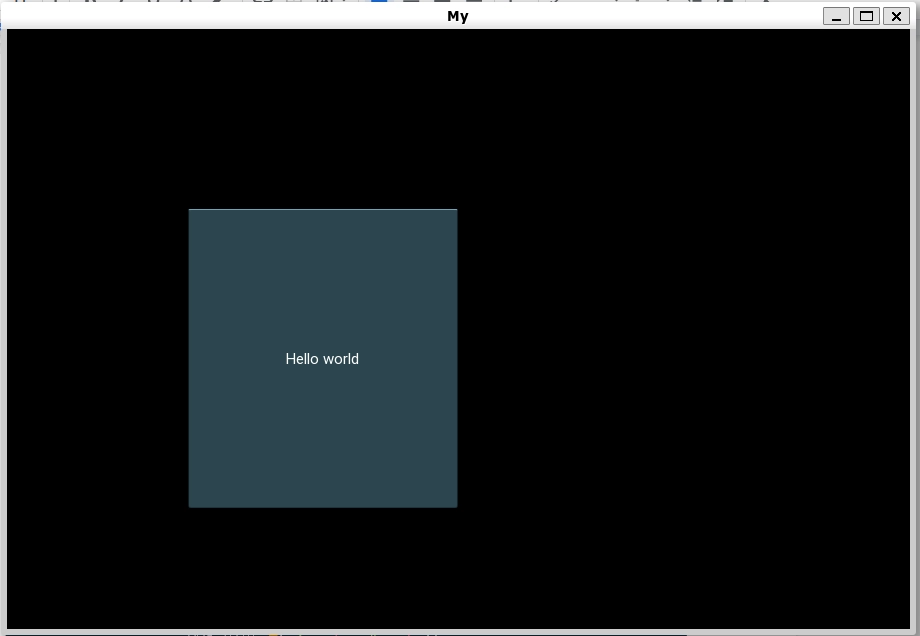
# with 30 % of the width and 50 %
# of the height of the layout and
# positioned at 20 % right and 20 % up
# from bottom left, i.e x, y = 200, 200 from bottom left:
btn = Button(text ='Hello world', size_hint =(.3, .5),
background_color =(.5, .8, .9, 3),
pos_hint ={'x':.2, 'y':.2 })
# adding widget (button)
Fl.add_widget(btn)
# returns the layout
return Fl
# runs the App
if __name__ == "__main__":
MyApp().run()
You can also try this code with Online Python Compiler
Output
Frequently Asked Questions
-
Is KIVY better than PyQt?
Although there is not much difference between Kivy and PyQt regarding functionality and usability of the GUI, Kivy is a much better option for Android applications, whereas we prefer PyQt for desktop applications.
-
What is KIVY Uix?
The kivy.uix module provides classes that we can use to create and manage Widgets. Widgets are Graphical User Interface(GUI) elements that form part of the User Experience.
-
What is Relative Layout in KIVY?
The Relative Layout implements similar to the regular FloatLayout except that it positions its child widgets relative to the layout. In simpler words, RelativeLayout allows you to set relative coordinates for children instead of absolute positioning using the FloatLayout.
-
What is a canvas in Kivy?
The Canvas is the root object you can use for drawing with a Widget. Each Widget in Kivy has a Canvas by default. While creating a widget, you can make all the instructions needed for drawing.
Conclusion
In this article, we have extensively discussed the Float Layout in Kivy and its implementation in Python with the help of examples. There are many more Python frameworks and tools that you can learn and utilize for application development.
We hope that this blog has helped you enhance your knowledge of Kivy Python and if you would like to learn more, check out our articles on Basics of Python and Popular Python Libraries. Do upvote our blog to help other ninjas grow. Happy Coding!


 8+ registered

