


Introduction
A Linux command is a tool that runs on the command line interface (CLI) of the Linux operating system. Commands may be used to do any simple and complicated tasks. The commands are run using the terminal. A terminal is a command line interface that interacts with the system through texts and processes. CLI is similar to Windows' Command Prompt tool.
In this article, we will learn one such command, known as the screen command, with the help of examples.
Before moving ahead with the article, let’s keep in mind that Linux commands are case-sensitive. Now that we are all set let’s start!
The Screen Command in Linux
What is Screen?
The screen is a terminal application in Linux. It enables us to use a virtual terminal as a full-screen window manager, sharing an open physical terminal between several processes, most of which are interactive shells. It enables us to access several terminal sessions within a single terminal. It is useful when we need to address several Linux shell commands on the command line and separate commands from the shell from which they were executed.
The screen also allows a user to start a command from one terminal, exit from that terminal, and then reconnect to that same terminal from a different location while using a different terminal without having to restart the operation. This allows a user to handle multiple command windows better.
The Screen Command
In Linux, the screen command allows you to launch and use multiple shell sessions from a single ssh session. When a process is launched with 'screen,' it can be removed from the session and then reattached at a later time. When a session is disconnected, the process that was initiated by the screen continues to operate and is handled by the screen itself. The process can then reattach the session at a later time, and the terminals remain in the same state as before.
Syntax
screen [-opts] [cmd [args]]Options in the Screen Command
Option |
Description |
-a |
This command forces all capabilities into the termcap of each window. |
-A -[r|R] |
It adjusts all windows to the changed width and height of the display. |
-c file |
Instead of '.screenrc,' it reads the configuration file. |
-d (-r) |
Removes the elsewhere running screen (and reattach here). |
-dmS name |
Starts as daemon, i.e, screen session in disconnected mode. |
-D (-r) |
It disconnects and logs out the remote (and reattachs here). |
-D -RR |
It performs the required action to get a screen session. |
-e xy |
This changes the command line characters. |
-f |
It is used to turn the flow control on, -fn=off, -fa=auto. |
-h lines |
It is used to set the size of the scrollback history buffer. |
-i |
It interrupts the output sooner when flow control is enabled. |
-l |
Turns the login mode on,(update /var/run/utmp), -ln=off. |
-ls [match] |
It is used to display all the attached screens. |
-L |
It turns the output logging on. |
-m |
It ignores the $STY variable and creates a new screen session. |
-O |
It selects the optimal output instead of exact vt100 emulation. |
-p window |
It is used to preselect the named window if it exists. |
-q |
It quiets the startup. If failed, it exits with a non-zero code return code. |
-Q |
It helps in sending the reply to the stdout of a querying process. |
-r [session] |
It re-attaches to the detached screen process. |
-R |
If possible, it re-attaches; otherwise, it creates a new session. |
-S sockname |
It names the session as .sockname rather than … |
-t title |
It is used to set the title(name of the window). |
-T term |
It uses the term as $TERM for windows in place of “screen”. |
-U |
It instructs the screen to use UTF-8 encoding. |
-v |
It prints the version of the screen. It will print “Screen version 4.06.02 (GNU) 23-Oct-17”. |
-x |
It attaches to a non-detached screen. |
-X |
It runs as a screen command in the given session. |
Shortcut Key Options
Options |
Description |
Ctrl-a + c |
It is used to create a new window. |
Ctrl-a + w |
It is used to display the list of all the currently opened windows. |
Ctrl-a + A |
It is used to rename the current windows. This name will appear when you list all the opened windows using the previous shortcut key. |
Ctrl-a + n |
It is used to go to the next window. |
Ctrl-a + p |
It is used to go to the previous window. |
Ctrl-a + Ctrl-a |
It directs back to the latest used window. |
Ctrl-a + k |
It kills the current window. |
Ctrl-a + S |
It is used to split the current window horizontally. Use Ctrl-a + Tab to switch between the windows. |
Ctrl-a + | |
It is used to split the current window vertically. |
Ctrl-a + X |
It closes the active split window. |
Ctrl-a + Q |
It closes all the split windows. |
Ctrl-a + d |
It is used to detach a screen session without stopping it. |
Ctrl-a + r |
It is used to re-attach a detached screen session. |
Ctrl-a + [ |
It is used to start the copy mode. |
Ctrl-a + ] |
It pastes the copied text. |
Example
Let us now understand the screen command with the help of an example.
1. Check the screen version: The screen command package is already installed in most Linux systems. In such a case, we can confirm by checking the version by using the command:
screen --version
You can jump to the third step if you have the screen installed.
2. Install screen: To install the screen, we need to enter the following command to the terminal:
$ sudo apt install screen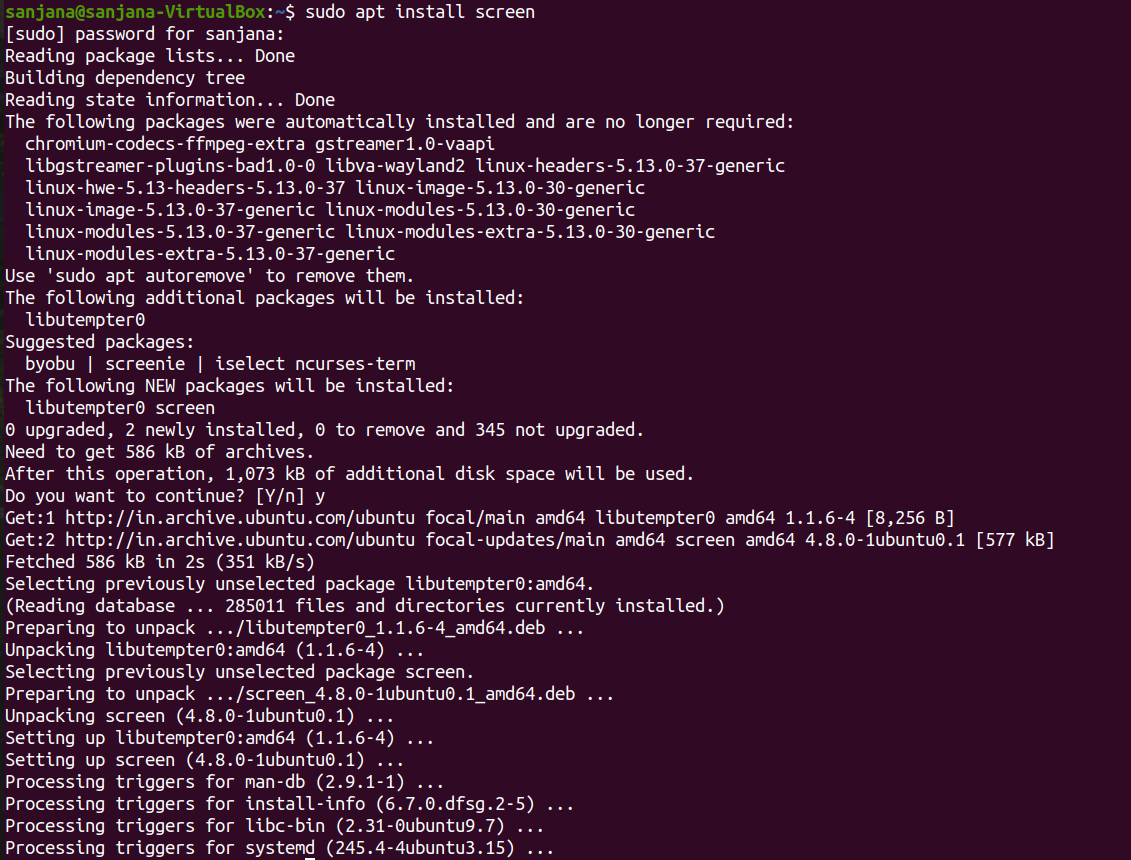
3. Screen: This command will start a new window within the screen.
screen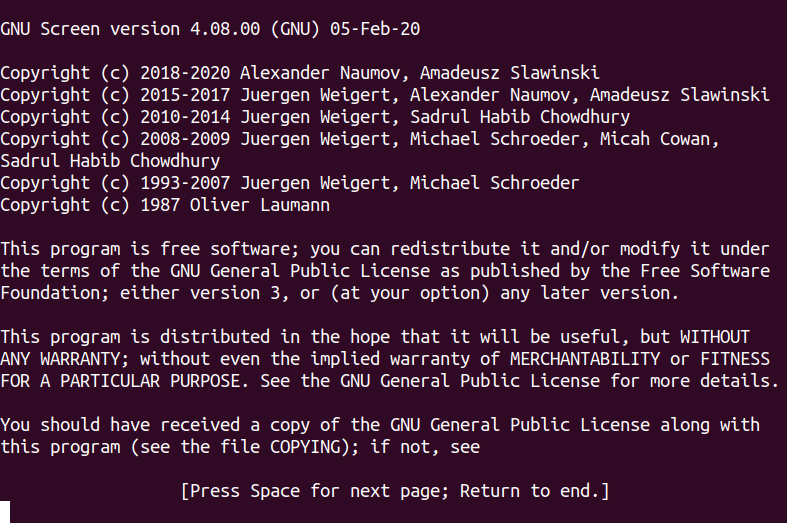
4. -S: This command will start a new window inside the screen and will also give a name to the window. It will also create a session that is recognized by the name given by the command. This name can also be used to re-attach the screen at a later time.
screen -S file
5. -ls: This command is used to display the currently opened screens as well as those running in the background. It will list both attached and detached screen sessions.
screen -ls
6. -d: This command is used to detach a screen session so that it can be reattached in the future. This can also be achieved using Ctrl-a +d.
Suppose we want to detach the 4395.file screen, we will use the following command:
screen -d 4395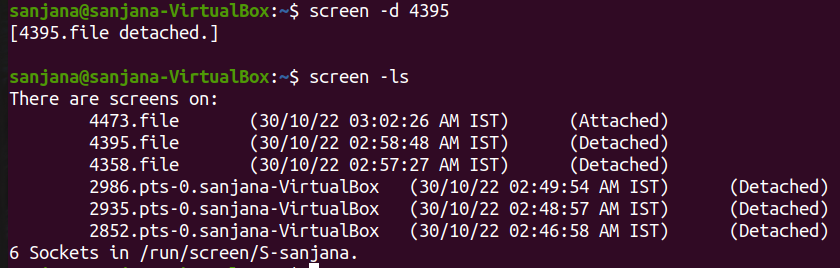
6. -r: This command is used to reattach the already detached screen. Let us reattach the 4358.file.
screen -r 4358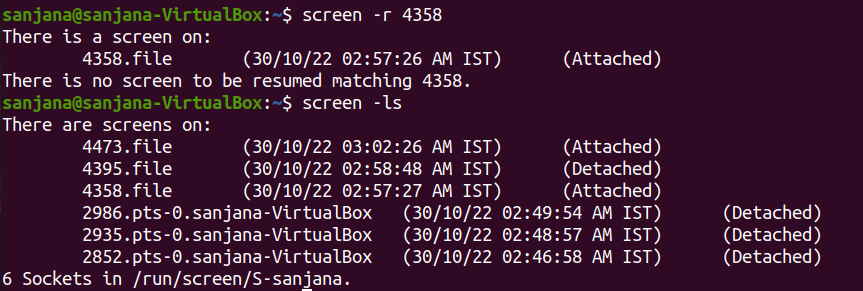
With the above example, we have seen all the basic commands required with multiple screens.
You can also check the manual page or go to the help page. Let us see the command for these.
1. Open the manual page
man screen
2. Open the Help page
screen –help
This command gives us a list of all the options in the screen command, which we have seen earlier in the blog.


 9+ registered

