Movement
Right-click in the Hierarchy view of your Unity project and select 3D Object > Capsule.
Make that both objects' Transform values are reset and that your Capsule is standing on the Plane. To make things easier, rename your capsule "Player."
Scroll down to Add Component in the Inspector pane after clicking on the Player object. Add a Rigidbody and then another component, this time as a Capsule Collider. You'll need these components to give your Player physics and thus movement.
Then, in your Scripts folder, right-click and select Create a New C# Script. "PlayerMovement" is the name of the script. We'll stick to the essentials and use only one script for the time being.
Implementation
using System.Collections;
using System.Collections.Generic;
using UnityEngine;


public class Movement: MonoBehaviour {


    public RigidBody2D starBody,
    public float speed;

    void start()
    {
        // use this function to initialize anything
    }

    void update()
    {
        starBody.velocity() = new Vector2(Input.GetAxisRaw("Horizontal")*speed, Input.GetAxisRaw("Vertical")*2);
    }
}
Explanation
-
public Rigidbody2D line starBody: Declares a Rigidbody2D instance named starBody. Please take note of the public access modifier; we'll get to it soon.
-
public float speed: A straightforward declaration of a floating-point value called speed. Make a note of a public access modifier once more.
-
void Start(): This method is empty. We haven't even given speed or starBody a value. If you didn't provide those variables with something to work with, you'd expect NullReferenceExceptions or UnassignedReferenceExceptions to be thrown everywhere and general chaos. Nonetheless, this method is mysteriously empty.
- starBody.velocity = new Vector2(Input ...): This is where the majority of the action revolves around your game character. Let's look deeper into this one line. The first few words, "starBody.velocity=," indicate that we are assigning a velocity to the Rigidbody referenced by starBody. At the same time, new Vector2() denotes that a Rigidbody is defined as a Vector2, with the input parameters being the velocity along the X and Y axes, respectively.
In the game world, give this rigidbody a velocity where the
- vertical velocity = vertical Axis * speed)
- horizontal velocity = Horizontal Axis * speed
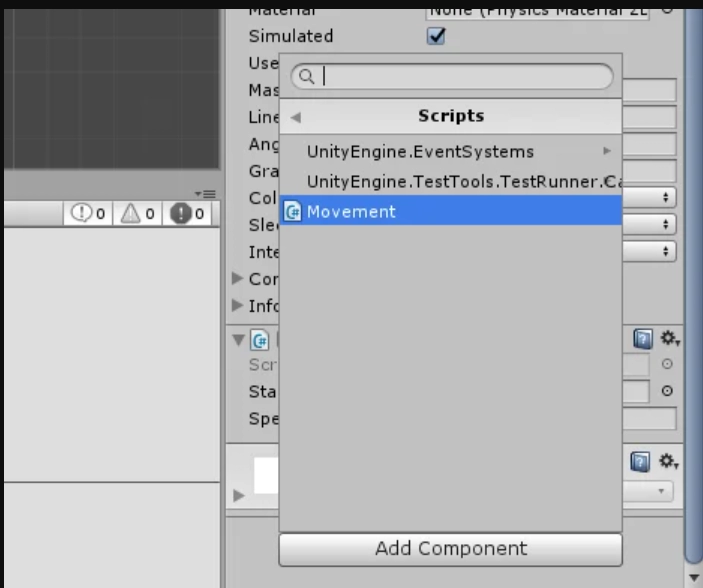
To finish, save this script and return to Unity. Drag and drop the script over an object to attach it, or go to Add Component Scripts.

Source
Setting the Rigidbody2D
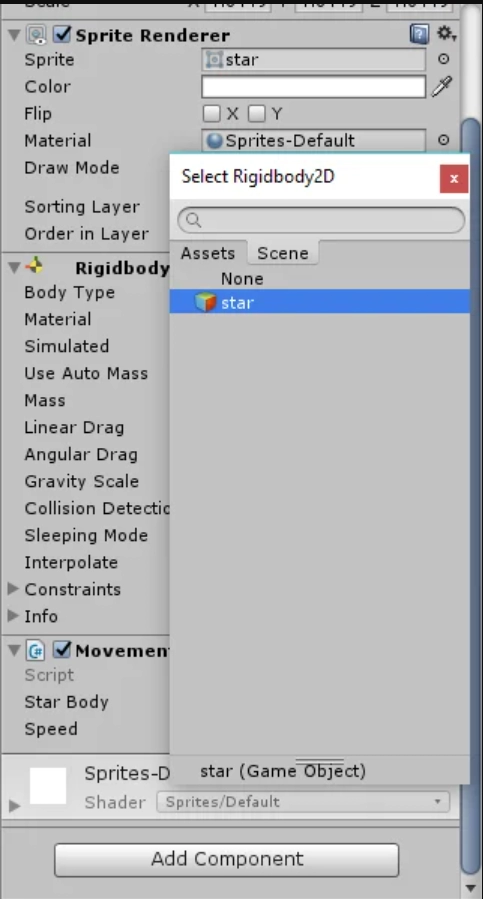
Examine the script's components. In addition to the script, Unity creates two fields for you to enter a Rigidbody2D and a speed float.

Source
Values and class instances declared publicly can be seen in the Editor, allowing you to make changes without constantly looking in your code.
To activate the Rigidbody2D for the first field, click on the small circle with a dot next to the field. This will display a list of Rigidbodies in the scene that you can use. For the time being, because there is only one Rigidbody in the entire scene, click on the first one in the list.

Source
We didn't assign anything to the starBody variable when we were writing the script. Why? This is where we put it. Instead of writing it in code, we can assign components and values using a simple UI.
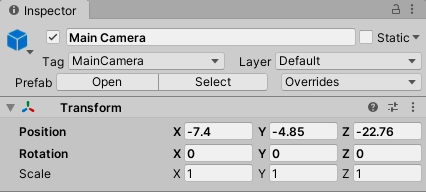
Set a speed value in the following field. Set it too high, and your character will fly away before you can see where it went. That's a problem because our Camera is stationary, making bringing it back into view much easier. We recommend setting the speed to around 5.

Source
Now press the play button, if everything goes well, you should now be able to move your character with the arrow keys.
Frequently Asked Questions
How do I move objects in Unity with a key?
The object will rotate to the left and right if you press the "Left & Right Arrow" key. If you press the "Up & Down Arrow" Key, the object will travel forward and backward. By pressing the keys, you can move the object.
In the movement script, what are the public access modifiers that we can use?
The public access modifiers that we use are Rigidbody2D line starBody and float speed.
Instead of writing code, can we assign components and values using a simple UI?
Yes, as we have discussed in the setting the rigidbody2D, we can assign components and values using a simple UI instead of writing code.
Conclusion
In this article, we have extensively discussed the way of moving objects in Unity.
We hope that this blog has helped you enhance your knowledge regarding moving objects in Unity. After reading about the moving objects in Unity, are you not feeling excited to read/explore more articles on the topic of Unity? Don't worry; Coding Ninjas has you covered. To learn, see Operating System, Unix File System, File System Routing, and File Input/Output.
Refer to our Guided Path on Coding Ninjas Studio to upskill yourself in Data Structures and Algorithms, Competitive Programming, JavaScript, System Design, and many more! If you want to test your competency in coding, you may check out the mock test series and participate in the contests hosted on Coding Ninjas Studio! But suppose you have just started your learning process and are looking for questions asked by tech giants like Amazon, Microsoft, Uber, etc. In that case, you must look at the problems, interview experiences, and interview bundle for placement preparations.
Nevertheless, you may consider our paid courses to give your career an edge over others!
Do upvote our blogs if you find them helpful and engaging!
Happy Learning!


