


Introduction
Database export-import refers to the moving of data from one place to another. Export and import of data are useful in backing up data and restoring it if the original data is lost. A good example of this is storing data on cloud drives. We store data on drives(export) from local storage, and whenever we want, we can restore(import) it to our system from the drive.
We can export and import databases in MySQL in two ways:
- Command Line Tool
-
MySQL Workbench
Let's discuss importing and exporting databases in these two ways in detail.
MySQL Export Database
By Command Line Tool
To export databases using the command-line tool, follow the following steps.
Step 1: Open the command line tool using username and password.
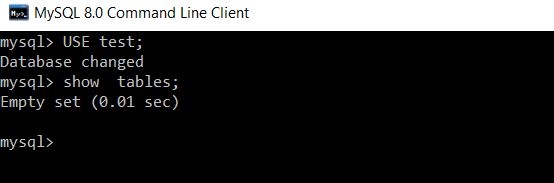
Step 2: Execute the following command to show databases on the server.
mysql> SHOW DATABASES; OUTPUT
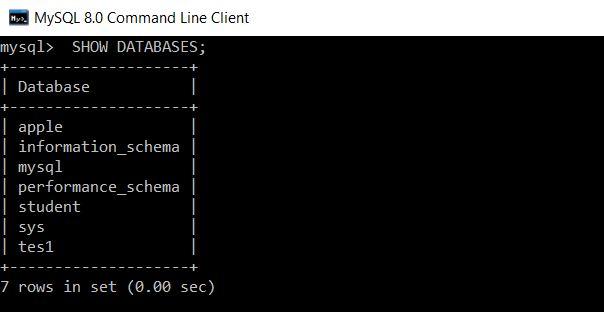
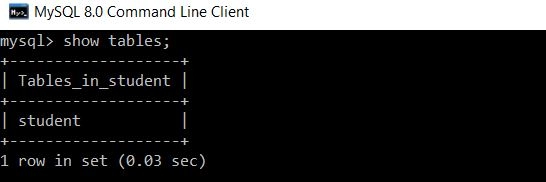
Step 3: From the above databases, we will select the 'student' database. The database and its table are shown below.
Step 4: Now, you need to access the command line on your system where the database is stored. For this, you can open the DOS or terminal window. If you have installed MySQL in C drive, copy the path address in your DOS or terminal and press enter. Your path may look similar to the given below.
C:\Users\Ninja> CD C:\Program Files\MySQL\MySQL Server 8.0\bin
Step 5: Use mysql dump tool to export the database.The tool uses login credentials of the MySQL user, and you can use the following command after providing login information.
$ mysqldump -u username -p database_name > desiredplace\dbname.sql Here:
-u ensures that MySQL username will be followed,
username is the name of the user to which we can log in to the database,
-p ensure the password associated with the username,
database_name is the name of the database we want to export,
desiredplace\dbname.sql is the folder where we want to export,
dbname.sql is the file with which the output will be saved.
For example, let's consider the user root and database name as 'Student,' folder name: Backup, and output database as studb.sql.
mysqldump -u root -p mytestdb > D:\Backup\studb.sql
Step 6: After pressing enter, it will ask for the password for the mentioned username. After entering the password, it will create the backup file in the specified location with .sql suffix.
By MySQL Workbench
Now let's see the exporting of the database using MySQL workbench. Follow the steps:
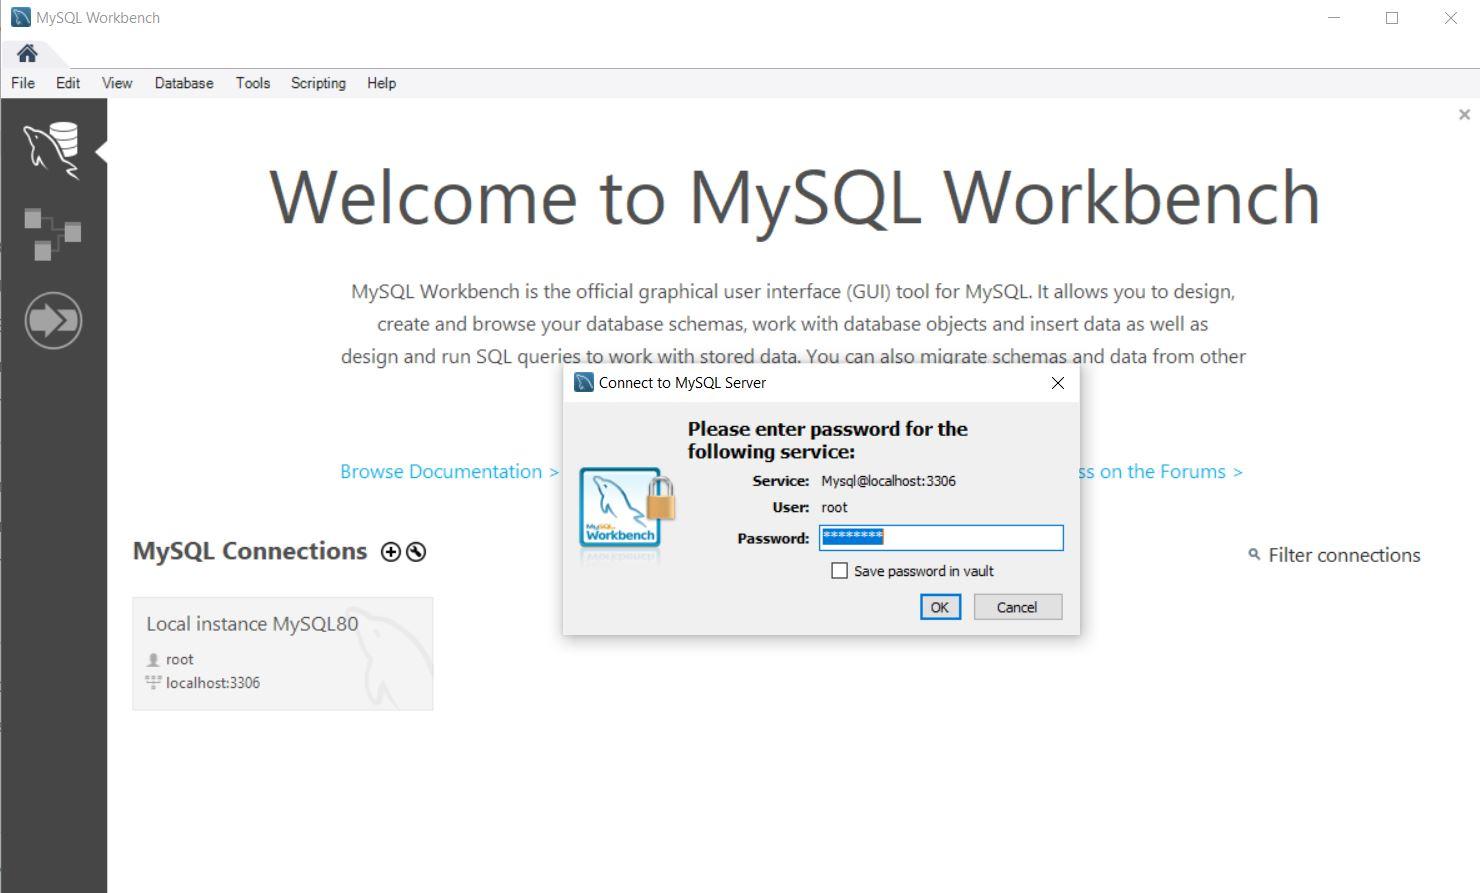
Step 1: Open the workbench and type the password for the selected username.
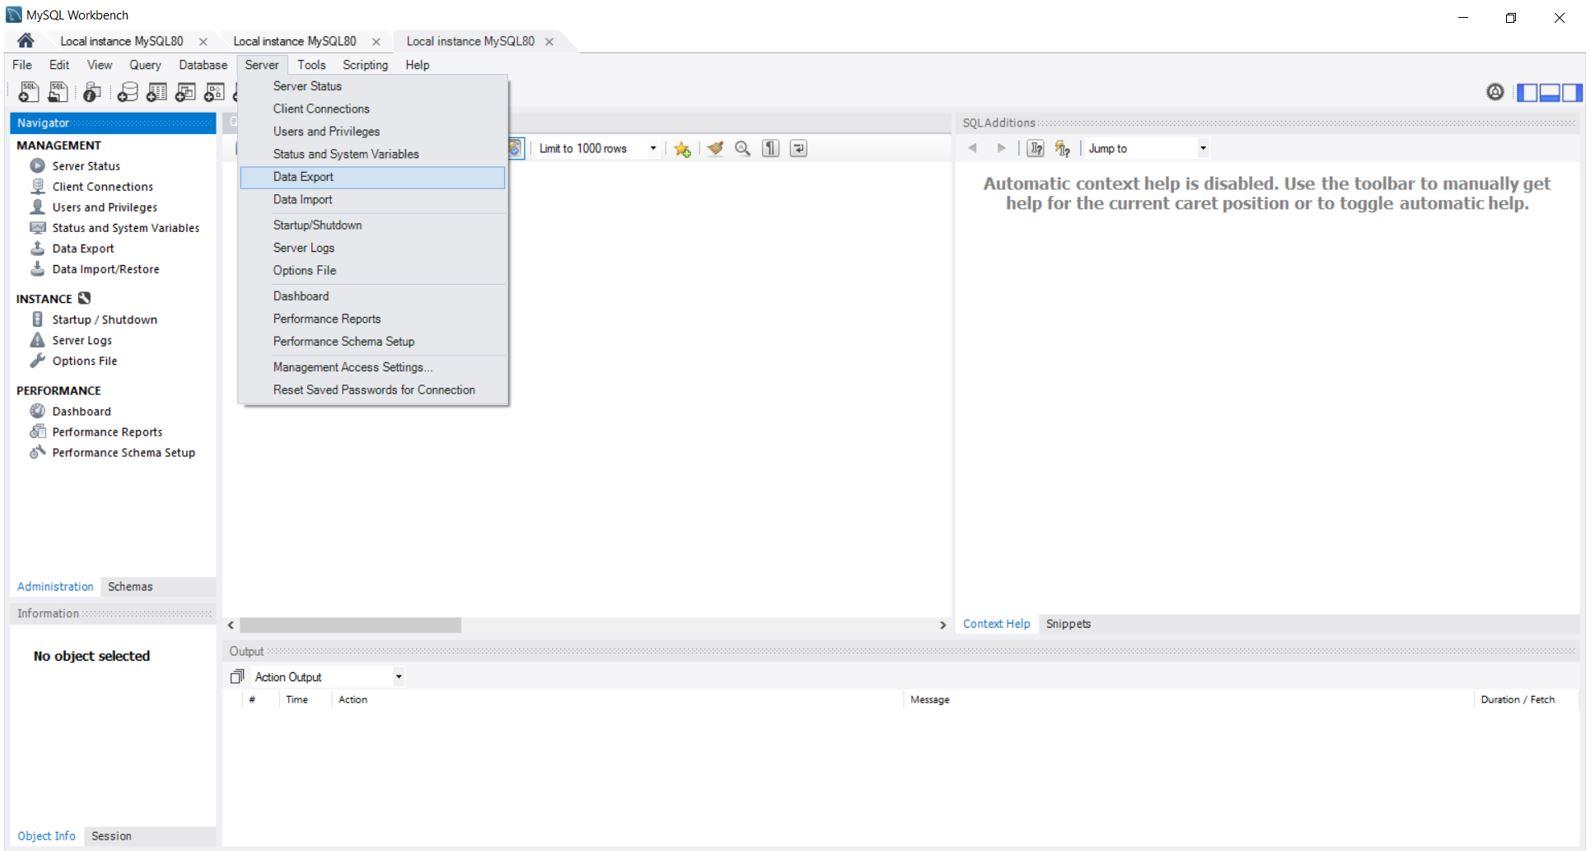
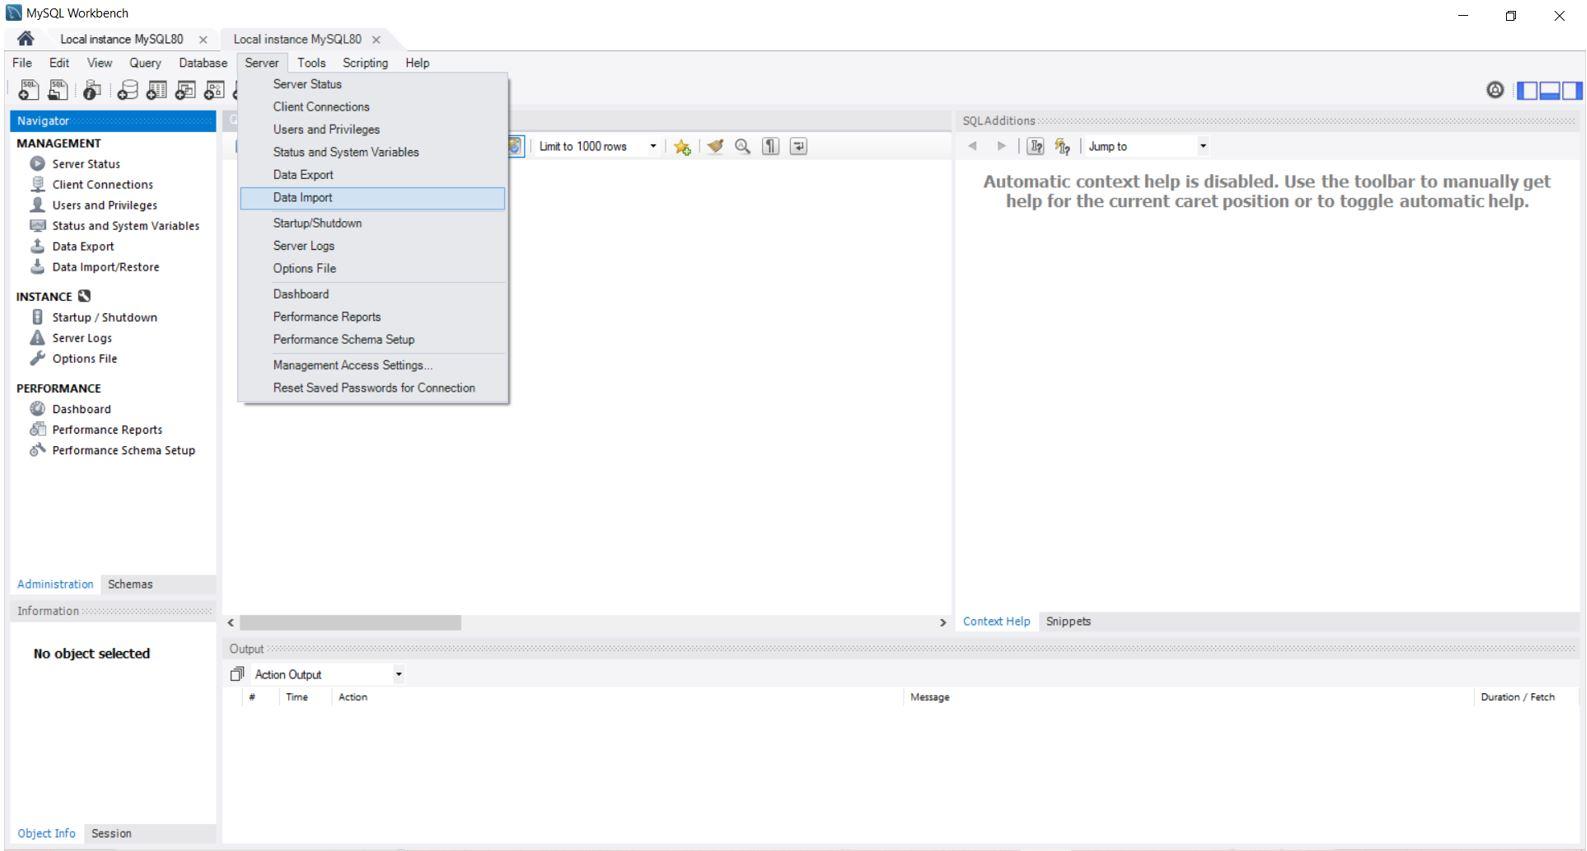
Step 2: Go to the menu bar and click on the server. Select the 'Data Export' option from the popup, and a new window will open with data export settings and options.
Step 3: Select the desired database for export. You can also select multiple databases which you want to include in the export file. Here we will select the 'Student' database.
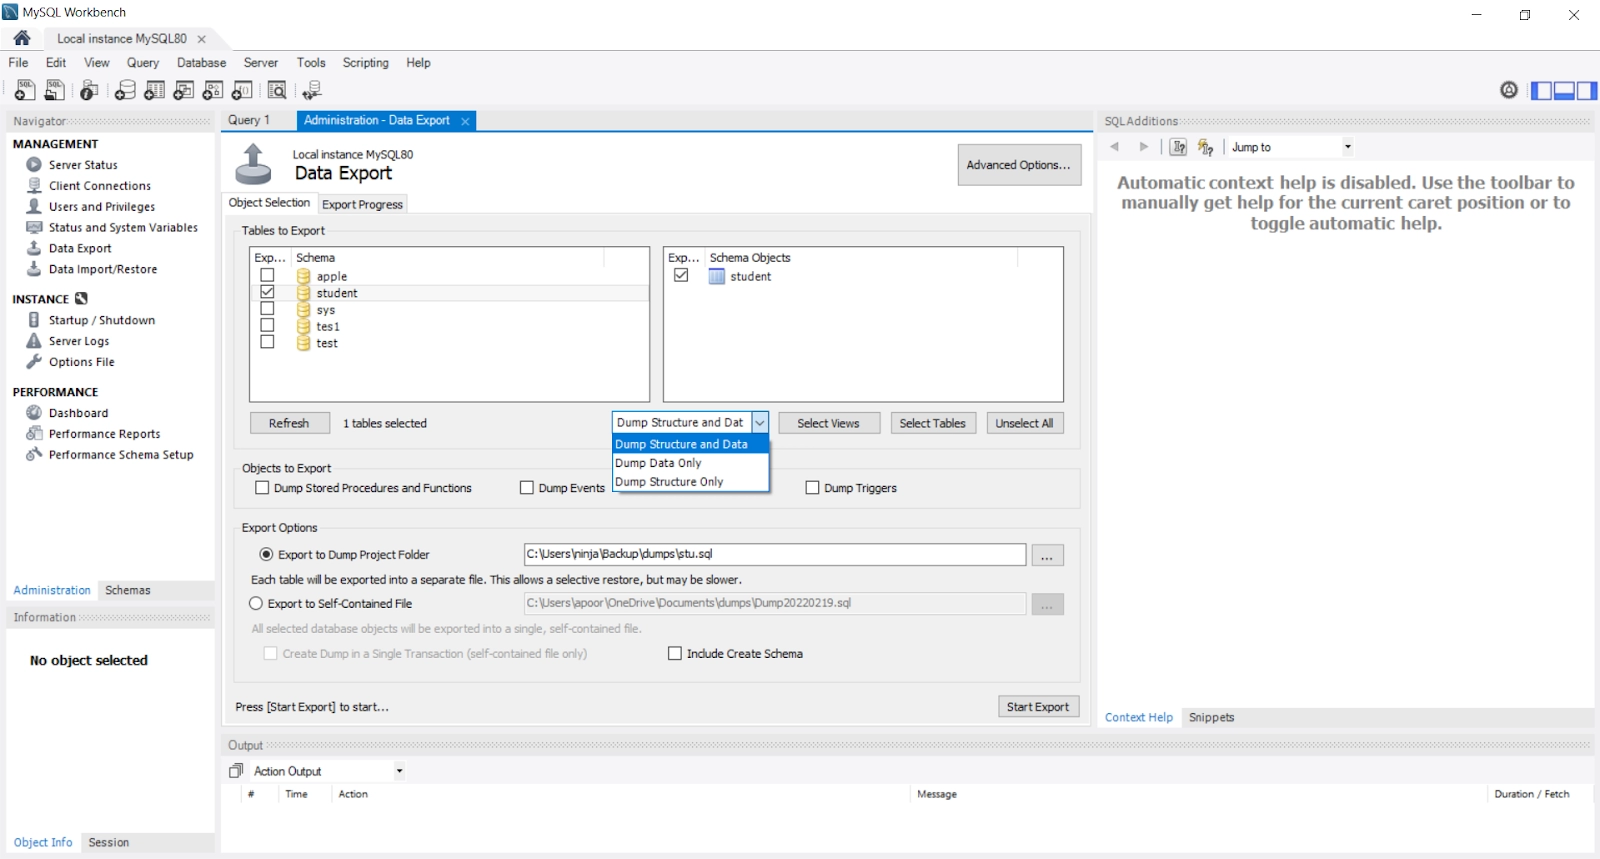
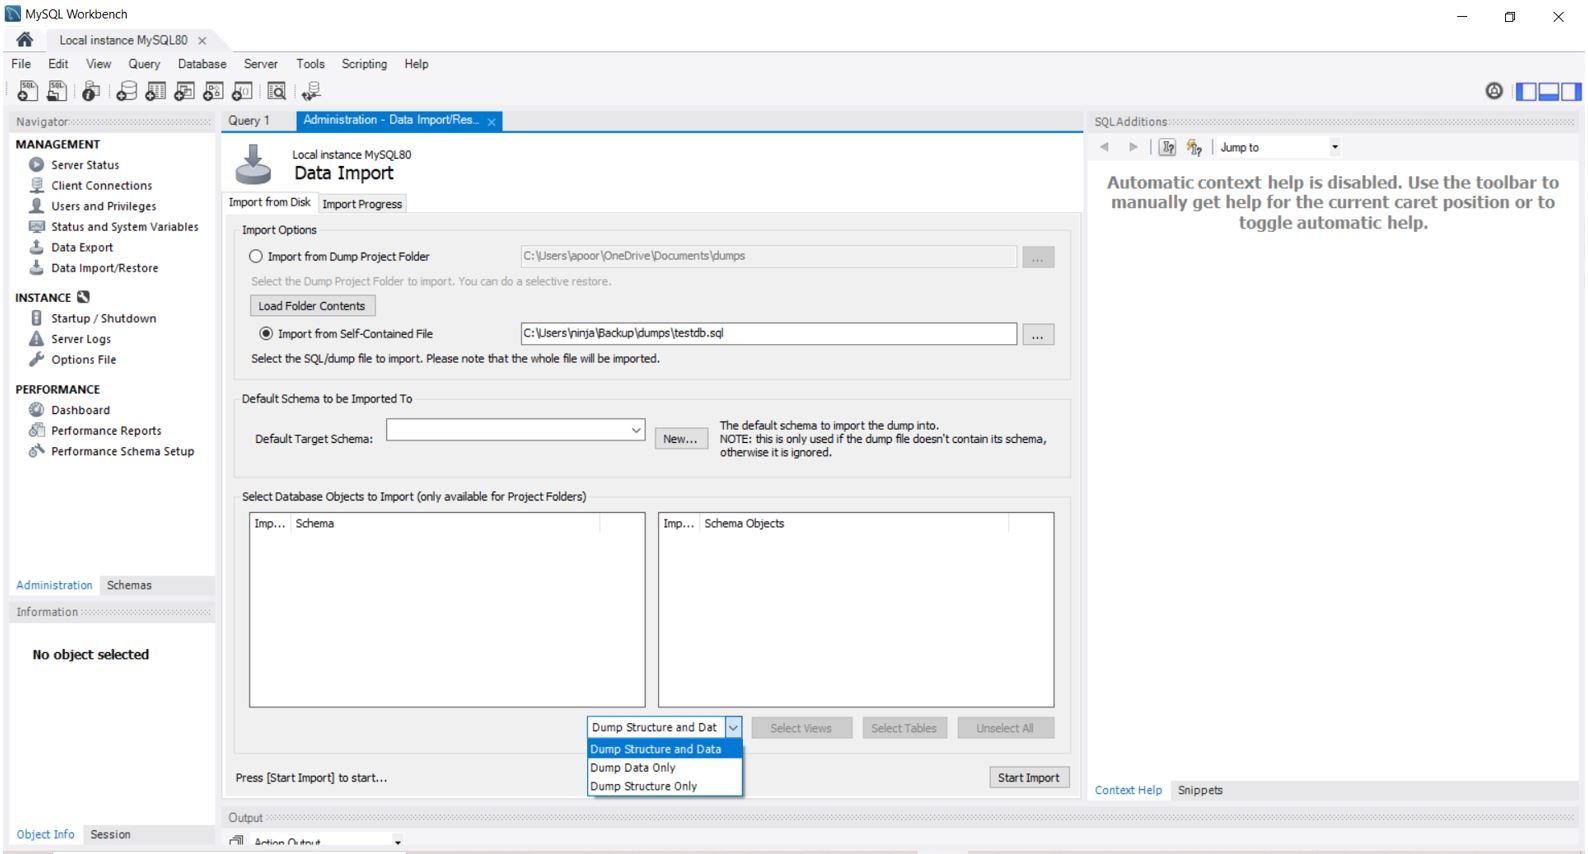
Step 4: After selecting the database, click the drop-down option and select from any of the options available accordingly.
- Dump Data and Structure will save both table structure and data rows.
- Dump Data Only will save only the inserted rows in the tables.
- Dump Structure Only will save only the table structure, which are database columns and data types defined by us.
Step 5: Select 'Export to Dump Project Folder' or 'Export to self-contained File' in the export options.
Then select the export file location; you can also keep it to default.
Step 6: Click the Start export button and see the progress bar and log. You can verify the export files in the document folder of your system.


 8+ registered

