


Introduction
To install the Oracle database on our computer, we need to download the installer from the download page of the Oracle website.
After installing the files in ZIP format, we need to extract them into a specific folder on our system.
The given picture shows the structure of the folder of the Oracle installation files after extracting it from the zip.

To start the installation process, we need to double-click the setup.exe file. There will be 9 steps that are mostly automatically executed.
Recommended topics, Coalesce in SQL and Tcl Commands in SQL
Steps for Installation
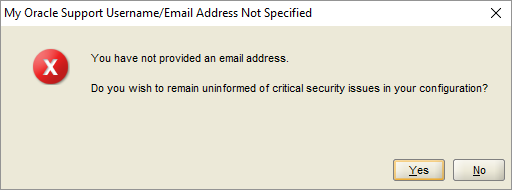
Step 1. The installer asks to provide the email address to get the latest security issues and updates. We will ignore it by clicking the Next button.

The Oracle database installer confirmed an email address because an email address was not provided. We need to click the No button to continue.
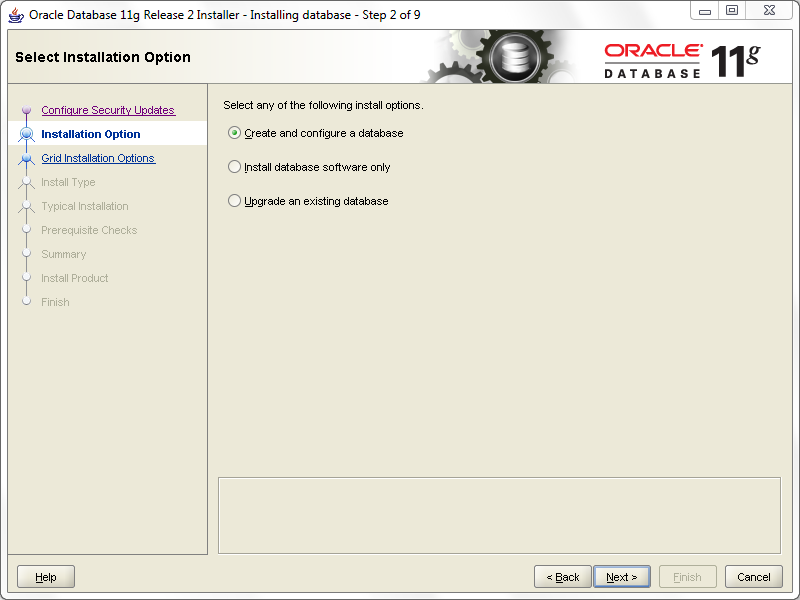
Step 2. In step 2, the Oracle installer provides us with three options. It asks whether we want to create and configure a database, install database software only, or upgrade an existing database. Because we are installing the Oracle database for the first time, we will choose option 1 and click on the Next button.
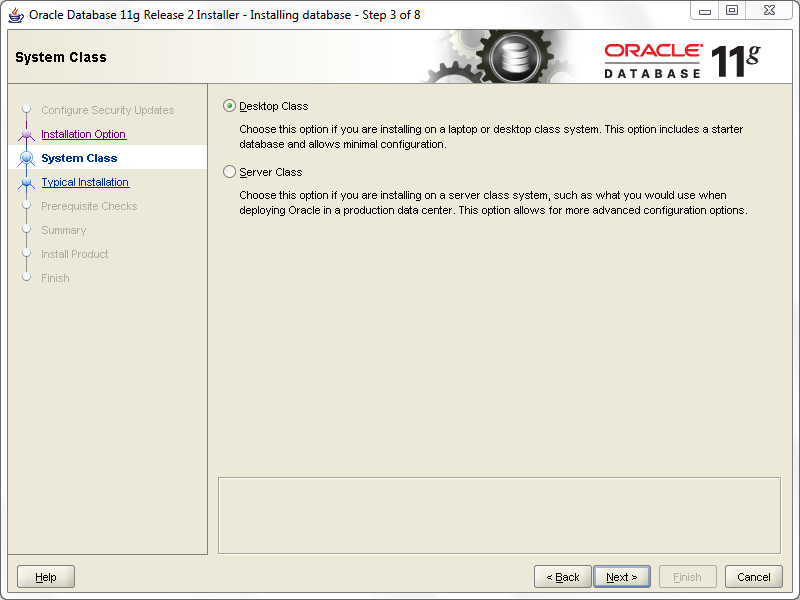
Step 3. The installer allows us to choose the system class. Because we are installing Oracle on our computer, not a server, we will select the first option: desktop-class and click on the Next button.
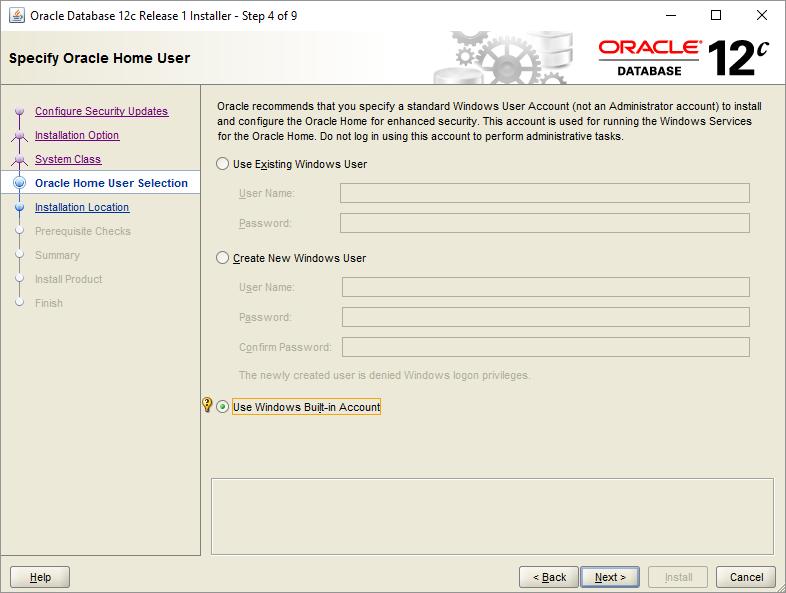
Step 4. This step will specify the Windows user account to install and configure Oracle Home for enhanced security. We will choose the third option: "Use Windows Built-in Account."
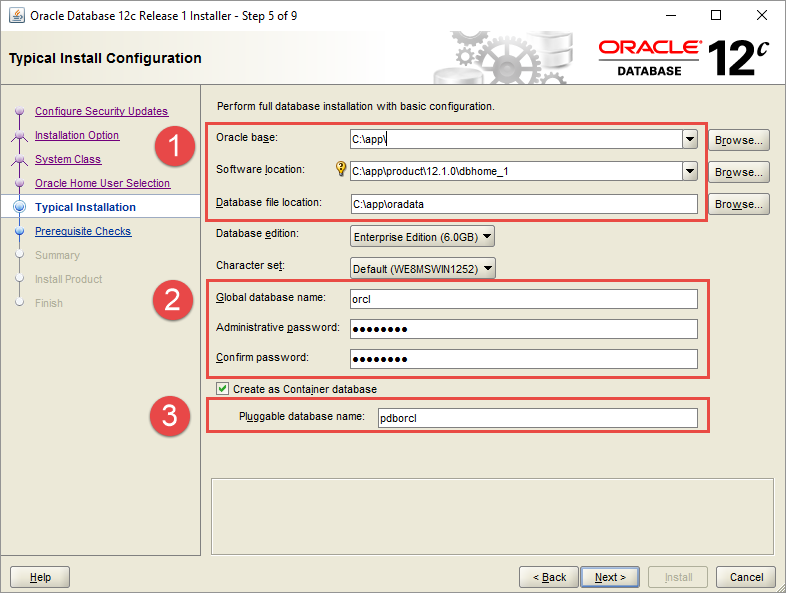
Step 5. In this step, we can:
- Choose the folder on which the Oracle database will be installed.
- Global database name and password.
- Pluggable database name.
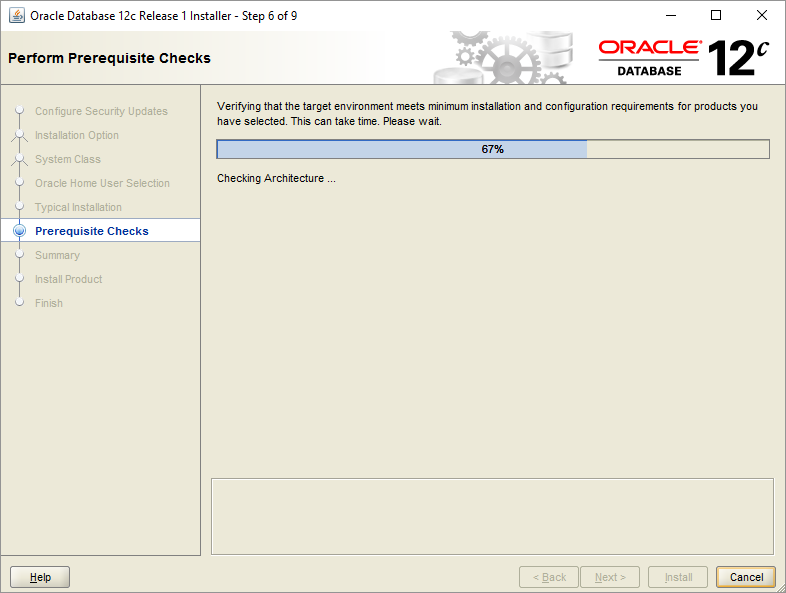
Step 6. The installer will perform a prerequisites check.
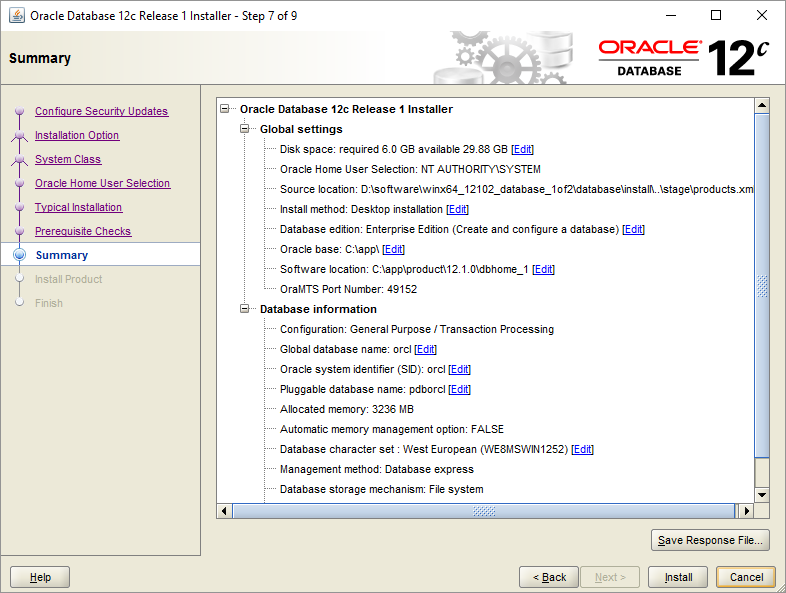
Step 7. The installer shows the summary of the global settings, database information, etc. We need to review the information and click the install button if everything looks good.
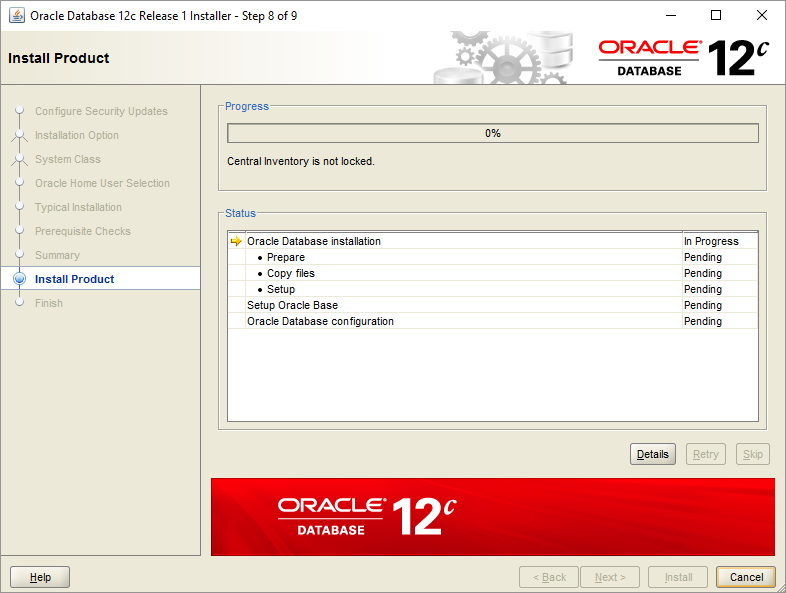
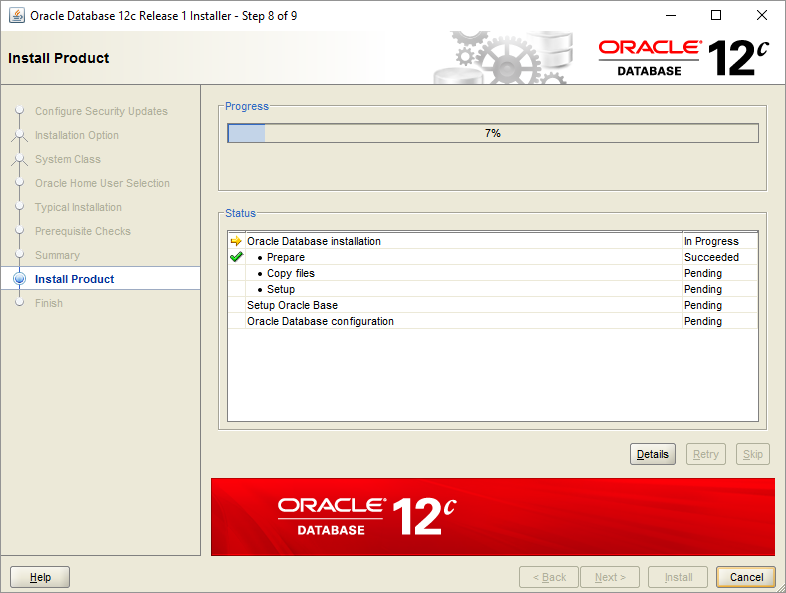
Step 8. The installer will start installing the Oracle database. It will take a few minutes to complete, depending on the computer.
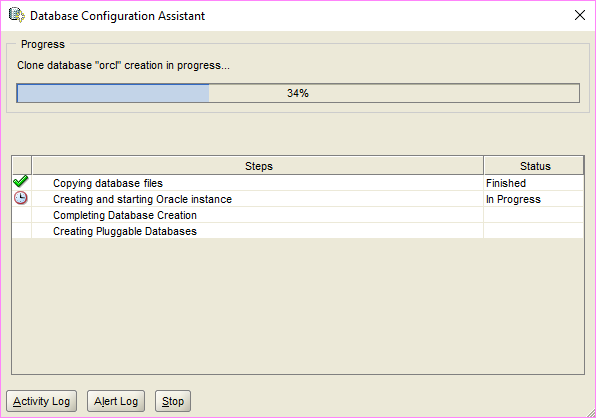
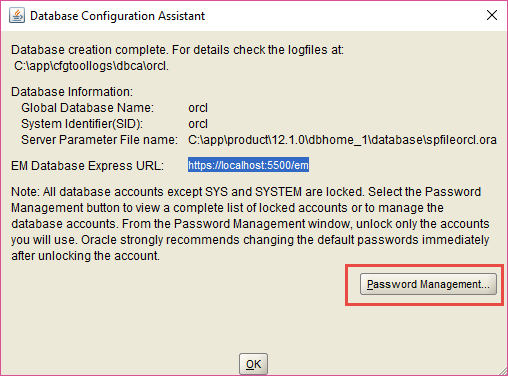
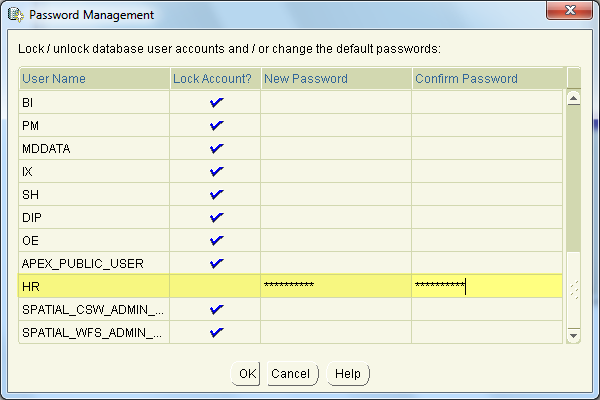
After that, we can see the Database Configuration Assistant window. Click on the Password Management button to enter the password.
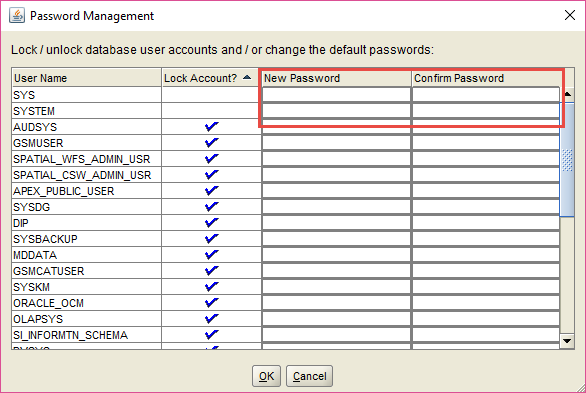
We will also enter the password for hr, SYS and SYSTEM accounts and click on the OK button.
Step 9. The installer will inform you when the installation completes successfully, as shown in the following screenshot. Click on the Close button to close the window.


 8+ registered

