Advantages of Popup Window
The main motive/advantage of using PopupWindow is wide customizability, which means that this element can be filled with whatever you desire. We can use it as a notification element or a dialog box while maintaining complete control over the user interface.
Now let us see the implementation part of PopupWindow with an example given below.
Example Application
In this example, we will be using PopupWindow class. So first, let us find out what PopupWindow class is?
PopupWindow class: It enables a View to be positioned on top of an existing activity. So, It is appropriate for personalized informational messages.
Consider a program with a single button(Click Here To Open PopUp) that, when pressed, launches PopUpWindow in the form of a CardView with text("This is a new Popup Window"). As a result, we'll learn how to invoke the dialog box and handle events within it.
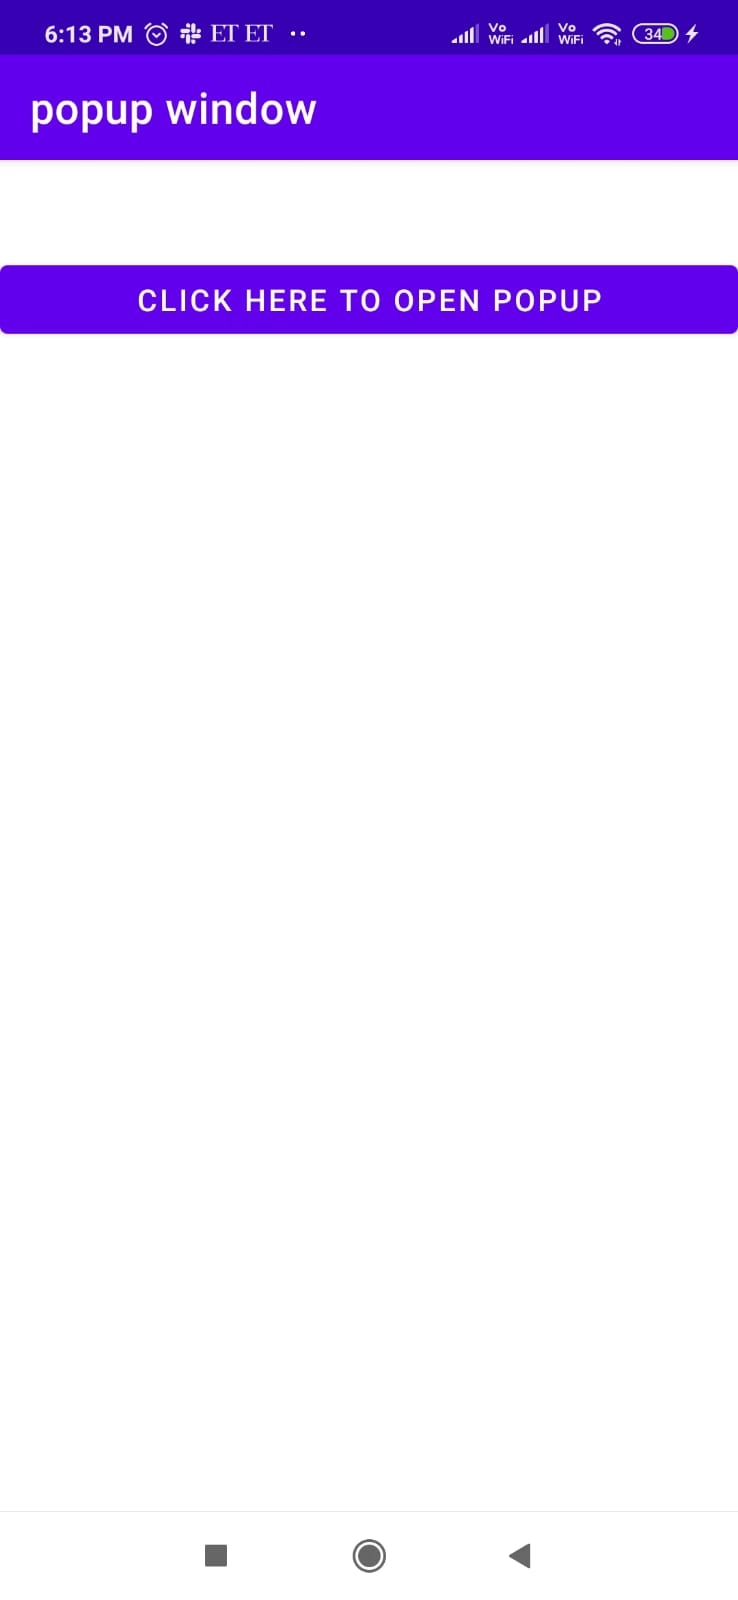
For this open Android Studio, start an empty activity, give a name to your app(Popup Window in our case), and let Android do the Gradle syncing.
Now, to use PopupWindow in our app, import the pop-up window class in Main Activity.
import android.widget.PopupWindow;
Also, add the Motion event class for handling pop-up window events.
import android.view.MotionEvent;
Now, the next step is to edit the activity_main.xml file to make the layout as per desired need.
activity_main.xml:
In this file, we can make alignment for our page(layout file) in our main activity of the program.
<?xml version="1.0" encoding="utf-8"?>
<androidx.constraintlayout.widget.ConstraintLayout xmlns:android="http://schemas.android.com/apk/res/android"
    xmlns:app="http://schemas.android.com/apk/res-auto"
    xmlns:tools="http://schemas.android.com/tools"
    android:layout_width="match_parent"
    android:layout_height="match_parent"
    tools:context=".MainActivity">

    <Button
        android:id="@+id/my_button_onClick"
        android:layout_width="match_parent"
        android:layout_height="wrap_content"
        android:onClick="my_button_onClick_working"
        android:text="@string/click_here_to_open_popup"
        android:layout_marginTop="50dp"
        app:layout_constraintTop_toTopOf="parent" />
</androidx.constraintlayout.widget.ConstraintLayout>
Here we have added only a Button in the main XML file. Now clicking on this button will open up a new Popup Window, So create a new XML file(in res/layout) for this pop-up. We are calling this new pop-up file popup_design.xml.
popup_design.xml:
<?xml version="1.0" encoding="utf-8"?>
<RelativeLayout
    xmlns:android="http://schemas.android.com/apk/res/android"
    android:layout_width="wrap_content"
    android:layout_height="wrap_content"
    android:background="#ECE077">

    <TextView
        android:id="@+id/myTV"
        style="@style/Animation.Design.BottomSheetDialog"
        android:layout_width="wrap_content"
        android:layout_height="wrap_content"
        android:layout_centerInParent="true"
        android:layout_marginStart="20dp"
        android:layout_marginTop="20dp"
        android:layout_marginEnd="20dp"
        android:layout_marginBottom="20dp"
        android:text="@string/this_is_a_a_new_popup_window"
        android:textSize="25sp" />

</RelativeLayout>
Now all that remains is to inflate and show the pop-up window when we actually click the button; for doing this, we will modify the MainActivity.kt file as follows:
MainActivity.kt:
package com.codingninjas.popupwindow

import android.os.Bundle
import android.view.Gravity
import android.view.LayoutInflater
import android.view.View
import android.widget.LinearLayout
import android.widget.PopupWindow
import androidx.appcompat.app.AppCompatActivity

class MainActivity : AppCompatActivity() {
    override fun onCreate(savedInstanceState: Bundle?) {
        super.onCreate(savedInstanceState)
        setContentView(R.layout.activity_main)
    }

    fun my_button_onClick_working(view: View?) {

        // step 1
        val inflater = getSystemService(LAYOUT_INFLATER_SERVICE) as LayoutInflater
        val popupView = inflater.inflate(R.layout.popup_design, null)

        // step 2
        val wid = LinearLayout.LayoutParams.WRAP_CONTENT
        val high = LinearLayout.LayoutParams.WRAP_CONTENT
        val focus= true
        val popupWindow = PopupWindow(popupView, wid, high, focus)

        // step 3
        popupWindow.showAtLocation(view, Gravity.CENTER, 0, 0)

    }
}
First, in the step1 we inflated the layout of our pop-up window, then in step 2, we created our pop-up window with width(wid) and height(high) to fill out as wrap content and val focus as true to let the taps outside the pop-up window dismiss the pop-up. In the final step 3, we will show our pop-up window using popupWindow.showAtLocation().
Note: If you want to close the pop-up even after on click on the pop-window itself, use popupView.setOnTouchListener in the main activity.
Code:
popupView.setOnTouchListener { v, event ->
        popupWindow.dismiss()     // It will dismiss the popup window when tapped in it
        true
    }
Output:
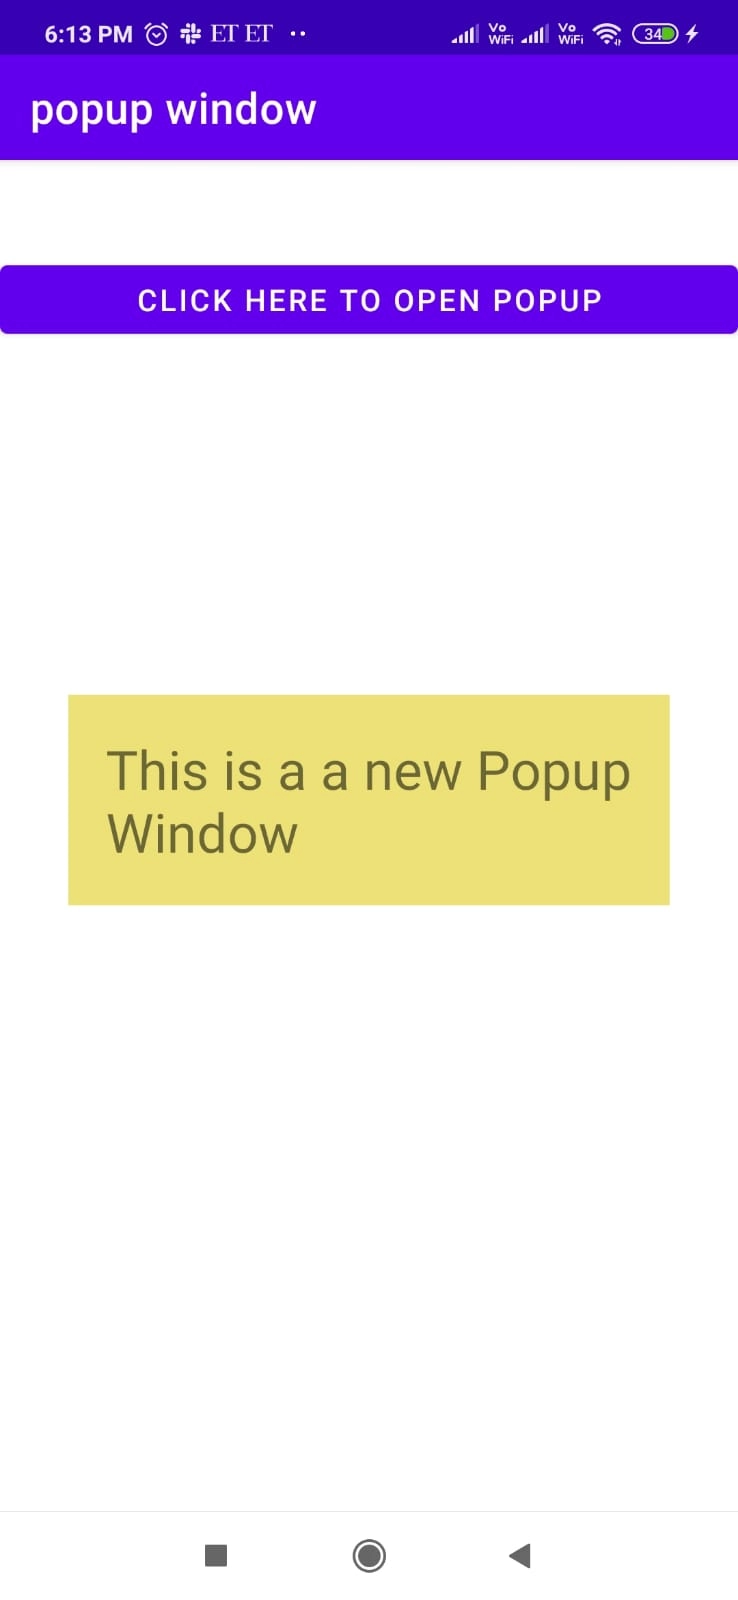
As a result, when you click the button(Click Here To Open PopUp), the pop-up window expands and appears above the main activity, and the pop-up window is dismissed by touching anywhere on the screen(except for the pop-up window itself).
Check this out : usb debugging
Frequently Asked Questions
In Android Studio, what is a pop-up menu?
If space is available, the Android Popup Menu displays the menu below the anchor text; otherwise, it appears above the anchor text, and If you click outside the pop-up menu, it will disappear.
What is Pop View in Android?
A pop animation with a circular dust effect will display when users tap on the view, like the effect created when we uninstall an app from our Android device.
What are the various methods for popping up a brief window above the current Activity screen on Android?
There are different possible ways, which include: Toast class, Dialog class, AlertDialog, ProgressDialog, DatePickerDialog, TimePickerDialog, and of course PopupWindow class.
Conclusion
In this article, we learned about PopupWindow and its implementation. We also infer from this article why Popup Windows can be used rather than other dialog boxes.
We hope this article has helped you enhance your knowledge of the Android UI Landscape layout. If you want to learn more, check out our Android UI and Competitive Programming articles.


 8+ registered

