Creating a Spring Boot Application
This section will create a Spring Boot application to deploy on Tomcat. So, let's create our application by visiting Spring Initializr http://start.spring.io.
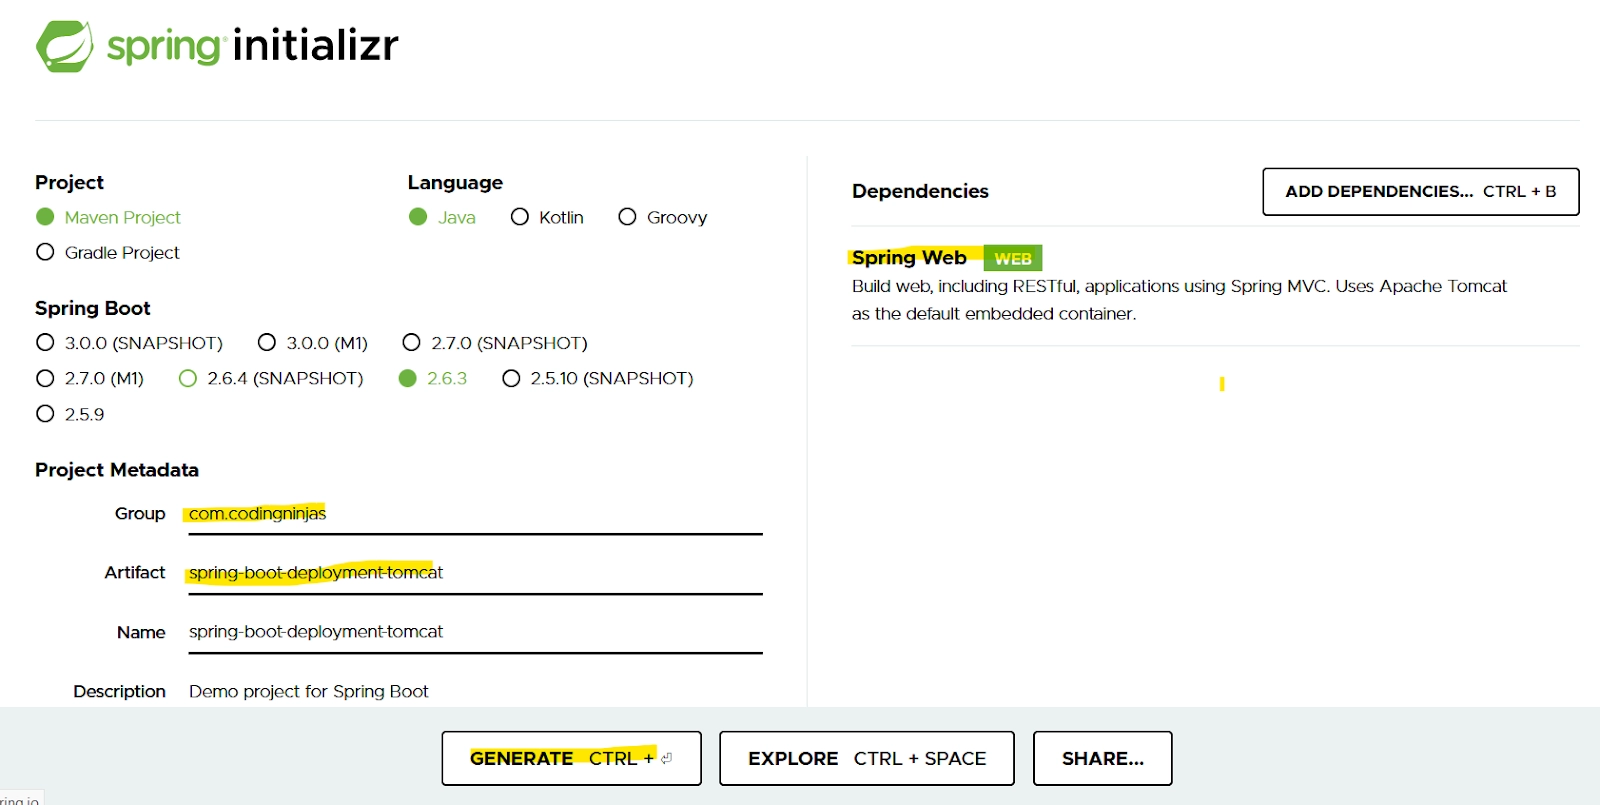
SPRING INITIALIZR
As shown in the above image, we created a Spring project with group com.codingninjas, Artifact spring-boot-deployment-tomcat, and added the Spring Web dependency in our application. Now let’s click on Generate button to download the file for our application.
Now, we will create a TomcatController class inside the package com.codingninjas. Inside TomcatController class we created a method hello() which will return a “Hello world” text.
package com.codingninjas;
import org.springframework.web.bind.annotation.GetMapping;
import org.springframework.web.bind.annotation.RestController;
@RestController
public class TomcatController   {
    @GetMapping("/")
    public String hello()   {
             return "Hello World.";
    }
}

You can also try this code with Online Java Compiler
Please refer to Spring Boot Hello World Example to understand better creating an application using spring boot.
Creating a Spring Boot WAR
Servlet containers expect the java applications to meet some contracts for deploying. For Tomcat, the contract required is the Servlet API 3.0.
To make our application meet this contract, we need to modify our source code. First, we should package a WAR application instead of the JAR. For this, we modify pom.xml with the following code:
<packaging>war</packaging>
Now, let's modify the final name of WAR file to avoid including version numbers.
<build>
    <finalName>${artifactId}</finalName>
    ...
</build>
Then, we will add the Tomcat dependency in our pom.xml:
<dependency>
   <groupId>org.springframework.boot</groupId>
   <artifactId>spring-boot-starter-tomcat</artifactId>
   <scope>provided</scope>
</dependency>
Finally, we will initialize the Servlet API 3.0 context required for Tomcat by implementing the SpringBootServletInitializer interface:
@SpringBootApplication
public class TomcatController extends SpringBootServletInitializer {
}
You can also try this code with Online Java Compiler
Now we will build our deployable Spring Boot WAR application. To do so, we can execute the mvn clean package. After that, our WAR file will be generated at target/spring-boot-deployment-tomcat.war.
Project Deployment using Tomcat
To have our WAR file deployed and running in Tomcat, we need to complete the following steps:
-
First of all, Download Apache Tomcat and unpackage it into a tomcat folder.
- Copy our WAR (spring-boot-deployment-tomcat.war) file from target/spring-boot-deployment-tomcat.war. to the tomcat/webapps/ folder.
-
From a terminal, navigate to tomcat/bin folder and execute
- catalina.bat run (for Windows)
- catalina.sh run (for Unix-based systems)
-
Go to http://localhost:8080/ to see the output.

OUTPUT
With this output, we can conclude that we have successfully deployed our Spring boot Project using Tomcat.
FAQs
1. What are different ways of project deployment using Tomcat?
Ans. There are many ways of project deployment using Tomcat. Some of them are listed below:
- Project deployment using Tomcat from Maven.
- Project deployment using Tomcat with cargo plugin.
- Local Deploy.
- Remote Deploy.
- Project deployment using Tomcat with Eclipse.
- Project deployment using Tomcat with WAR file.
2. What do we mean by Convention over configuration framework?
Ans. Convention over configuration is a software design paradigm used by frameworks to decrease the number of decisions a developer must make without necessarily losing flexibility and following Don't repeat yourself (DRY) principles.
Key Takeaways
In this article, we learned project deployment using Tomcat. We created a simple Spring Boot application to print Hello World. After creating the project, we created the WAR file for our application. Finally, we deployed our Spring Boot Project using Tomcat.
Don't stop here. Check out the articles on Spring Boot Auto-configuration, Spring Boot Hello World Example, Spring Boot Annotations, Spring Boot Multi-Module Project, Spring Boot Packaging, and Spring Boot CLI.
We hope you found this blog helpful. Liked the blog? Then feel free to upvote and share it.


 8+ registered

