


Introduction
In this blog, we will look into Material Bottom Tab Navigation using React Native. You can traverse various paths with animation using a bottom-of-the-screen tab bar with a material design style. Courses are introduced gradually, with screen components not being installed until they are fully focused.
The bottom navigation component from react-native-paper is wrapped in this component. Will not include the react-native-paper library in your bundle if you configure the Babel plugin.
Click on the following link to read further: Hooks in React JS
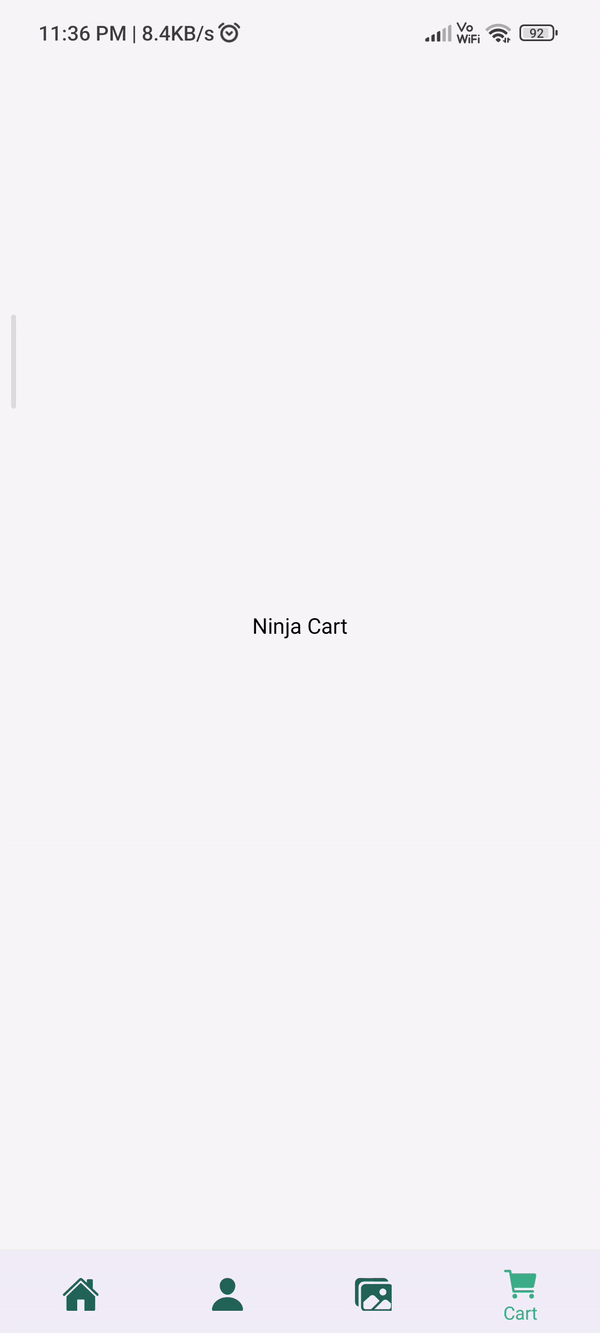
Material Bottom Tab Navigator
The createMaterialBottomTabNavigator function in the react-navigation package is used to make a Bottom Tab Navigator using Material. The material theme tab bar is located at the bottom of the screen. It has a pleasant user interface and allows you to move between several routes with animation. The
Material Bottom Tab Navigator's most notable feature is that courses are "lazyly initialised," meaning that the screen components corresponding to the routes are not mounted until they are focused.
The material style gives the tab bar at the bottom of the screen an extra design effect. The material design encourages you to switch between screens. After the screens have been focused, the tab screen components are mounted.
Installation
Before installing @react-navigation/material-bottom-tabs, make sure you have @react-navigation/native and its dependencies installed:
npm install @react-navigation/material-bottom-tabs react-native-paper react-native-vector-iconsThis API also requires react-native-vector-icons to be installed! If you use the Expo-controlled workflow, it will function without any additional steps. Otherwise, follow these instructions for setup.
Also, Import @react-navigation/material-bottom-tabs to use this tab navigator.
Module Installation
To use the material design navigator, install react-navigation-material-bottom-tabs library as given below.
npm install react-navigation-material-bottom-tabs react-native-paper This library makes use of the react-native-paper bottom navigation component. Installing react-native-vector-icons is also required.
createMaterialBottomTabNavigator(RouteConfigs, MaterialBottomTabNavigatorConfig); Application Development
Step 1: Open your terminal and then run the following command to install expo-cli.
npm install -g expo-cliStep 2: Run the following command for creating a project.
expo init demo-appStep 3: Go to the demo-app folder in your project folder.
cd demo-appStep 4: Run the following command then, to install the required packages as follows.
npm install –save react-navigation-material-bottom-tabs react-native-paper react-native-vector-iconsNow, let's move on to creating our application.


 9+ registered

