Do you think IIT Guwahati certified course can help you in your career?
Introduction
RecyclerView is a ViewGroup that was added to Android Studio to upgrade the functioning of GridView and ListView. It is a container for presenting vast amounts of data sets and is an upgrade on both of them.
Before jumping directly on how Android Studio does this, first knowing the basic knowledge of Kotlin and how to use it is strongly recommended.
So, let us start reading about how the Recycler view works in Android.
Working of Recycler View
RecyclerView adds more additional features to Android that aren't available in ListView or GridView. The ScrollingView interface is implemented by the RecyclerView class, which extends the ViewGroup class. In fact, RecyclerView on Android allows you to create a horizontal, vertical, or Expandable List. It's most useful when dealing with data sets whose constituents(data elements) can change in runtime as a result of user actions or network events.
RecyclerView does not erase an item's view when it scrolls off the screen. It, on the other hand, reuses the view for fresh items that have scrolled across the screen. This reuse greatly increases performance, as well as responsiveness, and lowers the power consumption of your software.
Implementation of Recycler View
To create a simple RecyclerView, three sub-parts must be built, each of which gives the user the required functionalities they need to create a user's own desired layouts.
Card Layout: It is an XML file that will be regarded as an item in the RecyclerView's list.
ViewHolder: TThe ViewHolder is a Java class that keeps track of the card layout views' references that must be dynamically updated during the program's execution by a list of data gathered from web databases or manually entered(Soon we will see an example of Recycler view with user-entered database).
Data Class: The Data class is a custom Java class that serves as a structure for storing data for each RecyclerView item.
Soon enough, we will encounter with RecyclerView.Adapter, LayoutManager, and ItemAnimator, on our way to implementing Recycler view.
RecyclerView.Adapter: Used to take care of data collecting and tie it to the view.
LayoutManager: It Assists with the placement of the elements(particularly items).
ItemAnimator: It Aids in animating elements(particularly items) for typical activities such as item addition and removal.
Let's see how to use all this in our android studio, with a working example given below.
Example Application
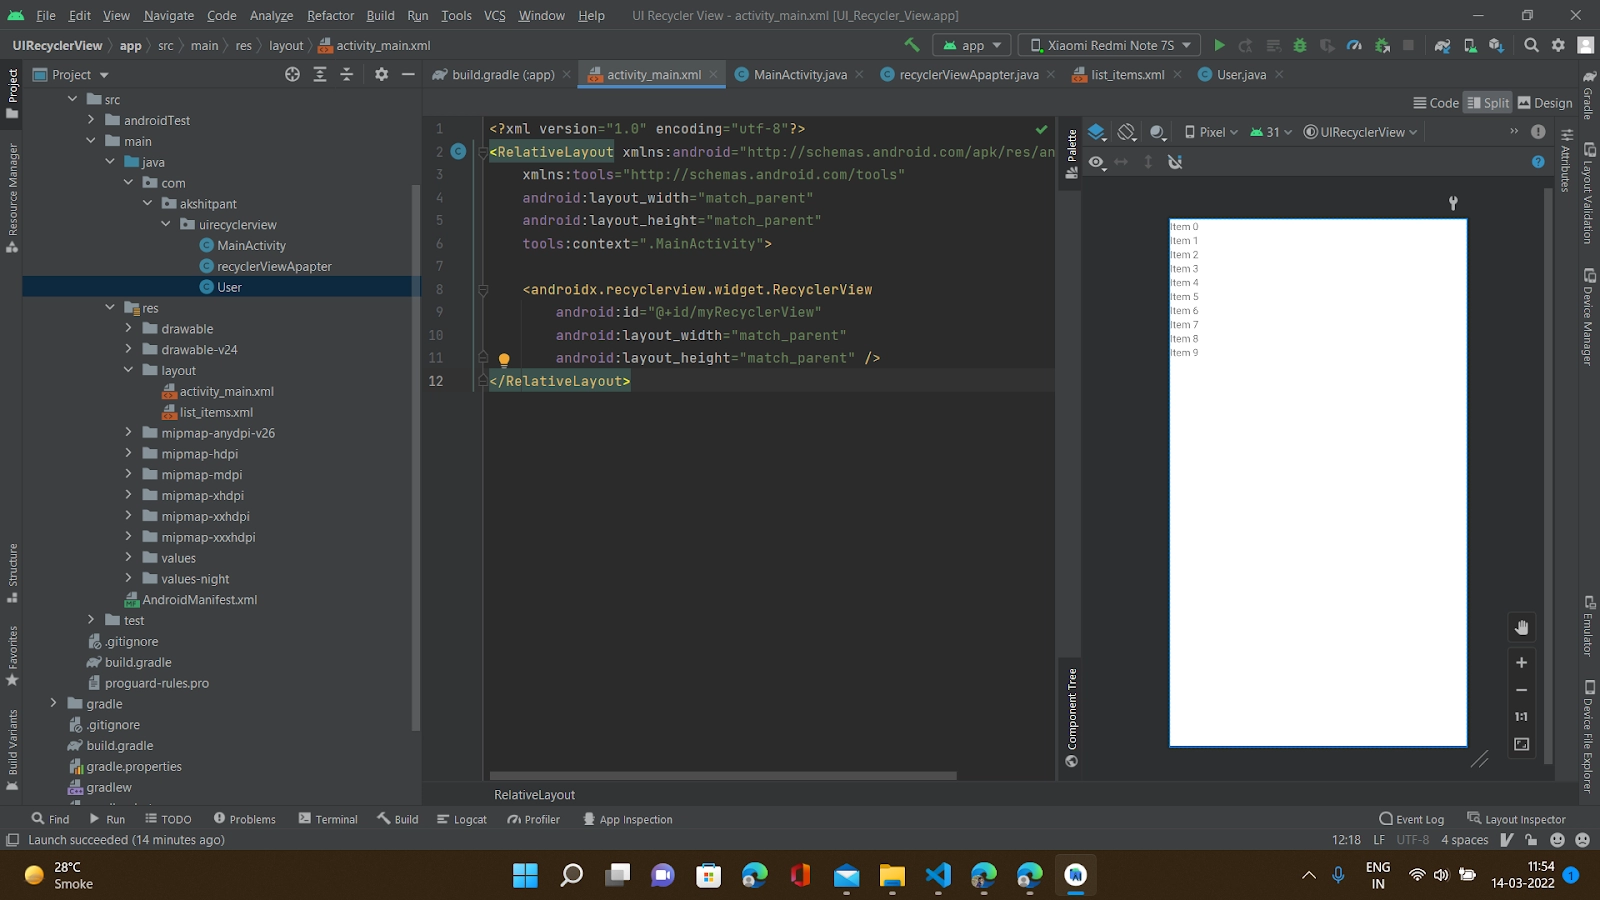
Open Android Studio, start an empty activity, give a name to your app( UI Recycler View in our case), and let Android do the Gradle syncing.
Now, Open build.gradle(:app) in android studio and add this dependency of Recycler view.
The next step is to create a new layout XML file(list_items.xml); for this, right-click on the layout folder and do as shown in the diagram, and enter the file name.
We need an adapter and a model class for working on our project with full functionalities; for this, right-click on the app name, click on New and create adapter(recyclerViewAdapter) and model(User) class.
Now add code to your Main, adapter, model class, and layout file.
MainActivity.kt:
Here, In Main Activity first, we will declare our list(for E_id) and our recyclerView. Then we will call the recycler view from the activity_main.xml file which will be followed by initializing our list. Then we will create a method for setting user data info setUserInfo() and for setting adapter setAdapter(). Then we will set 3 things -> layout manager, item animator, adapter. Next, we will create an instance of our recycler adapter i.e., recyclerViewApapter. And at last, will we pass this list to the adapter in setAdapter().
package com.codingninjas.uirecyclerview
import androidx.appcompat.app.AppCompatActivity
import androidx.recyclerview.widget.RecyclerView
import android.os.Bundle
import com.akshitpant.uirecyclerview.R
import androidx.recyclerview.widget.LinearLayoutManager
import androidx.recyclerview.widget.DefaultItemAnimator
import com.akshitpant.uirecyclerview.recyclerViewApapter
import java.util.ArrayList

class MainActivity : AppCompatActivity() {
    private var userslist      // declare our list(for E_id)
            : ArrayList<User>? = null
    private var recyclerView     // declare our recyclerView
            : RecyclerView? = null

    override fun onCreate(savedInstanceState: Bundle?) {
        super.onCreate(savedInstanceState)
        setContentView(R.layout.activity_main)
        recyclerView =
            findViewById(R.id.myRecyclerView) // calling recycler view from activity_main.xml file

        //initialize out list
        userslist = ArrayList()


        // method create for setting user data info
        setUserInfo()

        // method create for setting adapter
        setAdapter()
    }

    private fun setAdapter() {

        // Now set 3 things -> layout manager, item animator, adapter
        val my_layoutManager = LinearLayoutManager(this, RecyclerView.VERTICAL, false)
        recyclerView!!.layoutManager = my_layoutManager
        recyclerView!!.itemAnimator = DefaultItemAnimator()

        // here we create instance of our recycler adapter i.e., recyclerViewApapter
        val myAdapter = recyclerViewApapter(userslist)
        recyclerView!!.adapter = myAdapter
    }

    private fun setUserInfo() {
        userslist!!.add(User("Coding Ninjas"))
        userslist!!.add(User("John"))
        userslist!!.add(User("Bobby"))
        userslist!!.add(User("Car"))
        userslist!!.add(User("Truck"))
        userslist!!.add(User("Plane"))

        // then pass this list to adapter in setAdapter()
    }
}
recyclerViewAdapter:
import android.view.LayoutInflater;
import android.view.View;
import android.view.ViewGroup;
import android.widget.TextView;

import androidx.annotation.NonNull;
import androidx.recyclerview.widget.RecyclerView;

import java.util.ArrayList;
import java.util.Date;

public class recyclerViewApapter extends RecyclerView.Adapter<recyclerViewApapter.MyViewHolder> {

    private ArrayList<User> userslist;
    //private ArrayList<User> joiningList;

    public recyclerViewApapter(ArrayList<User> userslist) {
        this.userslist = userslist;
       // this.joiningList = joiningList;
    }


    public class MyViewHolder extends RecyclerView.ViewHolder{

        private TextView employeeId;

        public MyViewHolder(final View view) {
            super(view);
            employeeId = view.findViewById(R.id.employeeId);
        }
    }

    @NonNull
    @Override
    public recyclerViewApapter.MyViewHolder onCreateViewHolder(@NonNull ViewGroup parent, int viewType) {

        View itemView = LayoutInflater.from(parent.getContext()).inflate(R.layout.list_items,parent,false);
        return new MyViewHolder(itemView);

        // then move to onBindViewHolder
    }

    @Override
    public void onBindViewHolder(@NonNull recyclerViewApapter.MyViewHolder holder, int position) {

        String name = userslist.get(position).getEmployee_ID();
        holder.employeeId.setText(name);

        // return the count in getItemCount()
    }

    @Override
    public int getItemCount() {
        return userslist.size();
    }
}
In our adapter file, we inflated our view and passed activity context using parent.getContext(). Then moving on to onBindViewHolder, here we can actually change the text of our TextView.
In list_items.xml, we created an EditText and a TextView. This is the basic layout of our items in recycler view.
User:
public class User {
 private String employee_ID;
  public User(String employee_ID) {
        this.employee_ID = employee_ID;
    }

    public String getEmployee_ID() {
        return employee_ID;
    }

    public void setEmployee_ID(String employee_ID) {
        this.employee_ID = employee_ID;
    }
}
This is our model class used for storing and calling out IDs of our item widgets in the recycler view.
Output:
Number of Textviews(Coding Ninjas, John, Bobby, car) are placed in Recycler view as shown in output with the scrolling feature. The properly functioning Recycler view's output, as shown above, could also be achieved using the List view but, the Recycler view provides better efficiency for the scrolling list feature for big databases. The model class is also optional for its functionality but it's a good approach for a developer to make this class.
Frequently Asked Questions
Why is an Adapter required for a RecyclerView? Adapters offer a connection between an app's data set and the views presented in a RecyclerView.
How is the Recycler view the successor of Listview? First of all, It does not erase an item's view when it scrolls off the screen. While scrolling up/down, it Reuses cells. Second, It Removes the link between the list and its container, which means at runtime, we may easily place list items in the various containers.
For an Android RecyclerView control, which two elements are required? Layout Manager and Instantiating of the adapter are the two must elements needed for control in Android's Recycler view.
Conclusion
In this article, we learned about the Recycler view and its implementation. We also infer from this article why the Recycler view is the successor of List views and its advantages. You can head over to our Android Development Course on the Coding Ninjas Website to dive deep into Android Development and build future applications.
We hope this article has helped you enhance your knowledge of the Android UI Gallery view. If you want to learn more, check out our Android UI and Competitive Programming articles. Do upvote this article to help other ninjas grow.


 8+ registered

