The Architecture of Selenium Grid
Selenium Grid has Hub and Nodes Architecture.

Hub
- Hub is the central point into which we load your tests.
- A grid should have only one hub.
- Hub can be launched only on a single machine, let's say, a computer whose O.S is Windows 7 and whose browser is Internet Explorer.
- The machine containing the hub is where tests will be run, but we will see the browser being automated on the node.
Nodes
- The Nodes are Selenium instances which will execute the tests we loaded on the hub.
- A grid can have more than one node.
- The Nodes can be launched on multiple machines with different platforms and browsers.
- The machines which are running the nodes need not be on the same platform as the hub.
Setup of Selenium Grid
Configuring the Hub
Step 1 − First, download the latest Selenium Server standalone JAR file by clicking on the version.
Step 2 − Store the jar file on any of the drives. Open the cmd. Register the hub through cmd. Enter the command java -jar selenium-server-standalone-3.5.3.jar -role hub. Now, this command will treat the machine as a hub.

From the above, we observe that the address of the hub is http://192.168.1.6:4444/grid/register. Here the port number is 4444, where the hub resides, and we need to register the hub with these nodes.
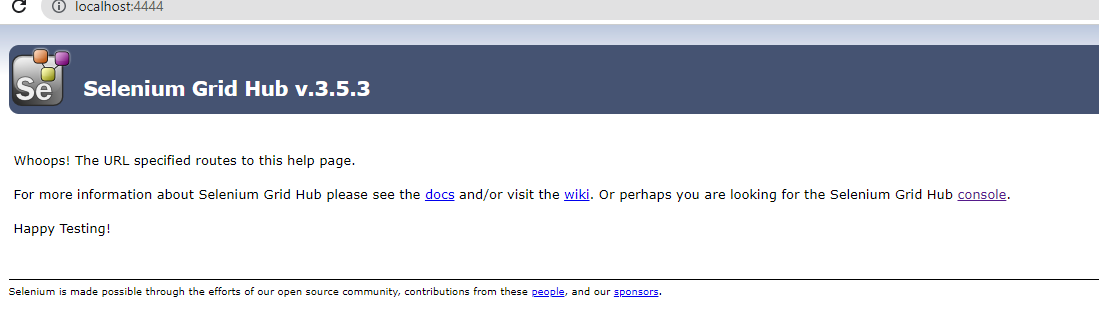
Step 3 - Now click on the 'console' link and then click on the 'view config'. There the config of the hub would be displayed as follows. Till now, we haven't got any nodes, hence we will not be able to see the details of the nodes.

Configuring the Nodes
Step 1 − Login to the node (where you would like to execute the scripts) and place the 'selenium-server-standalone-3.5.3' in a folder. We have to point to the selenium-server-standalone JAR while launching the nodes.
Step 2 − Launch Firefox Node using the following below command.
java -jar E:\selenium-server-standalone-3.5.3.jar
-role node -hub http://192.168.1.6:4444/grid/register.
-browser browserName = firefox -port 5555
Please note here,
- E:\selenium-server-standalone-3.5.3.jar : Location of the Selenium Server Standalone Jar File(on the Node Machine)
- http://192.168.1.6:4444: IP Address of the Hub, and 4444 is the port of the Hub
- browserName = firefox, which is the parameter to specify the Browser name on Nodes
- 5555 = It is the port on which Firefox Node will be running.
Step 3 - After executing these commands, come back to the Hub. Navigate to the URL: http://192.168.1.6:4444, and the Hub will now display the node attached to it.
Step 4 - Similarly, we can attach the remaining nodes.
Check this out : Xpath in Selenium
Frequently Asked Questions
How are Selenium Grid and Selenium Webdriver different?
Selenium Grid is part of Selenium to run automated test scripts on different machines and different browsers. In comparison, Selenium Webdriver is a framework where it is used to automate the test scripts where these test scripts could be executed on different browsers.
What is a timeout() in Selenium Grid?
The timeout in seconds is the time before which the hub automatically releases a node which hasn't received any request for more than the specified number of seconds.
What is the format of config file in Selenium Grid?
The config file in Selenium Grid is JSON format.
How can we check if Selenium Grid is running or not?
By typing http://localhost:4444/grid/console in any web browser and then clicking on the View Config link, which pulls up a detailed configuration window with data that we succeeded in launching a Selenium hub
Conclusion
In this blog, we started with the Selenium Grid introduction. Then we discussed the uses of Selenium Grid. We have also seen the architecture of the selenium grid with the help of hub and nodes. In the end, we had a step-by-step discussion of the setup of the Selenium grid in our machines.
We hope that this blog helped you enhance your knowledge in getting started with Selenium Grid and understanding its architecture. Learning never stops, and to learn more and become more skilled, head over to our practice platform Coding Ninjas Studio, to practice top problems attempt Mock Tests, read informative blogs, and interview experiences. Do upvote our blog to help other ninjas grow.
Happy Learning!


 9+ registered

