Table of contents
1.
Introduction
2.
Emails in Android
2.1.
Intent Object for Sending Email
2.1.1.
For Action In Intent Object
2.1.2.
For MIME Type In Intent Object
2.1.3.
For Extras In Intent Object
3.
Example Application
4.
FAQs
5.
Key Takeaways 
Last Updated: Mar 27, 2024

Sending Emails In Android

Author Akshit Pant
0 upvote
Career growth poll
Do you think IIT Guwahati certified course can help you in your career?

Introduction

Email is the electronic transmission of messages from one system user to one or more recipients through a network.

In this blog, we will be learning about how to send an email on Android, Action intent type, MIME meaning, and much more.

Before jumping directly on how Android Studio does this, first knowing the basic knowledge of Kotlin and how to use it is strongly recommended.

So, let us start reading about how sending of emails works on Android.

Emails in Android

Before you begin your email activity, you must first understand the operation of Email with Intent. Within the application or outside the application, Intent transports data from one component to another.

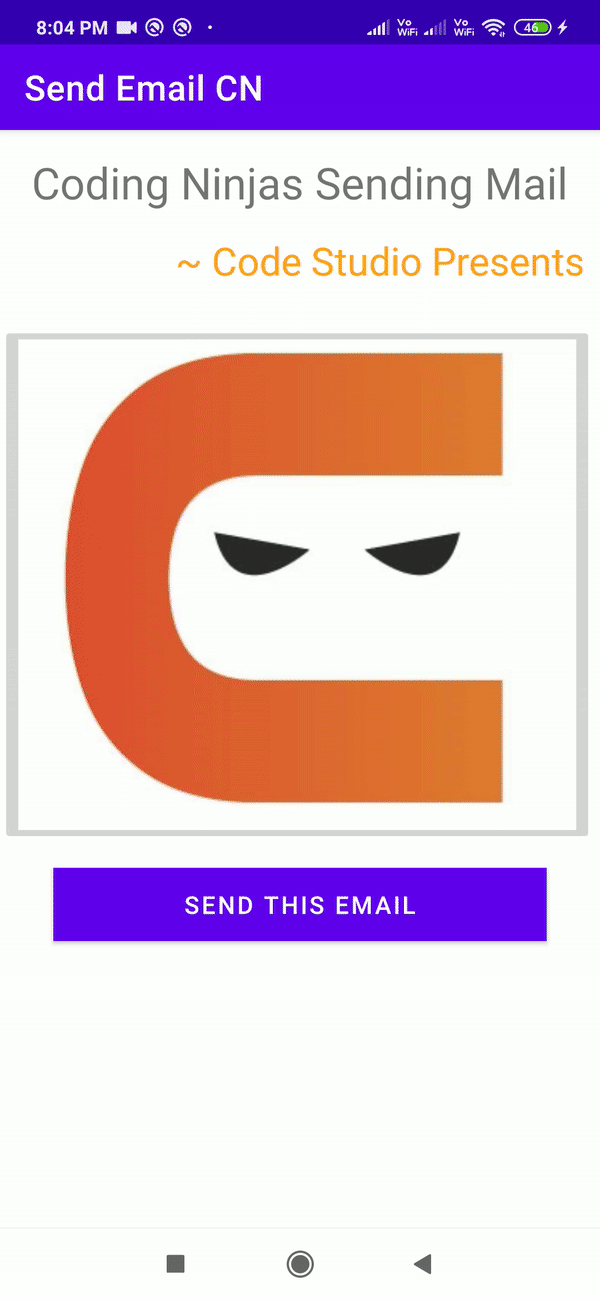
You don't have to build an email client from the ground up to send an email from your app; instead, you may utilize one that already exists, such as Android's default Email app, Gmail, Outlook, K-9 Mail, and so on. To accomplish this, we'll need to create an Activity that launches an email client with the appropriate action and data based on an implicit Intent. In this example(later in this blog), we'll use an Intent object to send an email from our app, which will start with existing email clients.

You can also read about, android operating system

Intent Object for Sending Email

The sections below explain the various aspects of our Intent object that are required to send an email.

For Action In Intent Object

The ACTION_SEND action will be used to launch an email client installed on our Android device. The syntax for creating an intent using the ACTION_SEND action is as follows.

Syntax:

Intent emailIntent = new Intent(Intent.ACTION_SEND);

So, we can use the following as per the required action type.

  • ACTION_SENDTO (use it for no attachment) 
  • ACTION_SEND (use it for one attachment) 
  • ACTION_SEND_MULTIPLE (use it for multiple attachments)

For MIME Type In Intent Object

To send an email we need to specify mailto: as URI using the setData() method and MIME type/data type will be set to text/plain using setType() method as follows:

Syntax:

emailIntent.setData(Uri.parse("mailto:"));
emailIntent.setType("text/plain");

For Extras In Intent Object

Android includes a built-in capability for adding TO, SUBJECT, CC, and TEXT fields which can be attached to the Intent before sending the Intent to the targeted email client. We can include the following extra fields in our Email as shown below.

  • Intent.EXTRA_EMAIL: All "To" recipient email addresses are stored in this string array.
  • Intent.EXTRA_CC: All "CC" recipient email addresses are stored in this string array.
  • Intent.EXTRA_BCC: All "BCC" recipient email addresses are stored in this string array.
  • Intent.EXTRA_SUBJECT: The email subject as a string.
  • Intent.EXTRA_TEXT: A string containing the Email's body.
  • Intent.EXTRA_STREAM: Uri directing attention to the attachment. Instead, this should be an ArrayList containing multiple Uri objects If we are using the ACTION_SEND_MULTIPLE action. 
  • EXTRA_TITLE: When used with an ACTION_CHOOSER, a CharSequence dialog title is sent to the user.

Here's the syntax of how to add extra data to your Intent.

Syntax:

myEmailIntent.putExtra(Intent.EXTRA_EMAIL  , new String[]{"enter Recipient here"});
myEmailIntent.putExtra(Intent.EXTRA_SUBJECT, "type subject here");
myEmailIntent.putExtra(Intent.EXTRA_TEXT   , "content of Message Body");

Now, let us see the implementation part of Sending Emails with a working example given below.

Example Application

The example below demonstrates how to use the Intent object to open an Email client and send an email to the specified recipients.

So open up  Android Studio, start an empty activity, give a name to your app(Send Email CN in our case), and let Android do the Gradle syncing.

Now make the activity_main.xml file as per the need of your desired layout.

Code:

<?xml version="1.0" encoding="utf-8"?>
<androidx.constraintlayout.widget.ConstraintLayout xmlns:android="http://schemas.android.com/apk/res/android"
    xmlns:tools="http://schemas.android.com/tools"
    android:layout_width="match_parent"
    android:layout_height="match_parent"
    tools:context=".MainActivity">

    <LinearLayout
        android:layout_width="match_parent"
        android:layout_height="match_parent"
        android:orientation="vertical" >

        <TextView
            android:id="@+id/tv_heading"
            android:layout_width="wrap_content"
            android:layout_height="wrap_content"
            android:text="@string/coding_ninjas_sending_mail"
            android:layout_gravity="center"
            android:layout_marginTop="15dp"
            android:textSize="25sp" />

        <TextView
            android:id="@+id/tv_heading2"
            android:layout_width="wrap_content"
            android:layout_height="wrap_content"
            android:text="@string/code_studio_presents"
            android:layout_gravity="end"
            android:layout_marginTop="15dp"
            android:layout_marginEnd="10dp"
            android:textColor="#FFA41E"
            android:textSize="22sp" />

        <ImageButton
            android:layout_width="wrap_content"
            android:layout_height="wrap_content"
            android:layout_marginTop="25dp"
            android:id="@+id/my_img_cn"
            android:src="@drawable/my_img" />

        <Button
            android:id="@+id/bttn_send_email"
            android:background="@color/design_default_color_on_primary"
            android:layout_width="match_parent"
            android:layout_marginStart="35dp"
            android:layout_marginEnd="35dp"
            android:layout_height="wrap_content"
            android:layout_marginTop="15dp"
            android:text="@string/send_this_email"/>

    </LinearLayout>
</androidx.constraintlayout.widget.ConstraintLayout>

strings.xml

<resources>
    <string name="app_name">Send Email CN</string>
    <string name="coding_ninjas_sending_mail">Coding Ninjas Sending Mail</string>
    <string name="code_studio_presents">~ Code Studio Presents</string>
    <string name="send_this_email">Send this Email</string>
</resources>

MainActivity.kt

package com.codingninjas.sendemailcn

import android.content.ActivityNotFoundException
import android.content.Intent
import android.net.Uri
import android.os.Bundle
import android.util.Log
import android.view.View
import android.widget.Button
import android.widget.Toast
import androidx.appcompat.app.AppCompatActivity

class MainActivity : AppCompatActivity() {
    override fun onCreate(savedInstanceState: Bundle?) {
        super.onCreate(savedInstanceState)
        setContentView(R.layout.activity_main)
        val bttn_send_email = findViewById<View>(R.id.bttn_send_email) as Button
        bttn_send_email.setOnClickListener { sendEmail() }
    }

    protected fun sendEmail() {
        Log.i("Send email", "")
        val TO = arrayOf("")
        val CC = arrayOf("")
        val my_email_Intent = Intent(Intent.ACTION_SEND)
        my_email_Intent.data = Uri.parse("mailto:")
        my_email_Intent.type = "text/plain"
        my_email_Intent.putExtra(Intent.EXTRA_EMAIL, TO)
        my_email_Intent.putExtra(Intent.EXTRA_CC, CC)
        my_email_Intent.putExtra(Intent.EXTRA_SUBJECT, " Enter Your subject")
        my_email_Intent.putExtra(Intent.EXTRA_TEXT, "Email message goes here")
        try {
            startActivity(Intent.createChooser(my_email_Intent, "Send mail using..."))
            finish()
            Log.i("Finished sending email", "")
        } catch (ex: ActivityNotFoundException) {
            Toast.makeText(
                this@MainActivity,
                "Please install email client first",
                Toast.LENGTH_SHORT
            ).show()
        }
    }
}

Here we have given sendEmail() method to onCreate() so that in send email method, we can carry out all of the functionalities of our Email that needs to be sent.

Note: You'll need to have an email client installed on your device, such as Gmail (which comes loaded by default with every Android version).

Now run this code in your Android Studio and connect it with your emulator.
 

Output:

Now press the SEND THIS EMAIL button to get a list of all the email clients that have been installed. You can send your Email using one of the email clients from the list. To send my Email, I'll use the Gmail client, which has all of the default fields available, as shown below in the GIF(Output). Here From: will be the default email address associated with your Android smartphone.

You can change either of the default fields before sending your Email to the specified recipients using the send email button.

FAQs

  1. In Android Studio, how can I open the email app?
     By configuring your email address with Email inbuilt with Email, you can open an email client on an emulator. The Intent will then open and send mail when called.
  2. What is the best way to transmit Intent to another app?
    When you create an intent, you must tell it what action you want it to take. To communicate data from one activity to another, Android employs the action ACTION_SEND. Even across process boundaries, you must define the data as well as its kind(MIME).
  3. What is the difference between an Email and a Gmail?
    Email is the electronic messaging system that allows you to send and receive text, graphics, photos, and videos. On the other hand, Gmail is an email platform that allows you to send and receive emails. We have used Gmail as an email client in this blog since it's preinstalled on our device.

Key Takeaways 

This article taught us how to send emails in Android and its implementation in Android.
You can head over to our Android Development Course on the Coding Ninjas Website to dive deep into Android Development and build future applications.
We hope this article has helped you enhance your knowledge of Email Sending, Intent object, and email clients. If you want to learn more, check out our Programming Fundamentals and Competitive Programming articles. Do upvote this article to help other ninjas grow.

Live masterclass