Intent Object
By calling the Android's built-in SMS capabilities, you can utilize Android Intent to send SMS. This section illustrates the various aspects of our Intent object that are required to send an SMS.
Intent Object: For Action to Send SMS
The ACTION_VIEW action will be used to launch an SMS client that is installed on our Android smartphone. The syntax for creating an intent with the ACTION_VIEW action is as follows.
Syntax:
Intent my_smsIntent = new Intent(Intent.ACTION_VIEW);
Intent Object: For Data/Type to Send SMS
To send an SMS, use the setData() method to specify smsto: as the URI, and the setType() method to specify the data type as vnd.android-dir/mms-sms, as shown below.
Syntax:
my_smsIntent.setData(Uri.parse("smsto:"));
my_smsIntent.setType("vnd.android-dir/mms-sms");
Intent Object: For Extra to Send SMS
To send an SMS, Android provides built-in support for adding a phone number and a text message, as shown below.
Syntax:
smsIntent.putExtra("address"  , new String("01234567;12457955"));
smsIntent.putExtra("sms_body"  , "Text SMS sending to Rahul");
Note: Here, address and sms_body are case-sensitive and should only be entered in lowercase letters. We can specify multiple numbers in a single string, but they must be separated by a semi-colon (;).
Let's see the use of these discussed methods and attributes with a working example given below.
Also Read, android operating system
Example Application
The example application below demonstrates how to use the Intent object to launch an SMS client and send an SMS to the specified recipients.
Open Android Studio, start an empty activity, give a name to your app(SMS Sending CN in our case), and let Android do the Gradle syncing.
Now, start working on the studio by editing the activity_main.xml file.
Code:
<?xml version="1.0" encoding="utf-8"?>
<RelativeLayout xmlns:android="http://schemas.android.com/apk/res/android"
    xmlns:tools="http://schemas.android.com/tools"
    android:layout_width="match_parent"
    android:layout_height="match_parent"
    tools:context=".MainActivity">

    <TextView
        android:id="@+id/tv_heading"
        android:layout_width="match_parent"
        android:layout_height="wrap_content"
        android:layout_marginEnd="10dp"
        android:gravity="end"
        android:text="@string/code_studio_presents"
        android:textColor="#FFA92B"
        android:textSize="25sp" />

    <ImageView
        android:id="@+id/iv_CN_image"
        android:layout_width="wrap_content"
        android:layout_height="wrap_content"
        android:layout_below="@+id/tv_heading"
        android:layout_centerHorizontal="true"
        android:layout_marginTop="48dp"
        android:src="@drawable/my_img" />

    <Button
        android:id="@+id/bttn_send_mail"
        android:layout_width="match_parent"
        android:layout_height="wrap_content"
        android:layout_below="@+id/iv_CN_image"
        android:layout_marginTop="50dp"
        android:gravity="center_horizontal"
        android:padding="15dp"

        android:text="Send Mail" />

</RelativeLayout>
This XML code will result in Button for the SMS Sending option with Textview and Imageview for styling.
MainActivity.kt
package com.codingninjas.smssendingcn

import android.content.ActivityNotFoundException
import android.content.Intent
import android.net.Uri
import android.os.Bundle
import android.util.Log
import android.view.View
import android.widget.Button
import android.widget.Toast
import androidx.appcompat.app.AppCompatActivity

class MainActivity : AppCompatActivity() {
    override fun onCreate(savedInstanceState: Bundle?) {
        super.onCreate(savedInstanceState)
        setContentView(R.layout.activity_main)
        val working_bttn = findViewById<View>(R.id.bttn_send_mail) as Button
        working_bttn.setOnClickListener { sendSMS() }
    }

    protected fun sendSMS() {
        Log.i("Send SMS", "")
        val my_Intent_smsMssg = Intent(Intent.ACTION_VIEW)
        my_Intent_smsMssg.data = Uri.parse("smsto:")
        my_Intent_smsMssg.type = "vnd.android-dir/mms-sms"
        my_Intent_smsMssg.putExtra("address", getString("Coding Ninjas Author"))
        my_Intent_smsMssg.putExtra("sms_body", "This is my demo text to be sent ")
        try {
            startActivity(my_Intent_smsMssg)
            finish()
        } catch (ex: ActivityNotFoundException) {
            Toast.makeText(
                this@MainActivity,
                "SMS Sending faild, please try again", Toast.LENGTH_SHORT
            ).show()
        }
    }

    private fun getString(s: String): String? {
         return "Coding Ninjas Author";
    }
}
Now, run this code on your Android device.
Output:
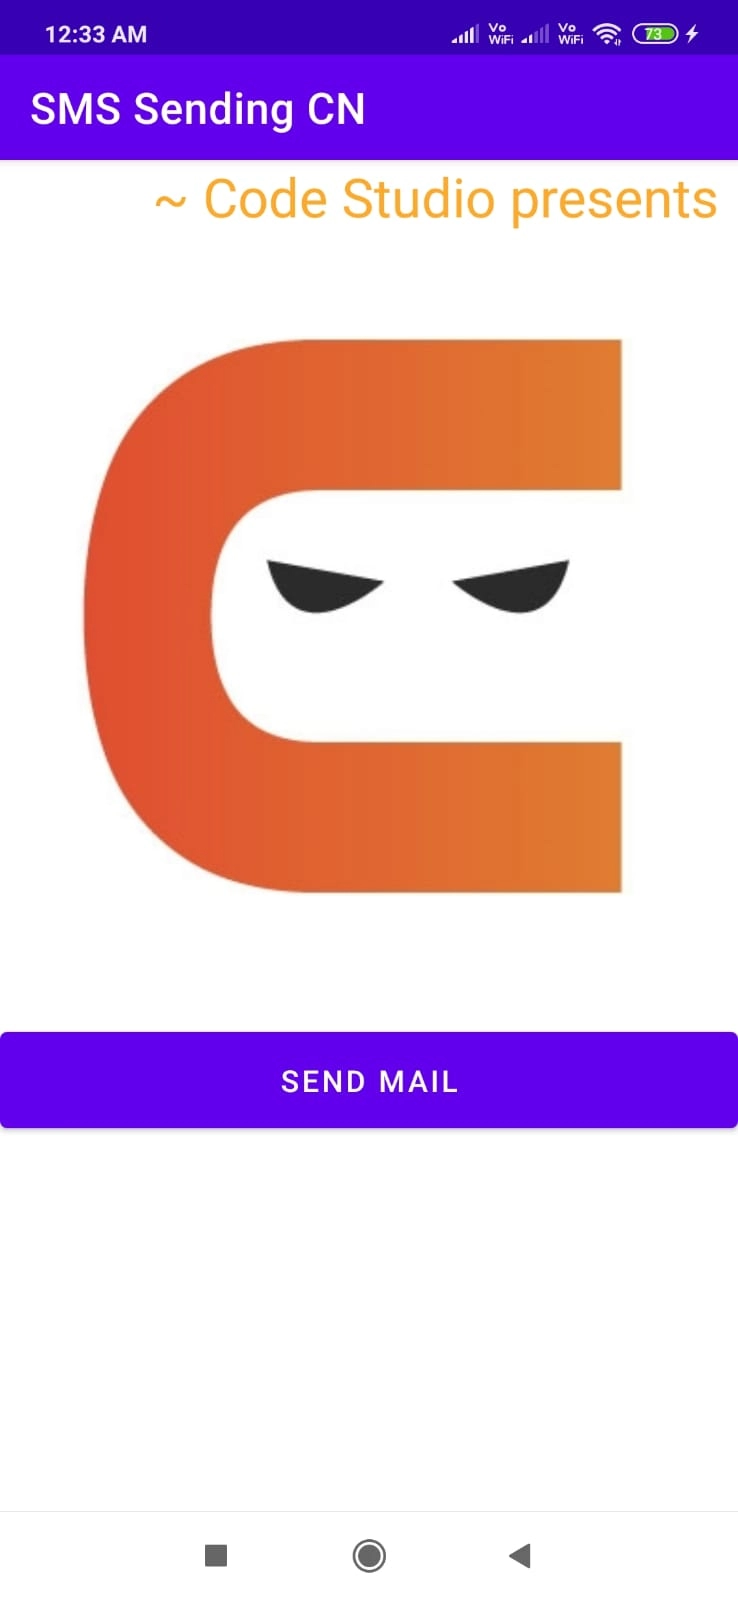
After the launch of our app, The following screen(image 1) will be displayed on the mobile device.
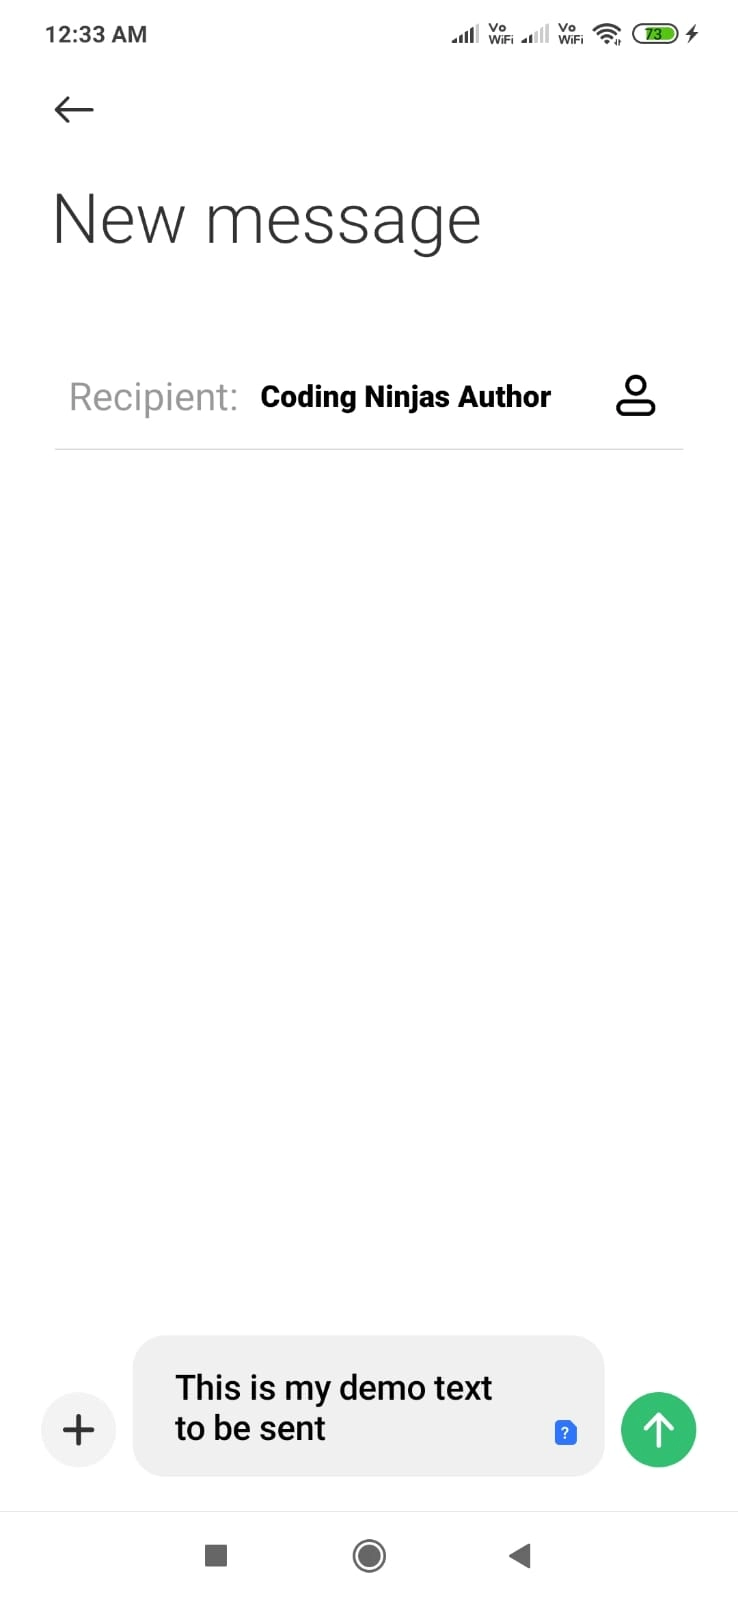
Now use SEND MAIL button to open Android's built-in SMS clients, which are shown in the output(image 2). We can change either of the default fields before sending our SMS to the specified recipient using the send SMS button.
Frequently Asked Questions
How can I write my own SMS client?
If you want to write your own SMS client then, You can accept a list of SMS separated by commas and parse them into an array string inside your code, after which you can use a loop to send messages to all of the specified numbers.
What is the use of OnAudioFocusChangeListener in Audio Manager?
The focusChange value specifies whether the focus was gained or lost and whether the loss was temporary or if the new focus holder will have it for an indeterminate amount of time. So that listeners can utilize the attention change information to determine what behavior to use when they lose focus.
What is SMS retriever API?
SMS Retriever is an API that lets you verify users' SMS messages without requiring them to submit verification codes. We can extract the verification codes for our app using this API. This is accomplished without the need to acquire full SMS reading rights. Google Play Services examines the app hash when the user device receives a message.
Conclusion
In this article, we learned about SMS Sending and its implementation in Android.
You can head over to our Android Development Course on the Coding Ninjas Website to dive deep into Android Development and build future applications.
We hope this article has helped you enhance your knowledge of Sending an SMS on Android. If you want to learn more, check out our article on Android UI and Competitive Programming articles. Do upvote this article to help other ninjas grow.
Happy Coding!


 9+ registered

