


Introduction
WordPress is an open-source content management system that is written in PHP. It is also paired with a MySQL or MariaDB database. They are used to create free websites or quickly build a blog. It has features like plugin architecture and theme (template system of WordPress).
Create First Website
Creating your first WordPress site is easy and can be done in 8 simple steps. This article shows you how to do it. When you start building your first WordPress site, you may feel intimidated - especially when you do not know where to start or what to do.
When you start your foot within the WordPress dashboard, you can't help but be amazed at how easy it all seems. The sidebar for managers on the left, a clean interface for working in the middle, and notifications at the top. But if you start digging deeper into WordPress, you may feel frustrated as you dig deeper into the active layers within the content management system. The first thing you will see when you visit the WordPress site.
The following WordPress tutorial will take you through all the steps needed to set up your first WordPress site.
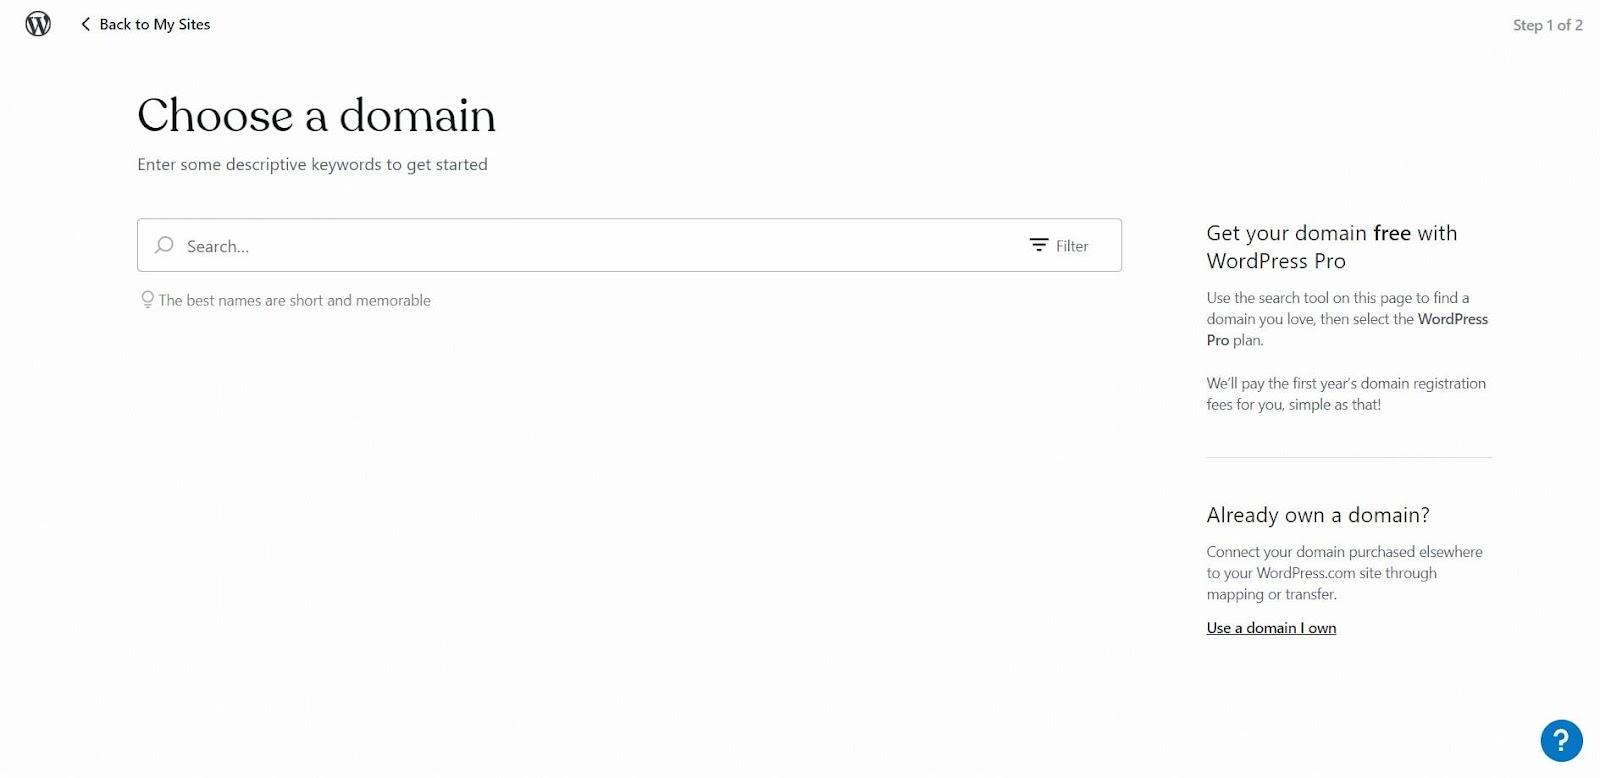
Step 1: Select a Domain
A domain name is a series of identifiers that describe the domain of autonomy, authority, or control within the Internet.
It will serve as the URL inside your visitors' address bar when visiting your WordPress site.
It must be relatively short, easy to remember and type, and must match your brand name or is directly related to it.
Unless you have already purchased your website's domain, it is best to do so if you are purchasing your web hosting plan (especially as some programs will include a free domain).
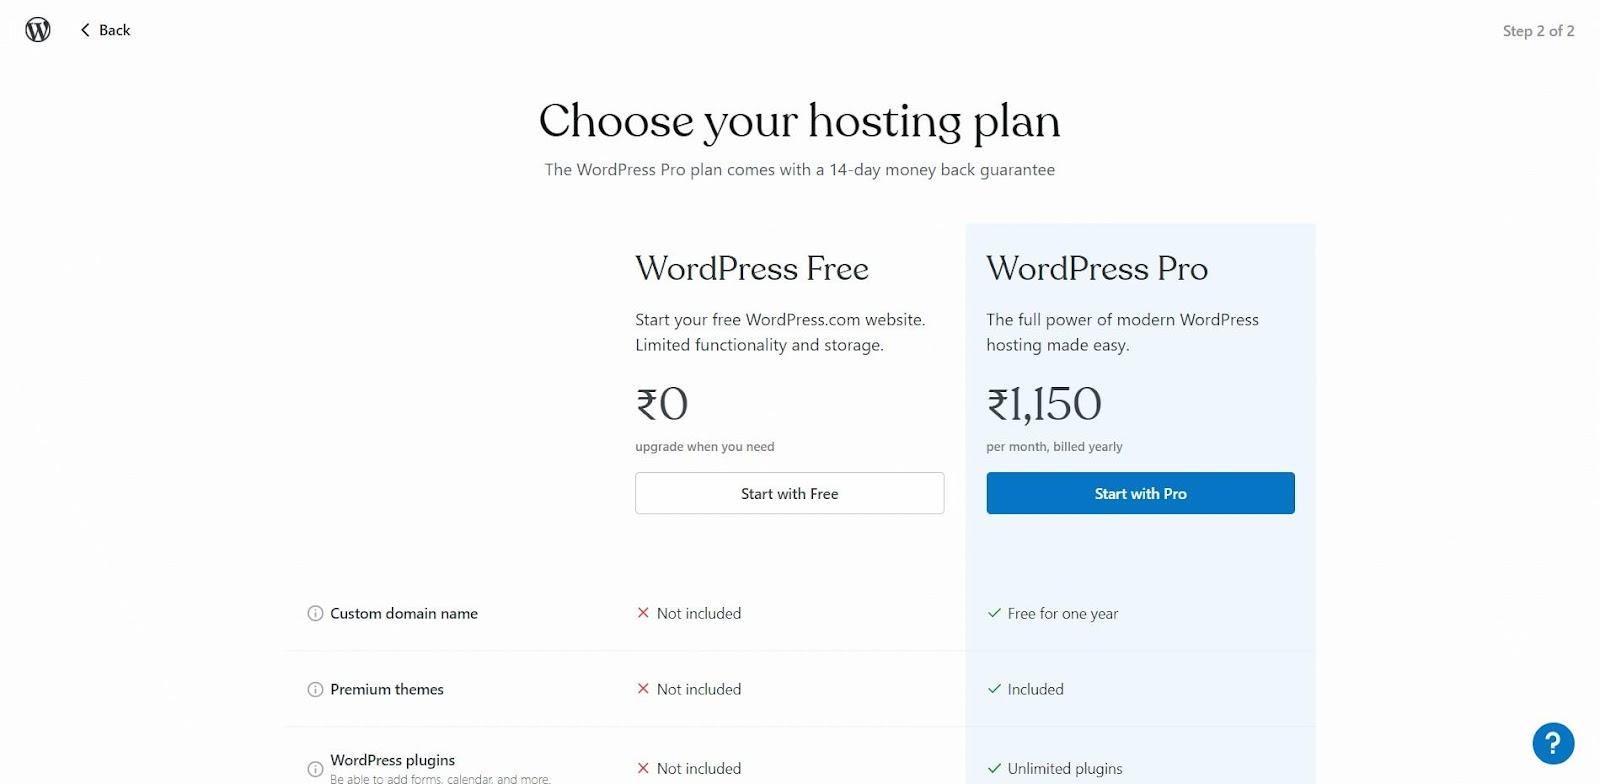
Step 2: Buy Web Hosting and Domain
Hosting, also known as web hosting, is the business of housing, providing, serving, and maintaining files on one or more websites. Web hosting does as they suggest: "hosting" websites. In other words, web hosting companies own and manage large web servers located in data centers across the country. In these web servers, websites similar to yours reside, so you do not have to purchase or manage any server technology yourself. You pay these companies the amount of monthly or annual rent for space and bandwidth on the server. After that, you can focus on building your website in WordPress.
If you are starting to get more traffic and do more business with your site, you may consider moving to WordPress hosting. WordPress also provides you with hosting plans.
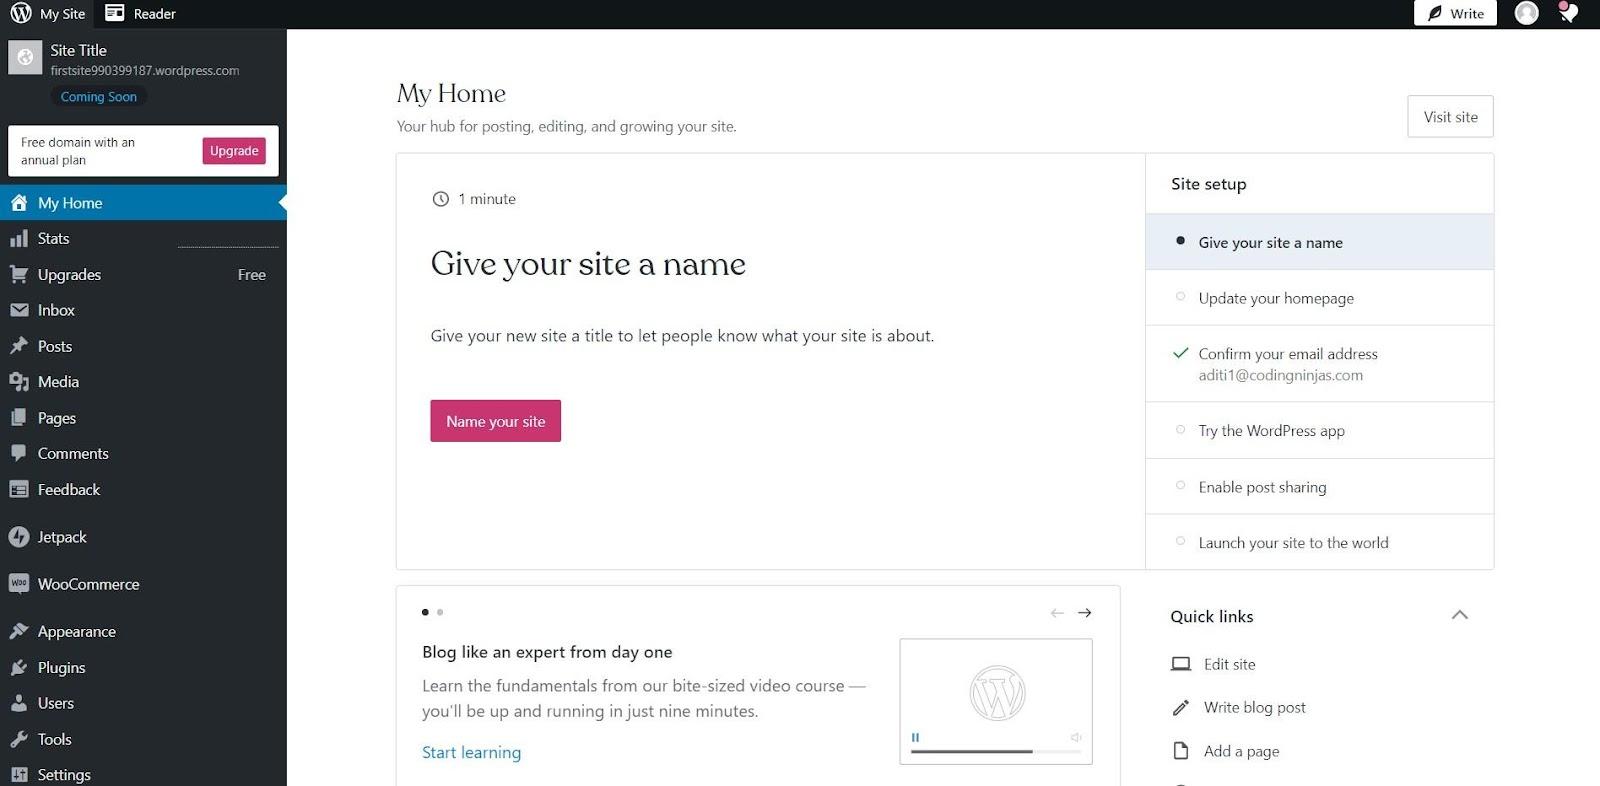
Step 3: Install WordPress or Login WordPress website
When you visit the WordPress site, click on get started to make an account in WordPress. If you want to install WordPress, there are various ways to do so.
Most web hosting services will give you a one-click installation process that makes the whole process easier. After login and setting up the domain and hosting plans, this will be the dashboard.
Step 4: Get the WordPress theme or Install Your WordPress Theme.
The first thing you need to do here is to find a theme for your site. WordPress theme is a pre-installed and pre-coded interface template for WordPress. It saves you from the hassle (and money) of designing your website from scratch or paying someone else to do it for you. When you log into WordPress for the first time, WordPress will automatically assign its latest theme to your site.
If you are using a free theme from the WordPress repository, here's what you need to do: Within WordPress, go to the Appearance tab >>Themes.

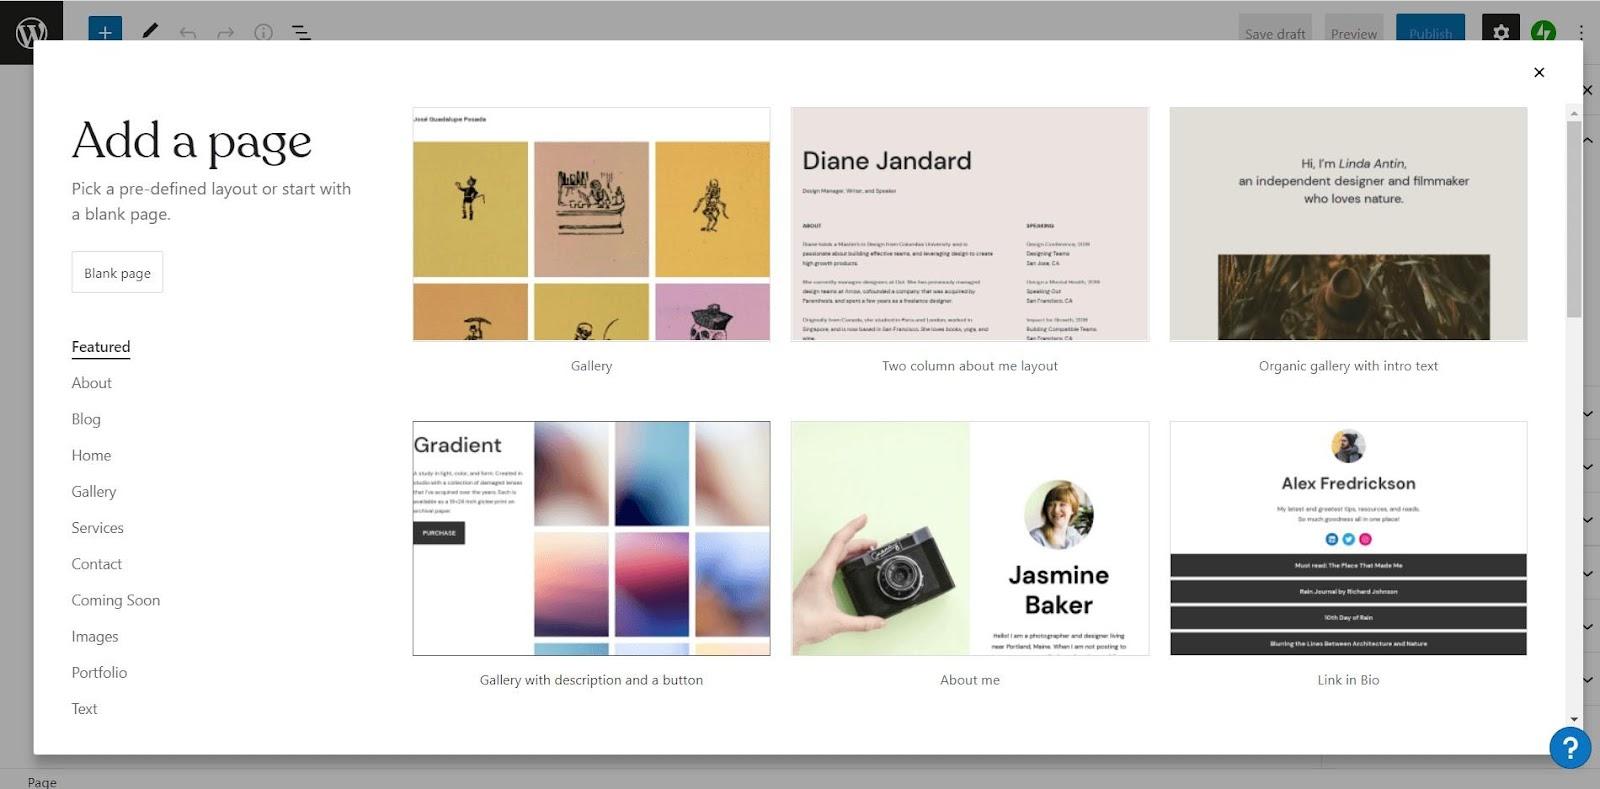
Step 5: Publish Your First Page
There are two types of pages: pages and posts by which you can create your website.
Pages are traditional web pages that exist within the main site navigation. About Page, Contact Page, and individual services pages are all created using WordPress.
Post are pages of the blog will only exist on the blog on your website unless you have selected the homepage to serve as a blog feed.
The good thing about WordPress is that the interface does not change whether you create a page or post. You need to include different settings in all of them, but the main area you work in is always the same, making it an easy-to-use workplace.
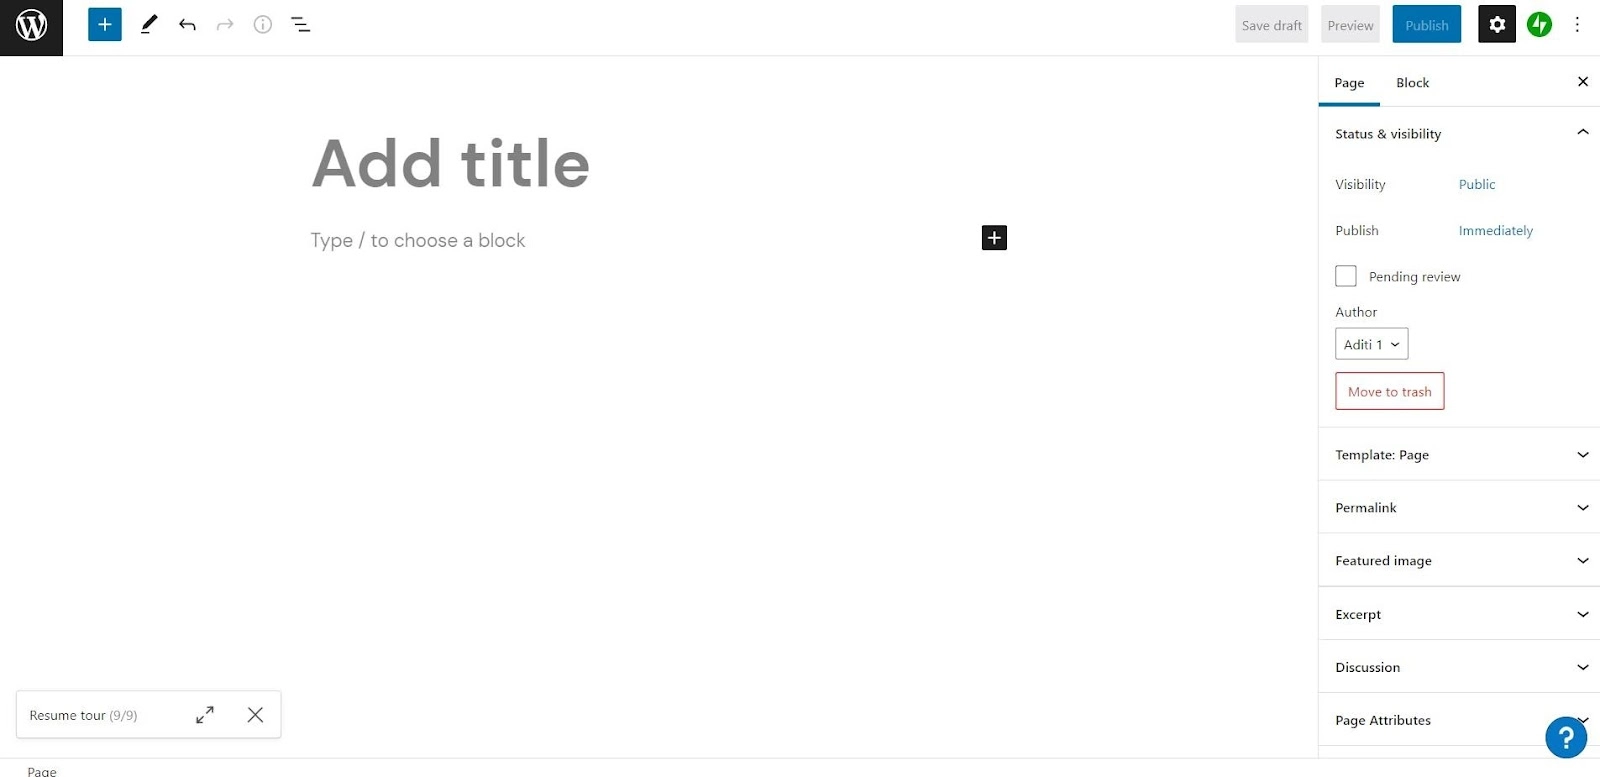
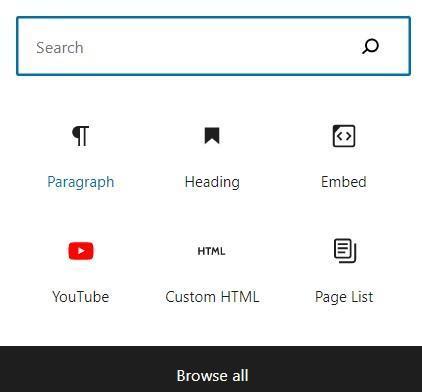
You can add different widgets available. Headings, images, paragraphs, and horizontal rules are some of the features included. You can browse by simply searching.
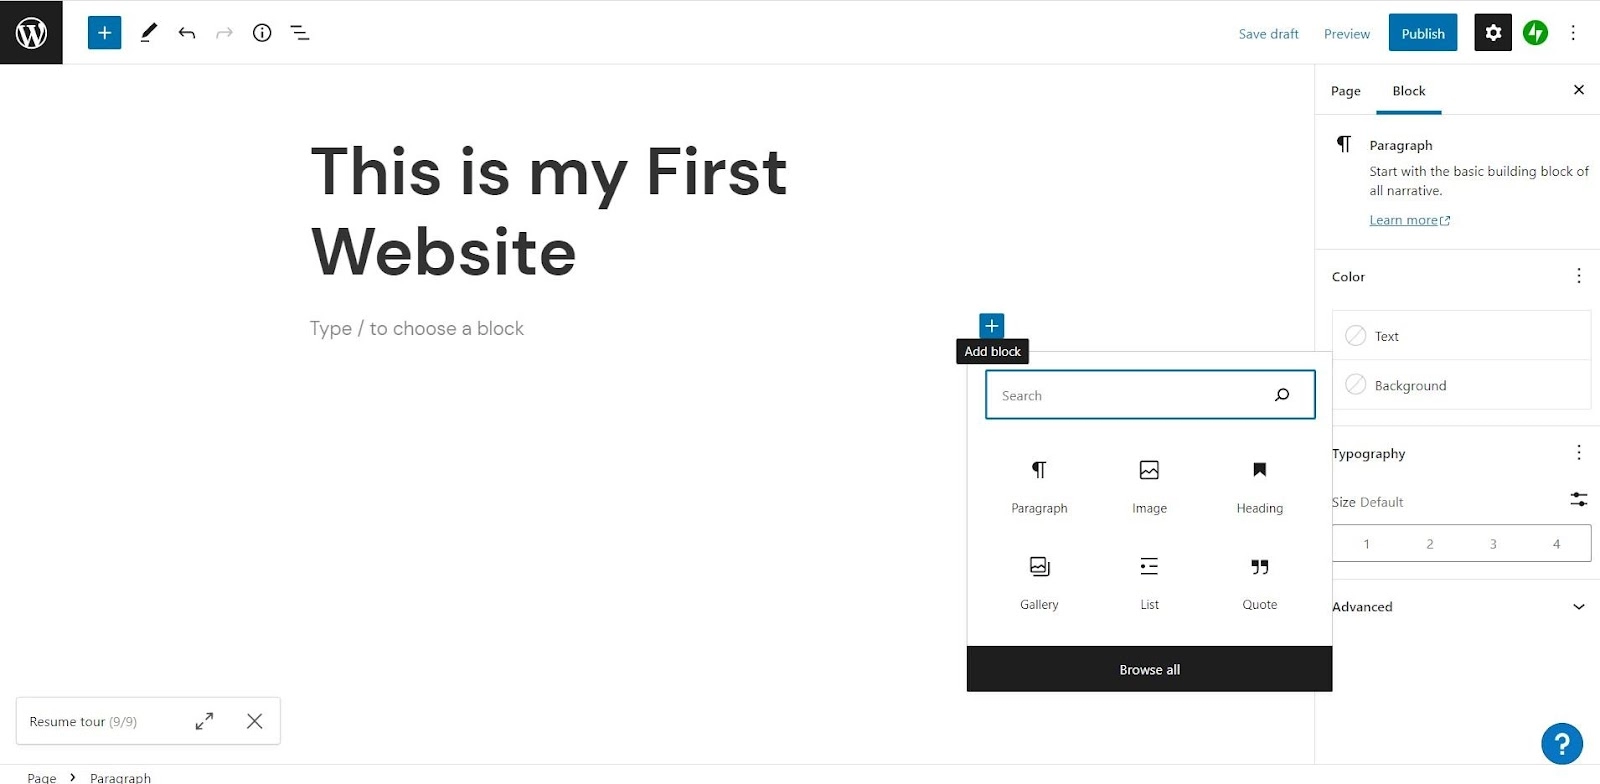
WordPress gives us a different option to create pages and posts for our website, as shown below. The main difference between them is when you click the "Publish" button on a post, and it directly directs your blog, the page needs to be added to your site's navigation (or menu) if you want it to appear.
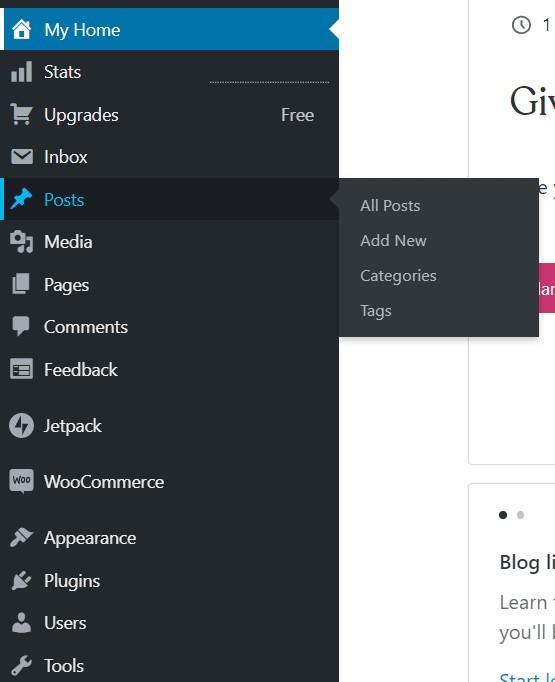
Step 6: Create a menu
We now know that if we want pages to display on our website, we need a navigation bar (or menu). So, the first thing you have to do is create those pages for your site (which you did in step 5).
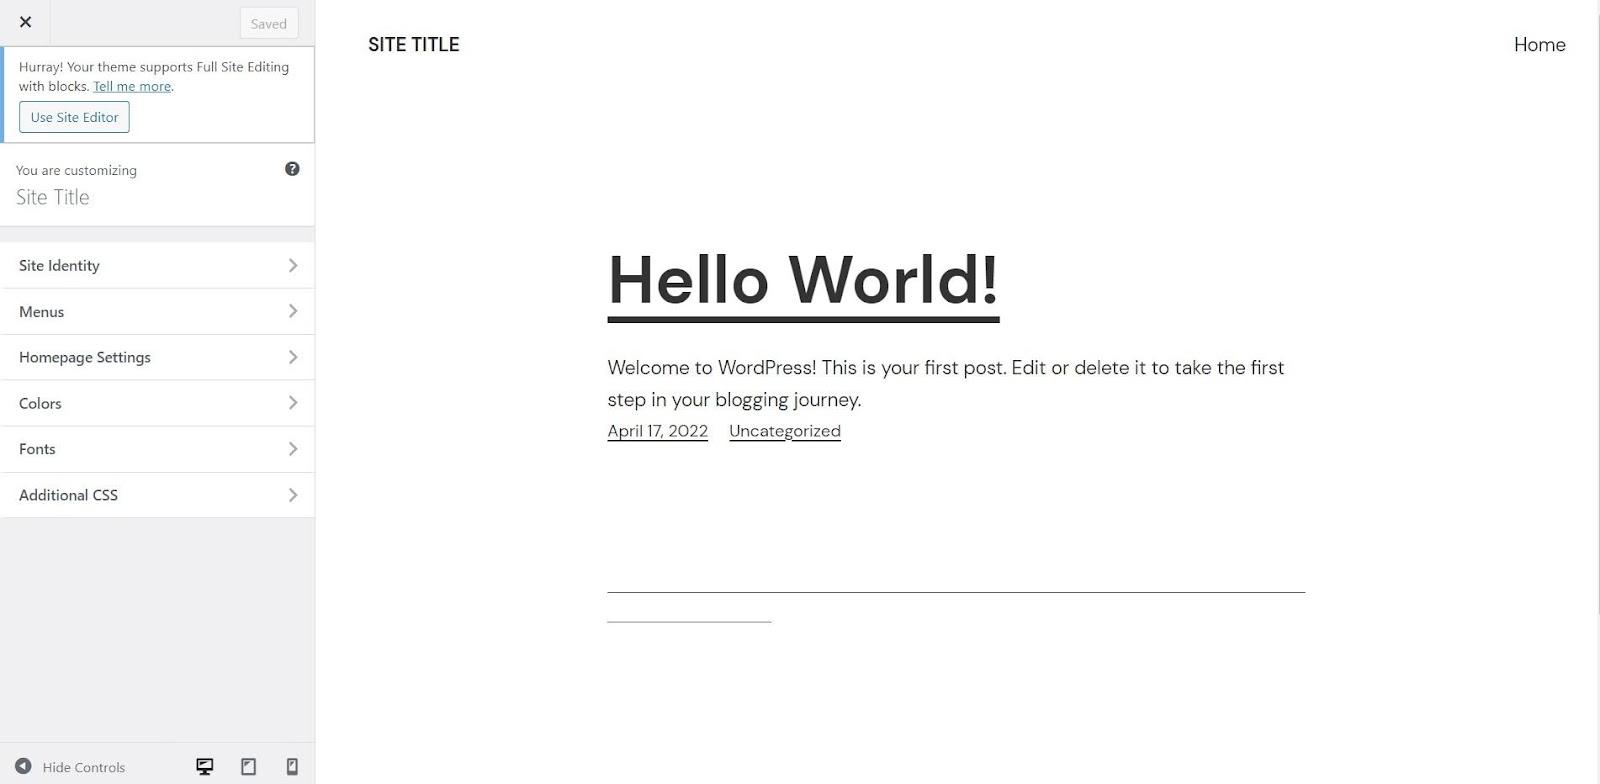
Next, you will want to go to the Appearance tab and select "Customize." This is where you will build and manage your site navigation. This window will be open.
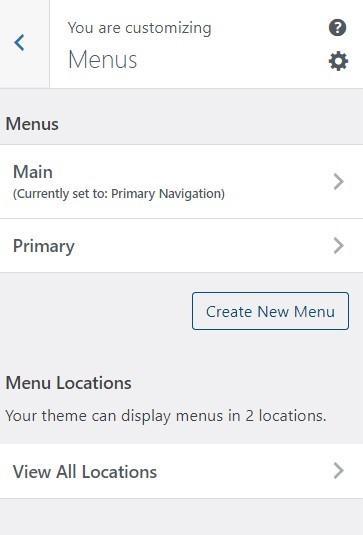
To create a new menu, click on the Create New Menu button.
Now add menu items by clicking on +Add Items. You will see that added menu items will be displayed on your website.
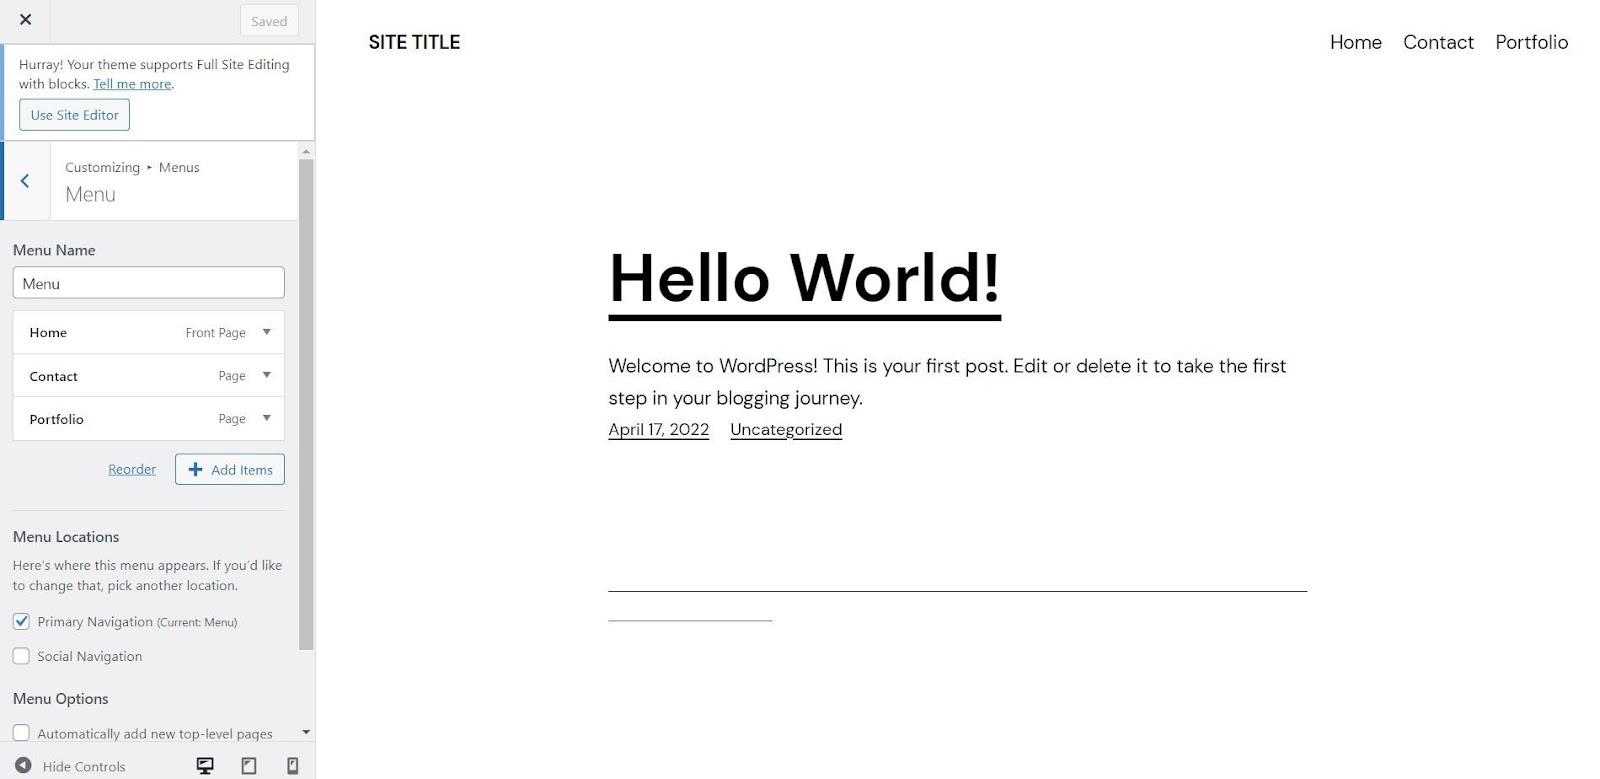
After entering all the menu items, in Menu location >> check Primary Navigation.

Step 7: Configure Your WordPress Settings
New WordPress users are often advised to leave setting settings up to this stage. Many of the settings provided by WordPress control things related to your pages and posts, which is not something you can understand until you have created your site. So, after you've done that, it's time to go through settings and make sure your WordPress site is set up to work the way you want it.

Step 8: Install the WordPress plugins that are essential
Final step is the installing WordPress plugins in setting up WordPress.
Depending on the WordPress plugin, it is part of the software connected to WordPress. Plugins can do many different things. They can help in various ways, including social media feeds on your site, resizing and compressing images, preventing spam and hackers, creating a forum, adding a payment gateway, translating your site, etc.
Some examples of plugins are Google analytics, SEO, caching, image optimization, security, contact form, and other plugins.

 9+ registered

