Do you think IIT Guwahati certified course can help you in your career?
Introduction
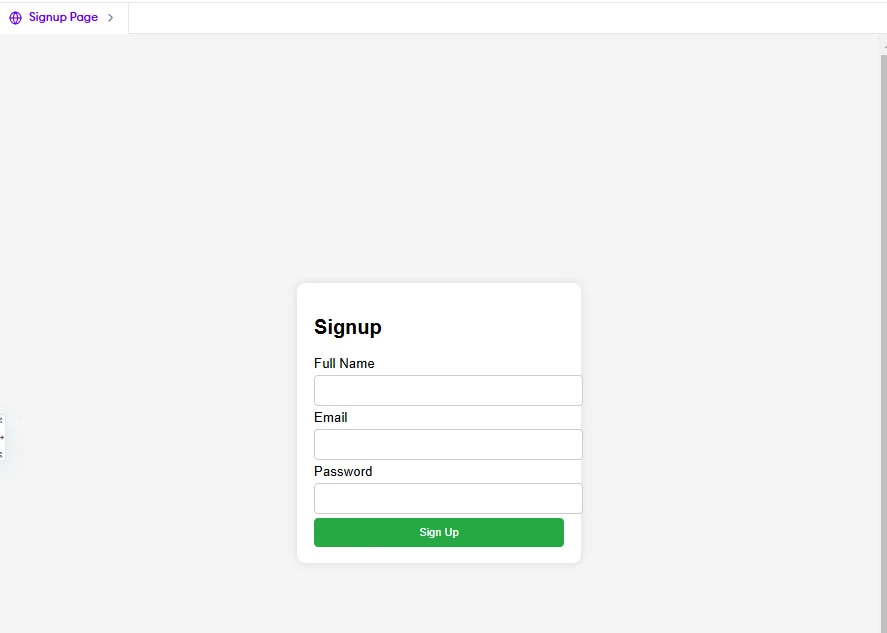
A Signup Page in HTML is a web form that allows users to register by providing details such as their name, email, password, and other required information. It is commonly used in websites and applications to create user accounts. The form usually includes input fields, validation, and a submit button.
In this article, you will learn how to create a Signup Page in HTML, its structure, and best practices.
Approach
To create a signup page in HTML, follow these steps:
Create an HTML file to structure the form.
Use form elements such as input fields, labels, and buttons.
Apply CSS for styling the form.
Add form validation using HTML attributes.
(Optional) Use JavaScript for advanced validation.
Example
Basic Signup Form (HTML & CSS)
Below is an example of a simple signup form using HTML and CSS.
The <form> element contains input fields for name, email, and password.
The <input> elements use required attributes to ensure mandatory fields.
CSS is used to style the form with padding, colors, and hover effects.
How To Create a Signup Form
Step 1: Create an HTML File
Start by creating an HTML file (e.g., signup.html). This file will contain the form structure.
Step 2: Add Form Elements
Use the <form> element along with <input> fields and a <button> for submission.
Step 3: Style with CSS
Add a separate CSS file (e.g., style.css) or include the <style> section within the HTML file to enhance the form’s appearance.
Step 4: Add Validation
Use the required attribute to make sure all fields are filled before submission. For example:
<input type="email" name="email" required>
Step 5: Test the Form
Open the signup.html file in a browser and check if the form fields and button work correctly.
How To Create a Modal Sign Up Form
A modal signup form is a pop-up window that appears on top of the current page, allowing users to sign up without navigating away. It’s a clean & user-friendly way to handle registrations. To create one, we’ll use HTML for structure, CSS for styling, & a bit of JavaScript to handle the modal’s behavior.
Let’s take a look at the complete HTML code for the modal signup form:
The `<button>` element with the ID `openModalBtn` is used to trigger the modal. When clicked, it will display the signup form.
2. Modal Structure:
The modal itself is a `<div>` with the ID `signupModal`. Inside it, there’s another `<div>` with the class `modal-content` that holds the form & a close button (`×`).
3. Signup Form:
The form includes fields for username, email, & password. Each input field has a `required` attribute to ensure users fill in all details before submitting.
4. Close Button:
The `<span>` element with the ID `closeModalBtn` is used to close the modal when clicked.
This is the basic HTML structure. Let me know if this works for you, & I’ll proceed with the CSS styling & JavaScript functionality.
Frequently Asked Questions
How do I add more fields to the signup form?
Add more input fields in the form using <input> elements for additional user information like phone number or address.
How can I handle form submissions?
Use a backend language like PHP or Node.js to process the form data and store it in a database.
Can I use JavaScript for extra validation?
Yes, JavaScript can enhance validation by checking input formats, ensuring password strength, and providing real-time feedback.
Conclusion
In this article, we learned how to create a Signup Page in HTML using form elements like <input>, <label>, and <button>. A signup form typically includes fields for name, email, password, and a submit button. Adding CSS for styling and JavaScript for validation improves functionality. Understanding signup page creation helps in building user registration systems effectively.


 9+ registered

